Tagged: DIY
Smallest Room Part 2

The wallpaper we made over the holidays?
Despite just using the basics: Lining paper, leftover emulsion paint and cut up sponges – has worked a treat.

(Even though it meant embracing chaos)


This was the before state of the downstairs toilet. A mini dumping ground of DIY and general clutter.

First step was a deep clean of the tiles. Vinegar, though powerful on the nostrils did the job. A little bit of re-grouting was needed – and then I was going to dye the grout a dark grey, but I was concerned the new grout was of a different consistency – less chalky, more rubbery so would they dye the same colour? It was an easier decision to not risk it. Besides the new pristine white of the tiles was impressive. Finally, paint – white on the ceiling and the Little Greene Paint Company’s French Grey Dark on the woodwork which is a soft, pinky grey that seems to blend with any thing. A continual stream of Radio 4 plays on the ipad helped the process along..
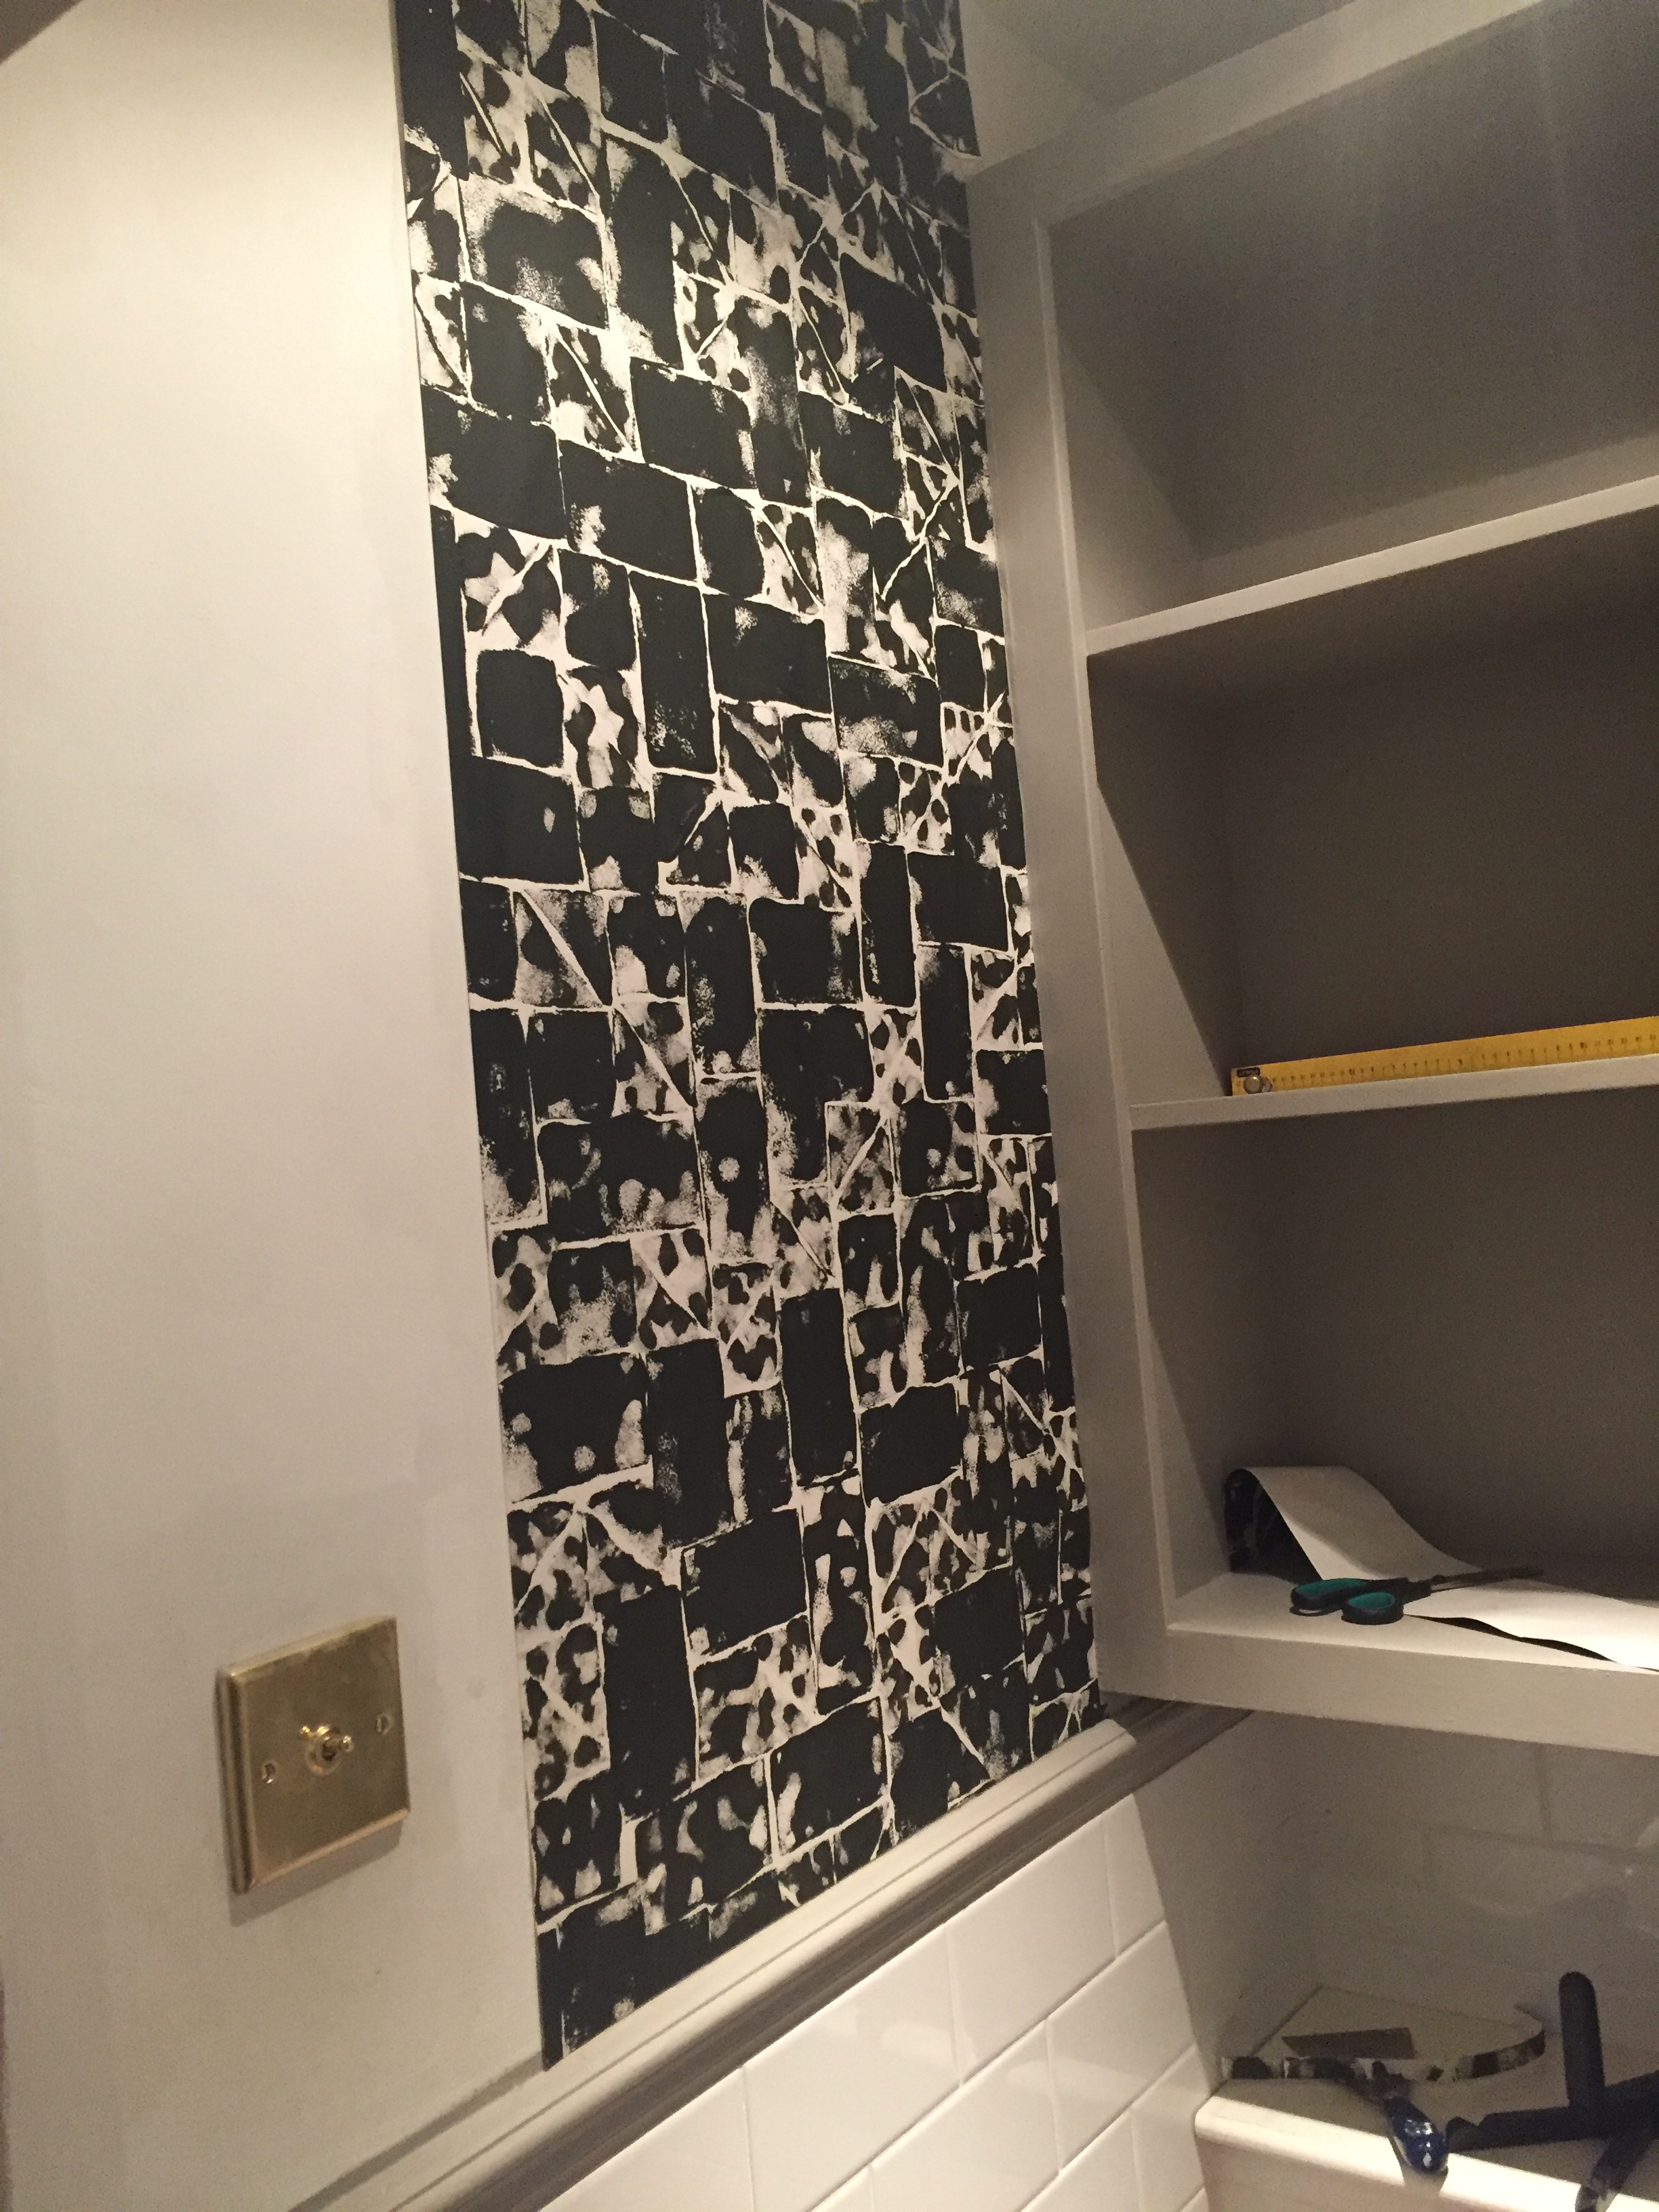
The wallpaper went up easily: The lining paper was one of the thickest available and was aided by both pasting the wall and paper, and leaving the paper for a few minutes to fully soak up the wallpaper paste.
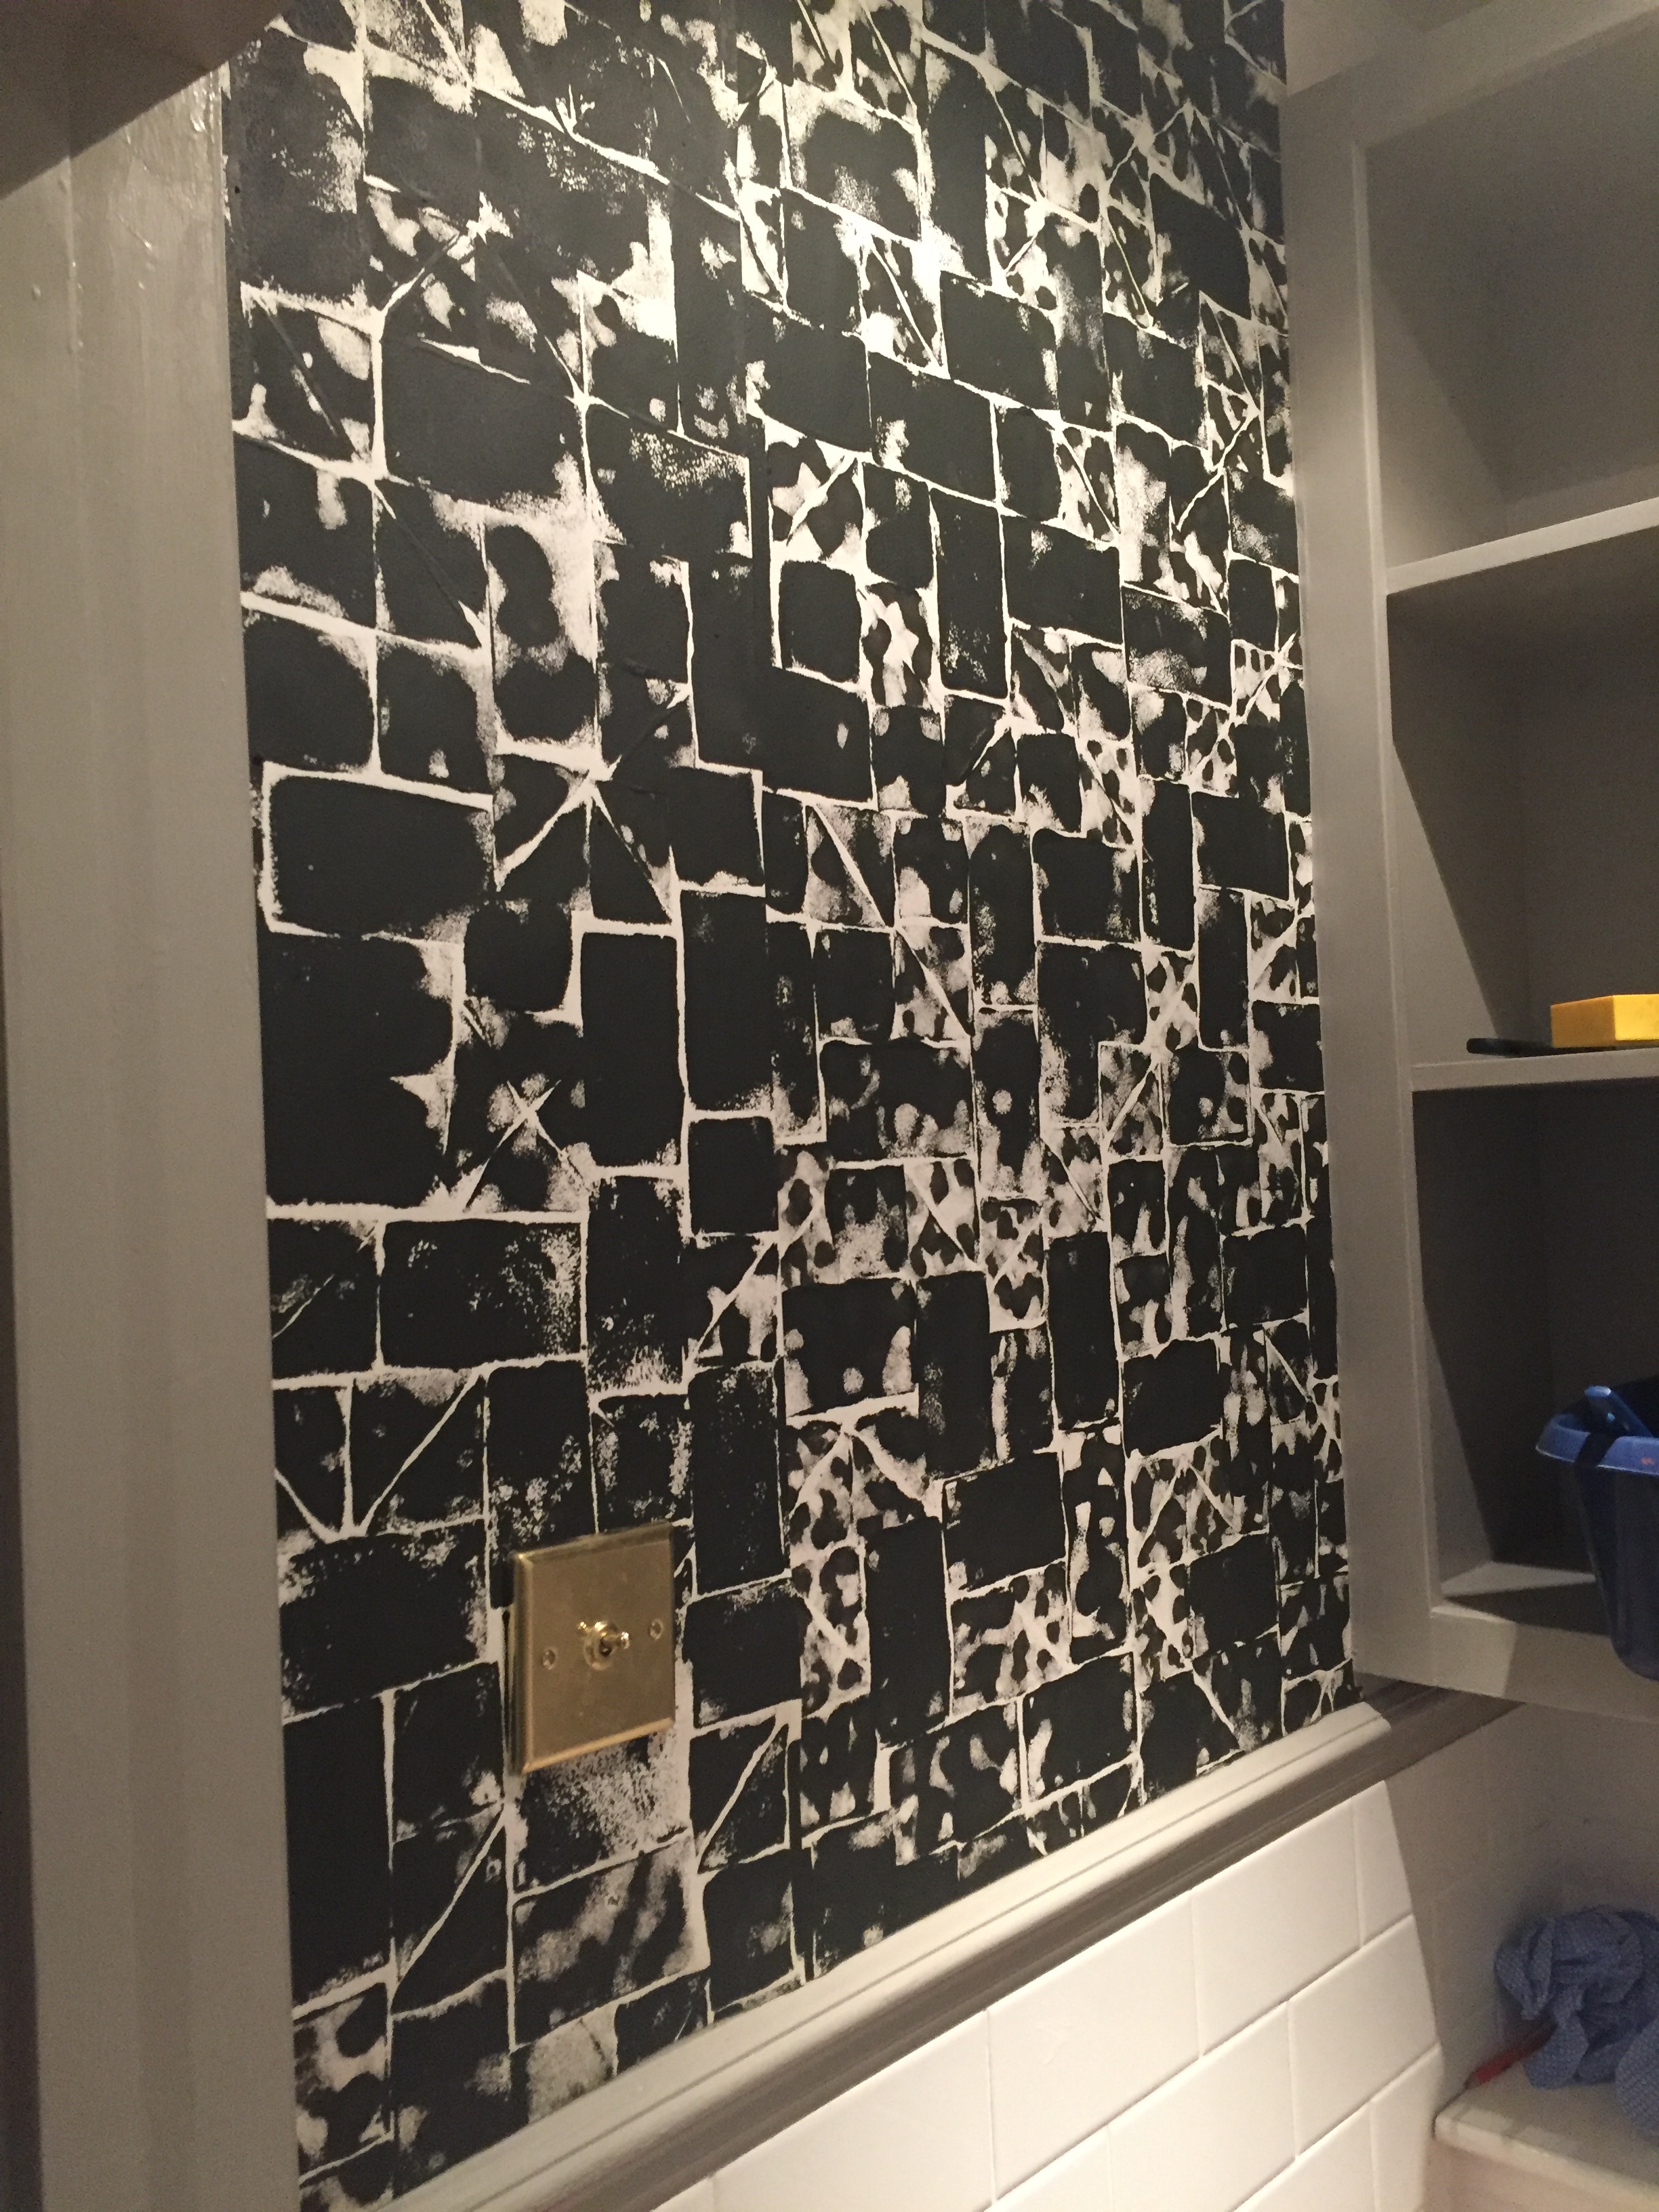
The randomness of the print meant there was no problem on the join – second piece went up where it went up. Bliss.

The finished job.

Except there’s always one thing left to do…a fitted mirror over the sink. Sigh.
Better get ordering.
Laters, Kate x
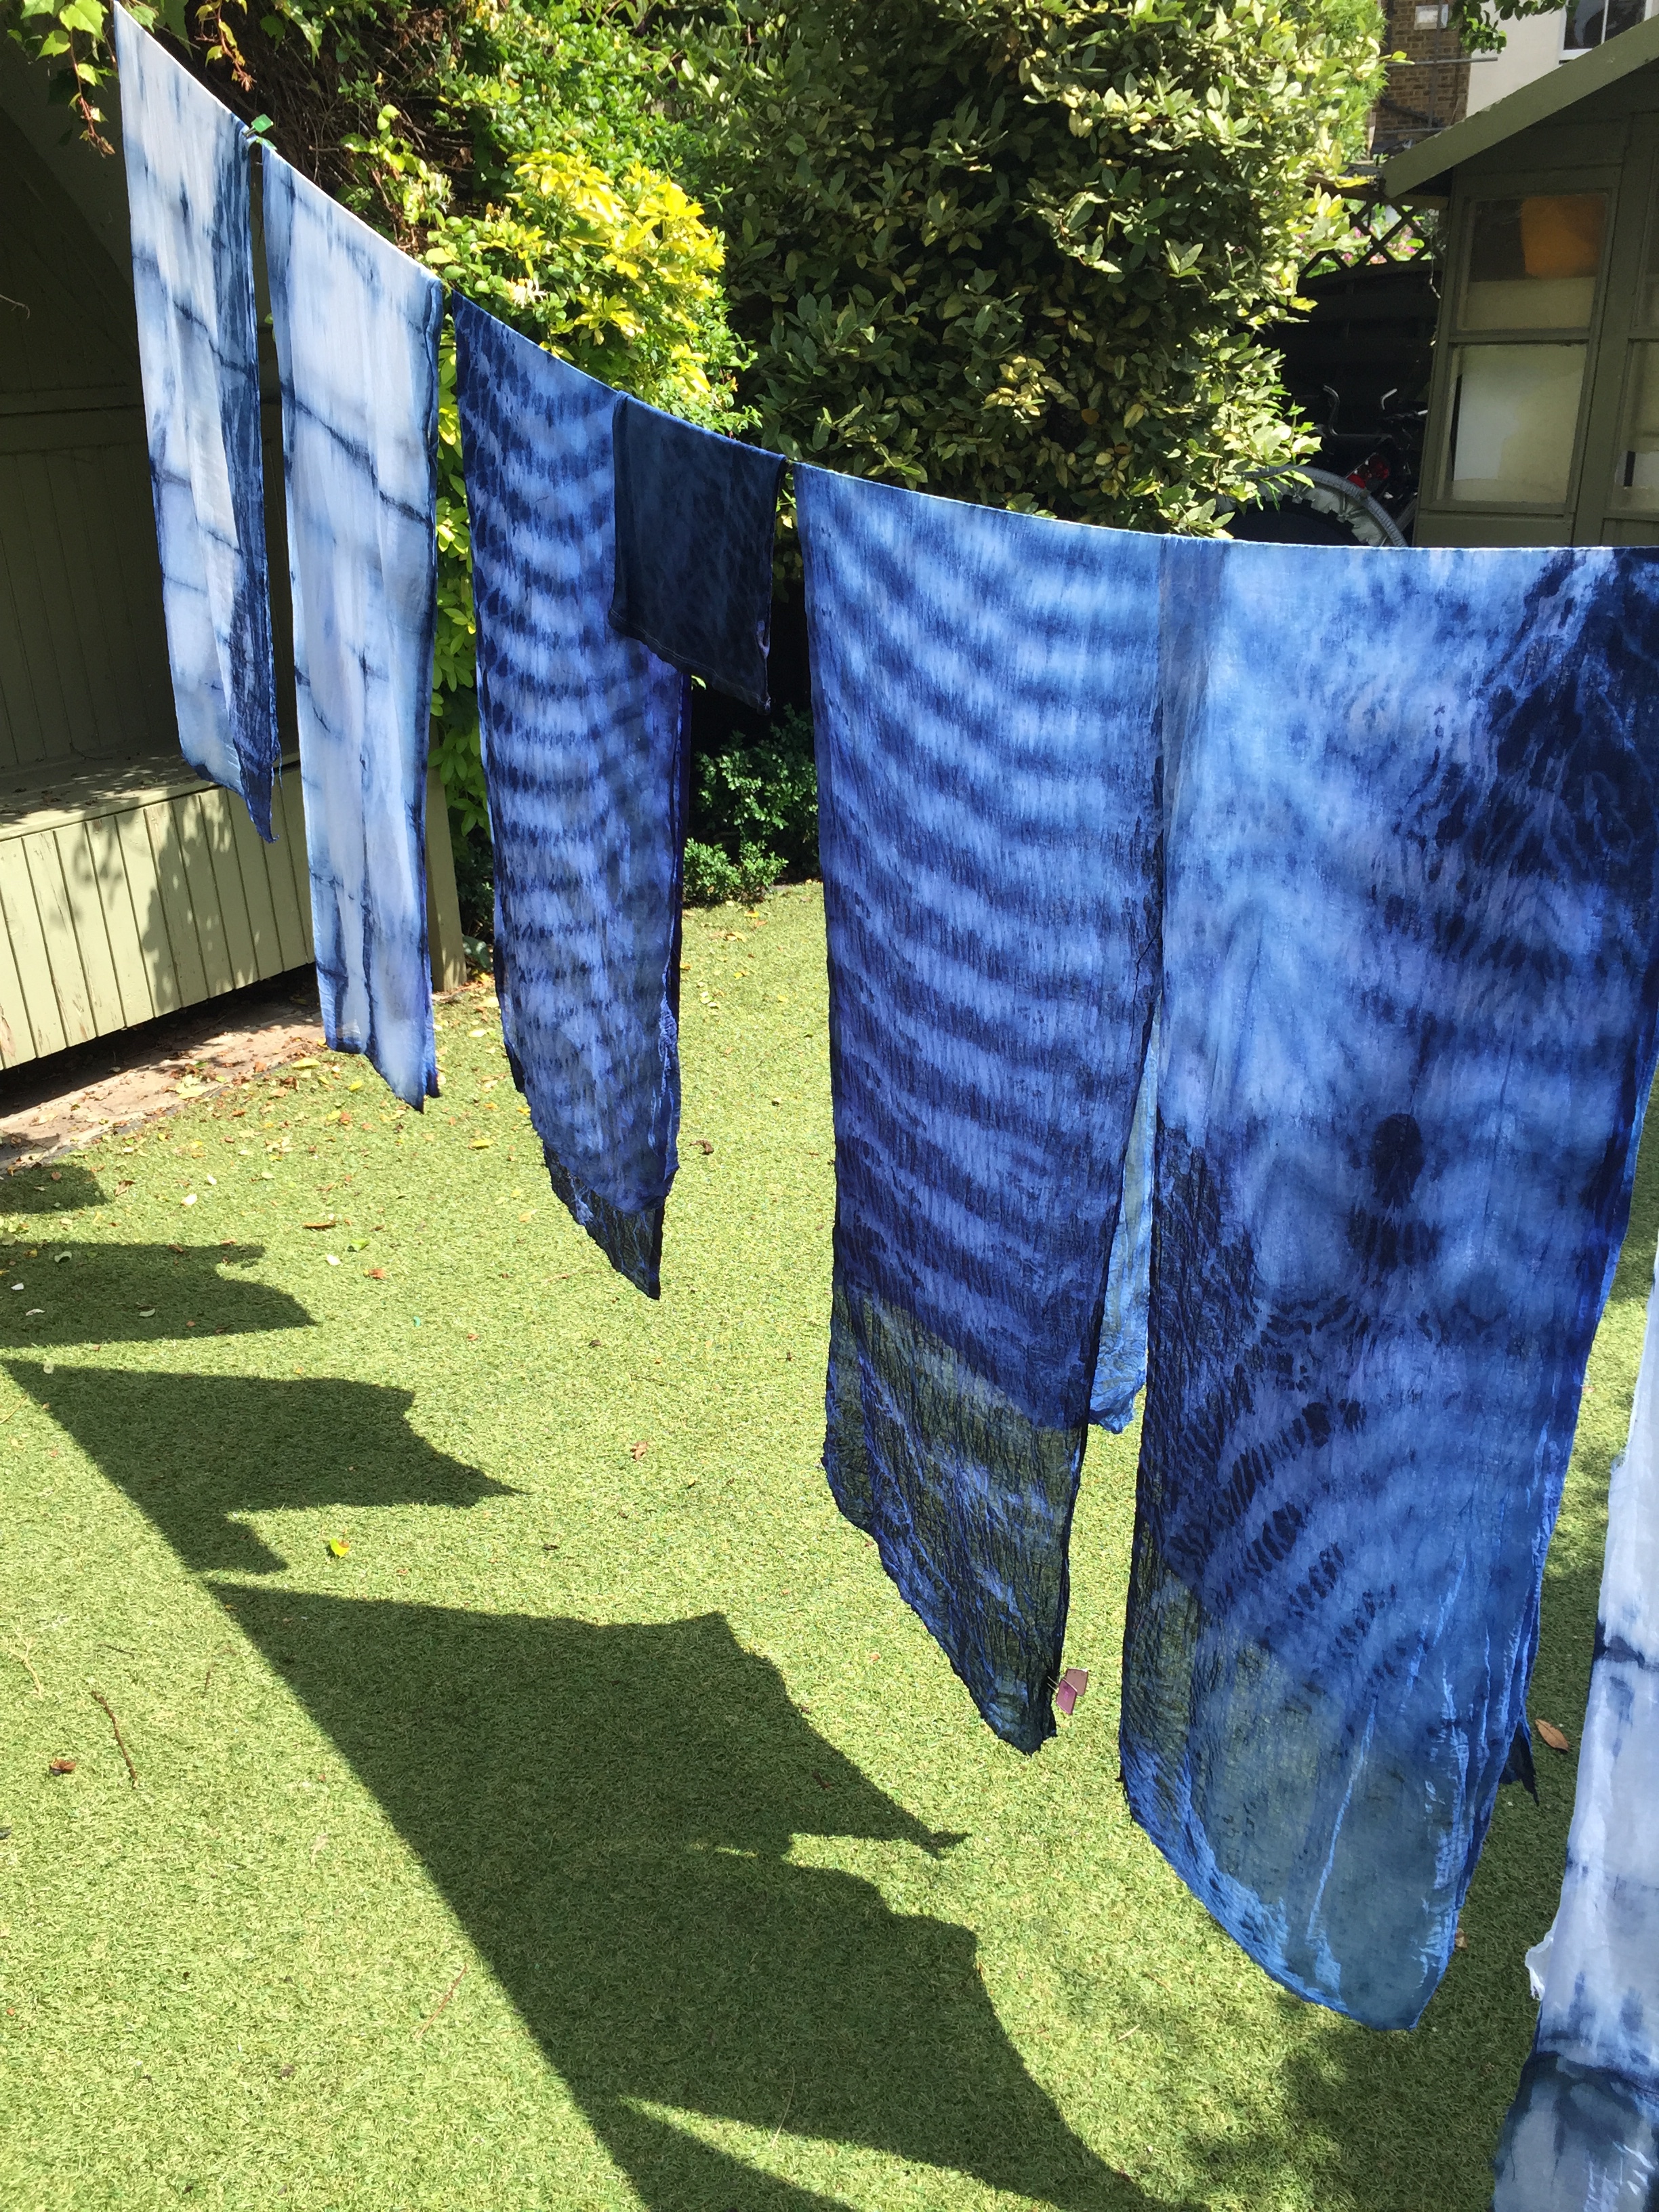
Shibori..

Yesterday was spent teaching a group of friends (I’m a rep for Charlie’s class) how to shibori tie-dye. It’s something I love to do with its heady mixture of deep indigo, spontaneity, freedom and promise.
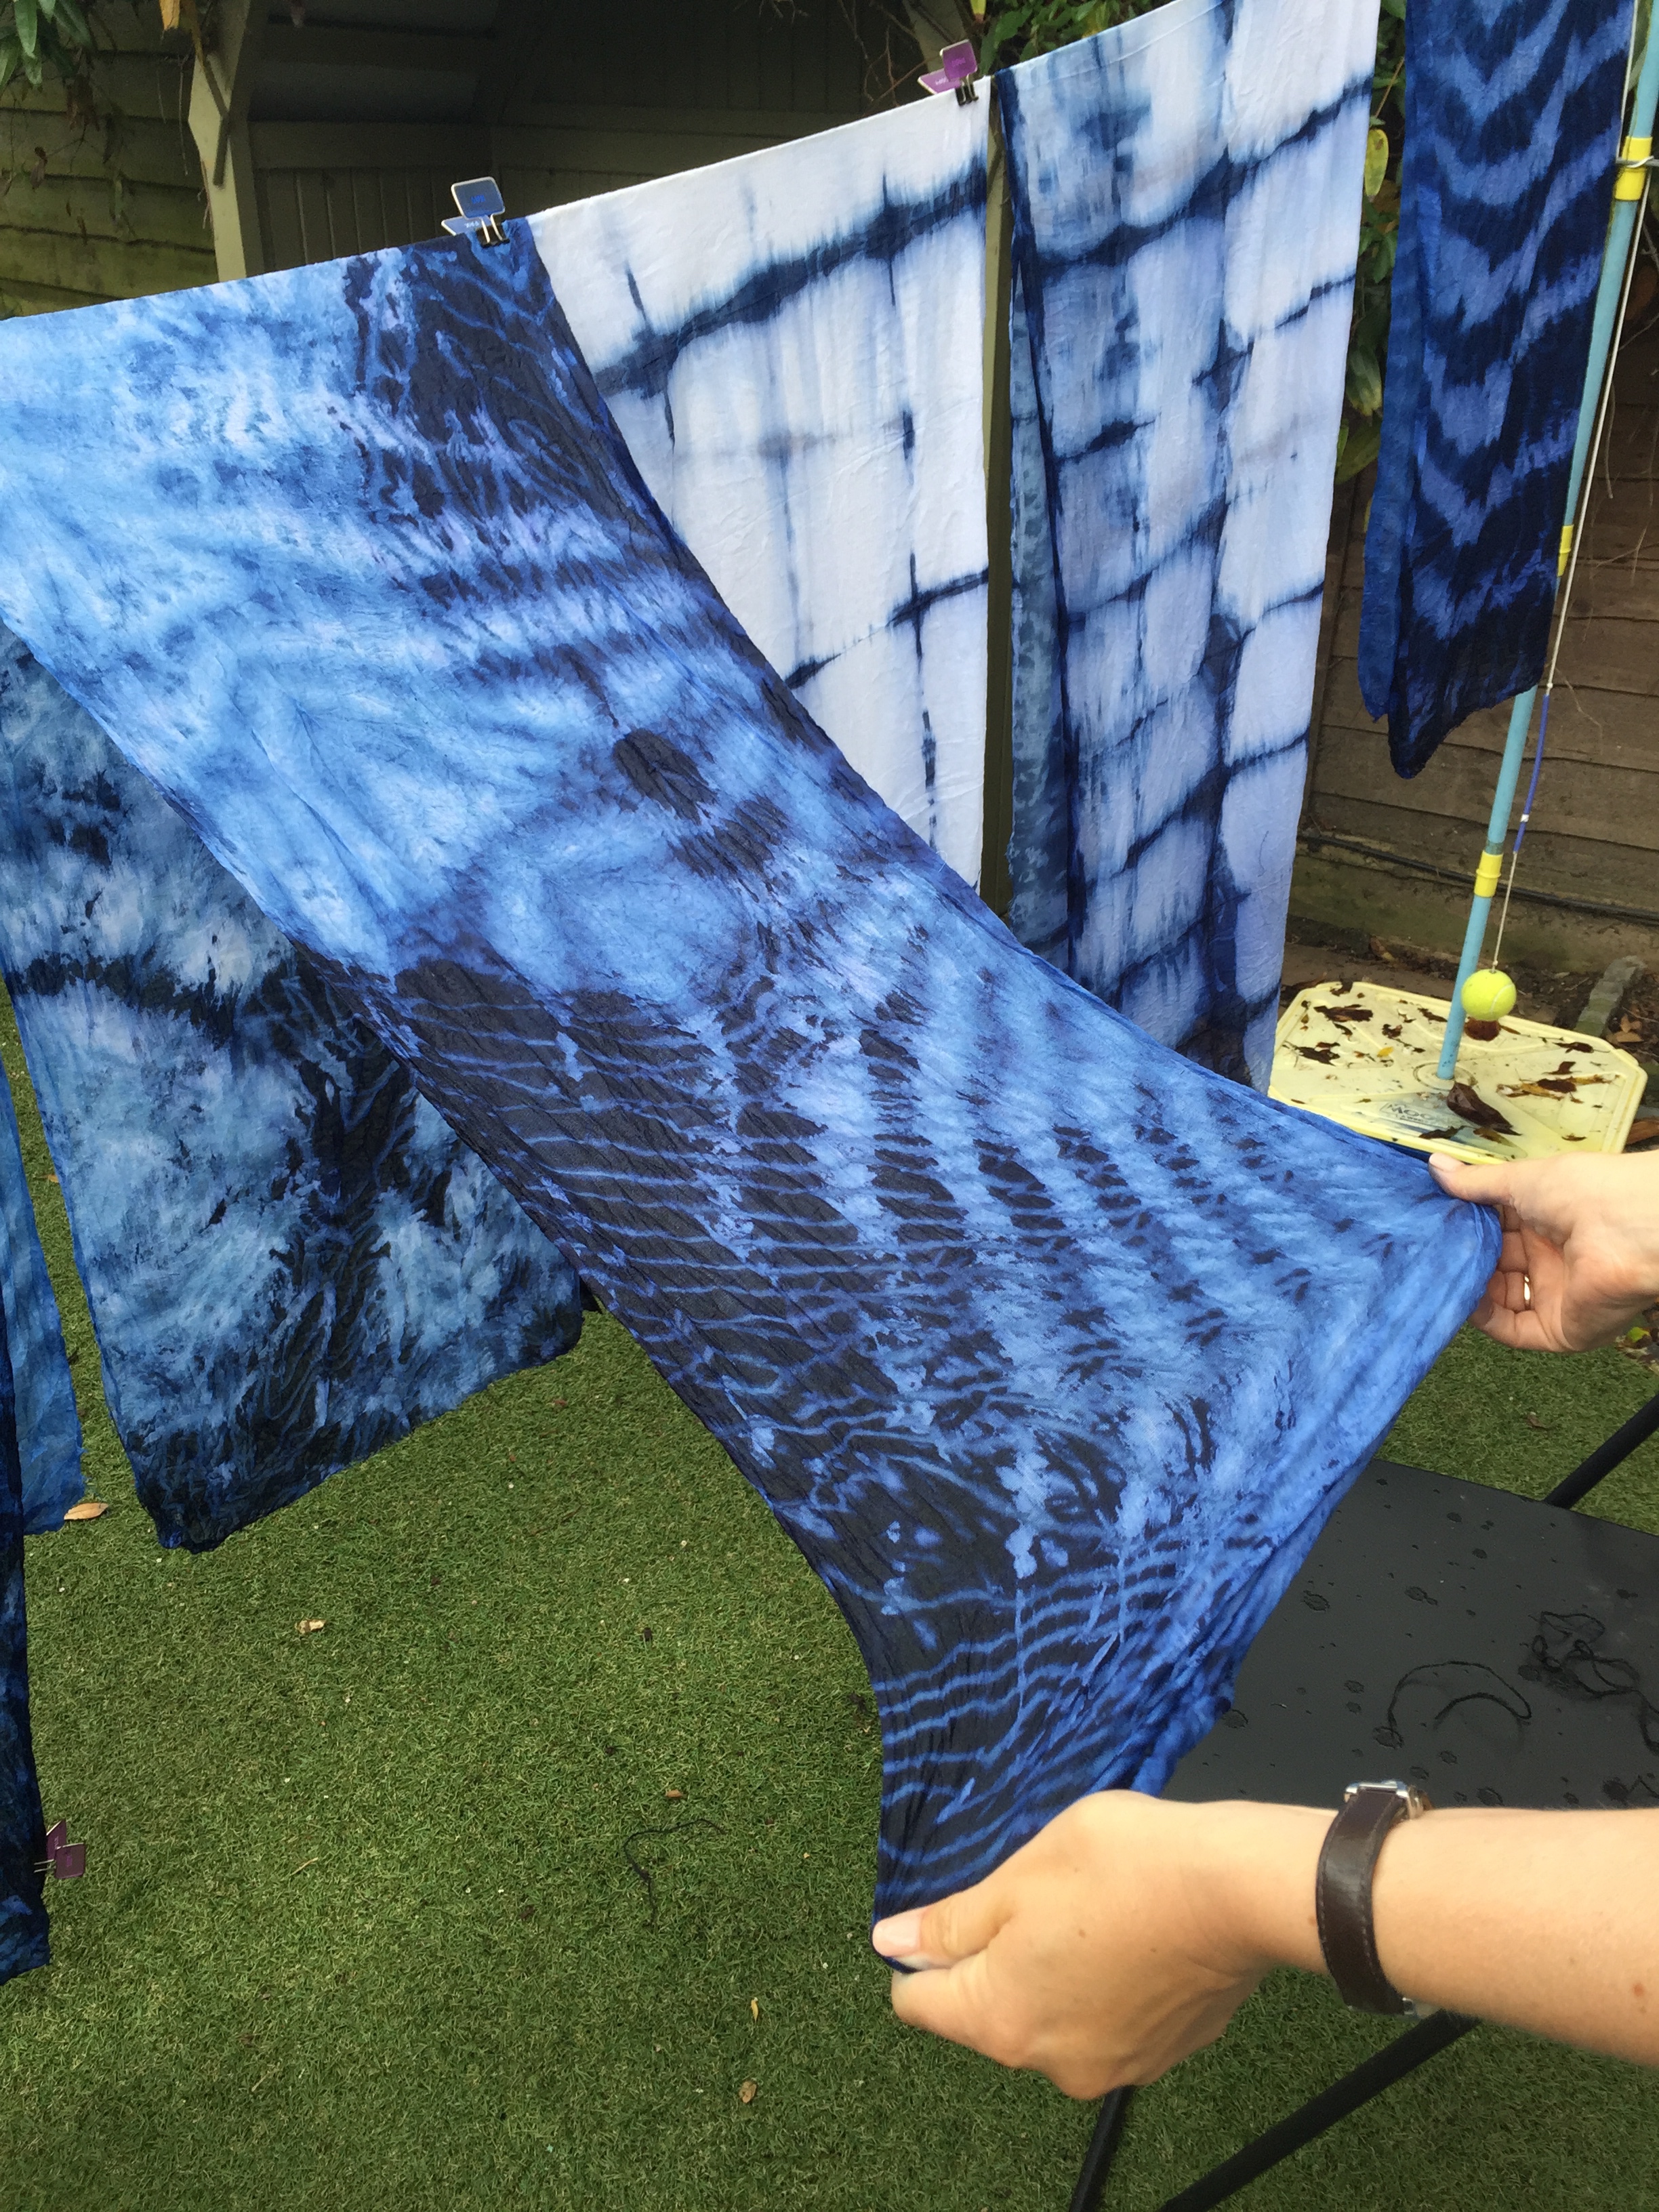
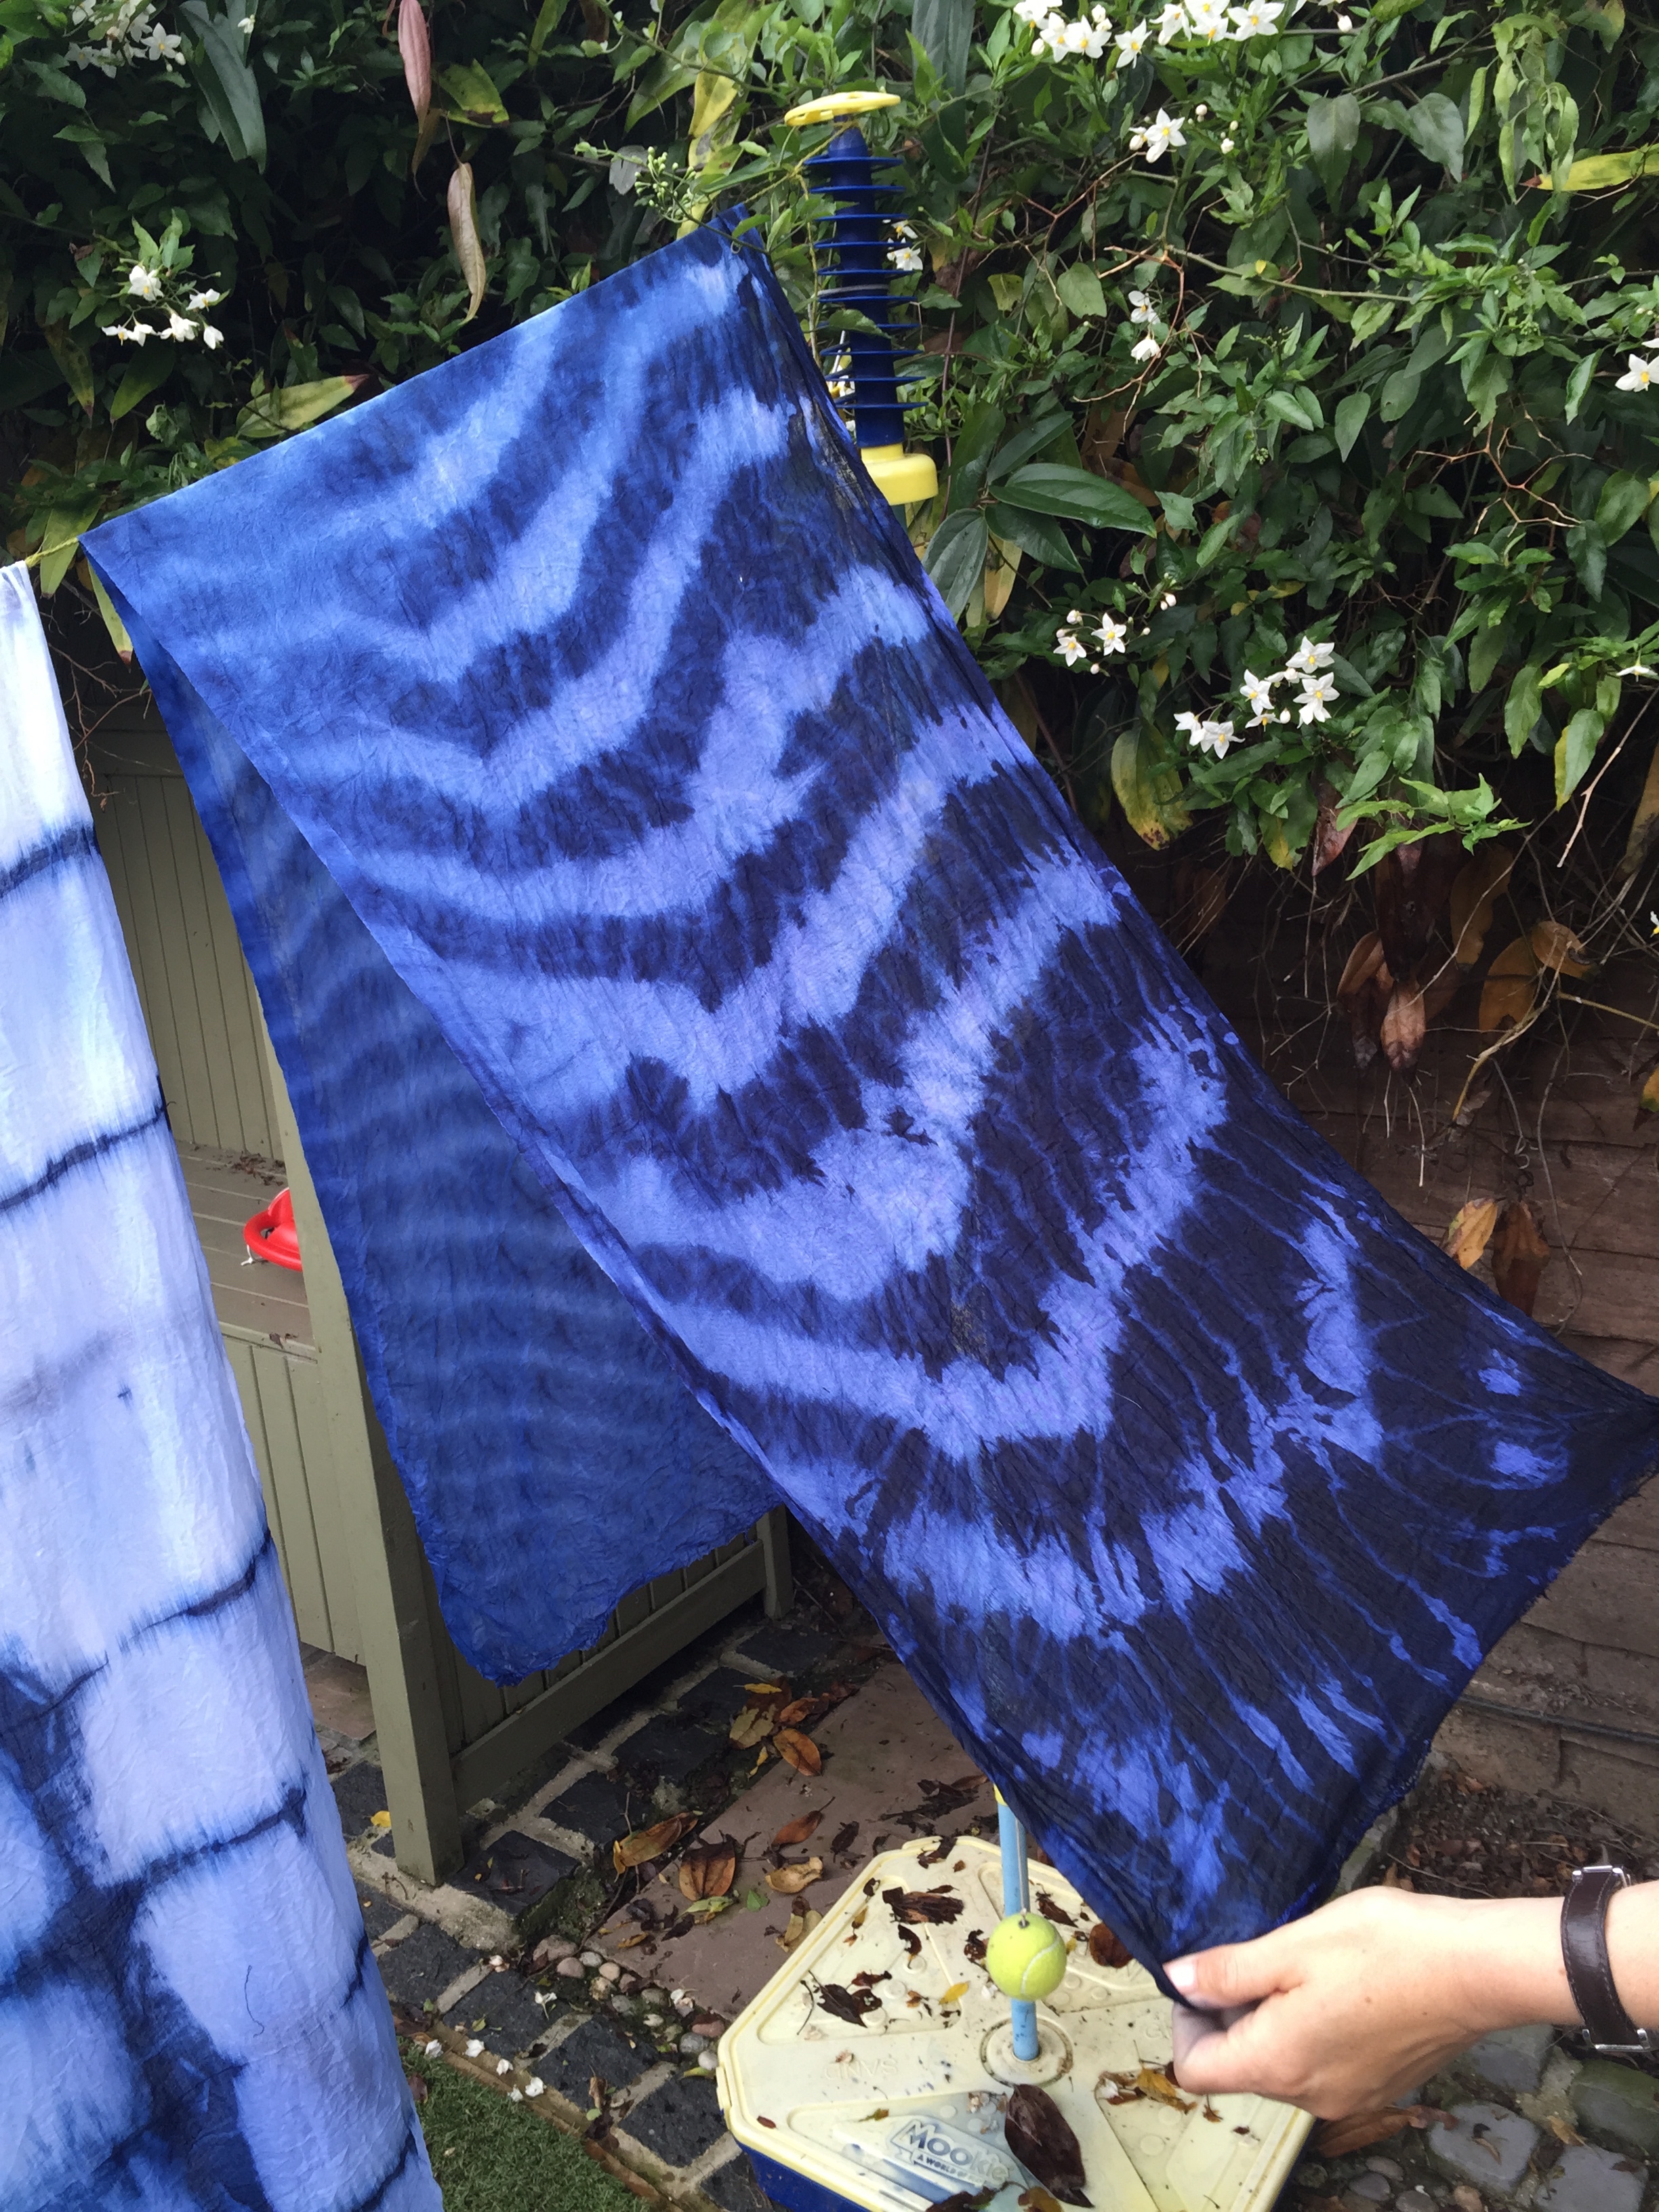
I’ve posted about it before (here) but this year was a little bit different/lessons learnt – the scarfs are longer (2m – possibly the perfect length) and the dye is a new one: If you’re making a large dye bath with the more commonly used Dylon, it’s hard to keep the solution warm so I went for a procion dye that works with cold water (it’s the dye they use for batik dying) and it produced excellent results. If you want more info on dyes and techniques, check out this website (makes me wish I lived in Bognor)..this is a brilliant craft for kids in the summer..and imagine on duvet covers, sheets..or even larger pieces of furniture! Bella spent her evening after school dying..socks!


Gloves are always useful..

This may be old school..but it’s still the best.
Laters, Kate x
Collecting projects for the summer..


Small steps..

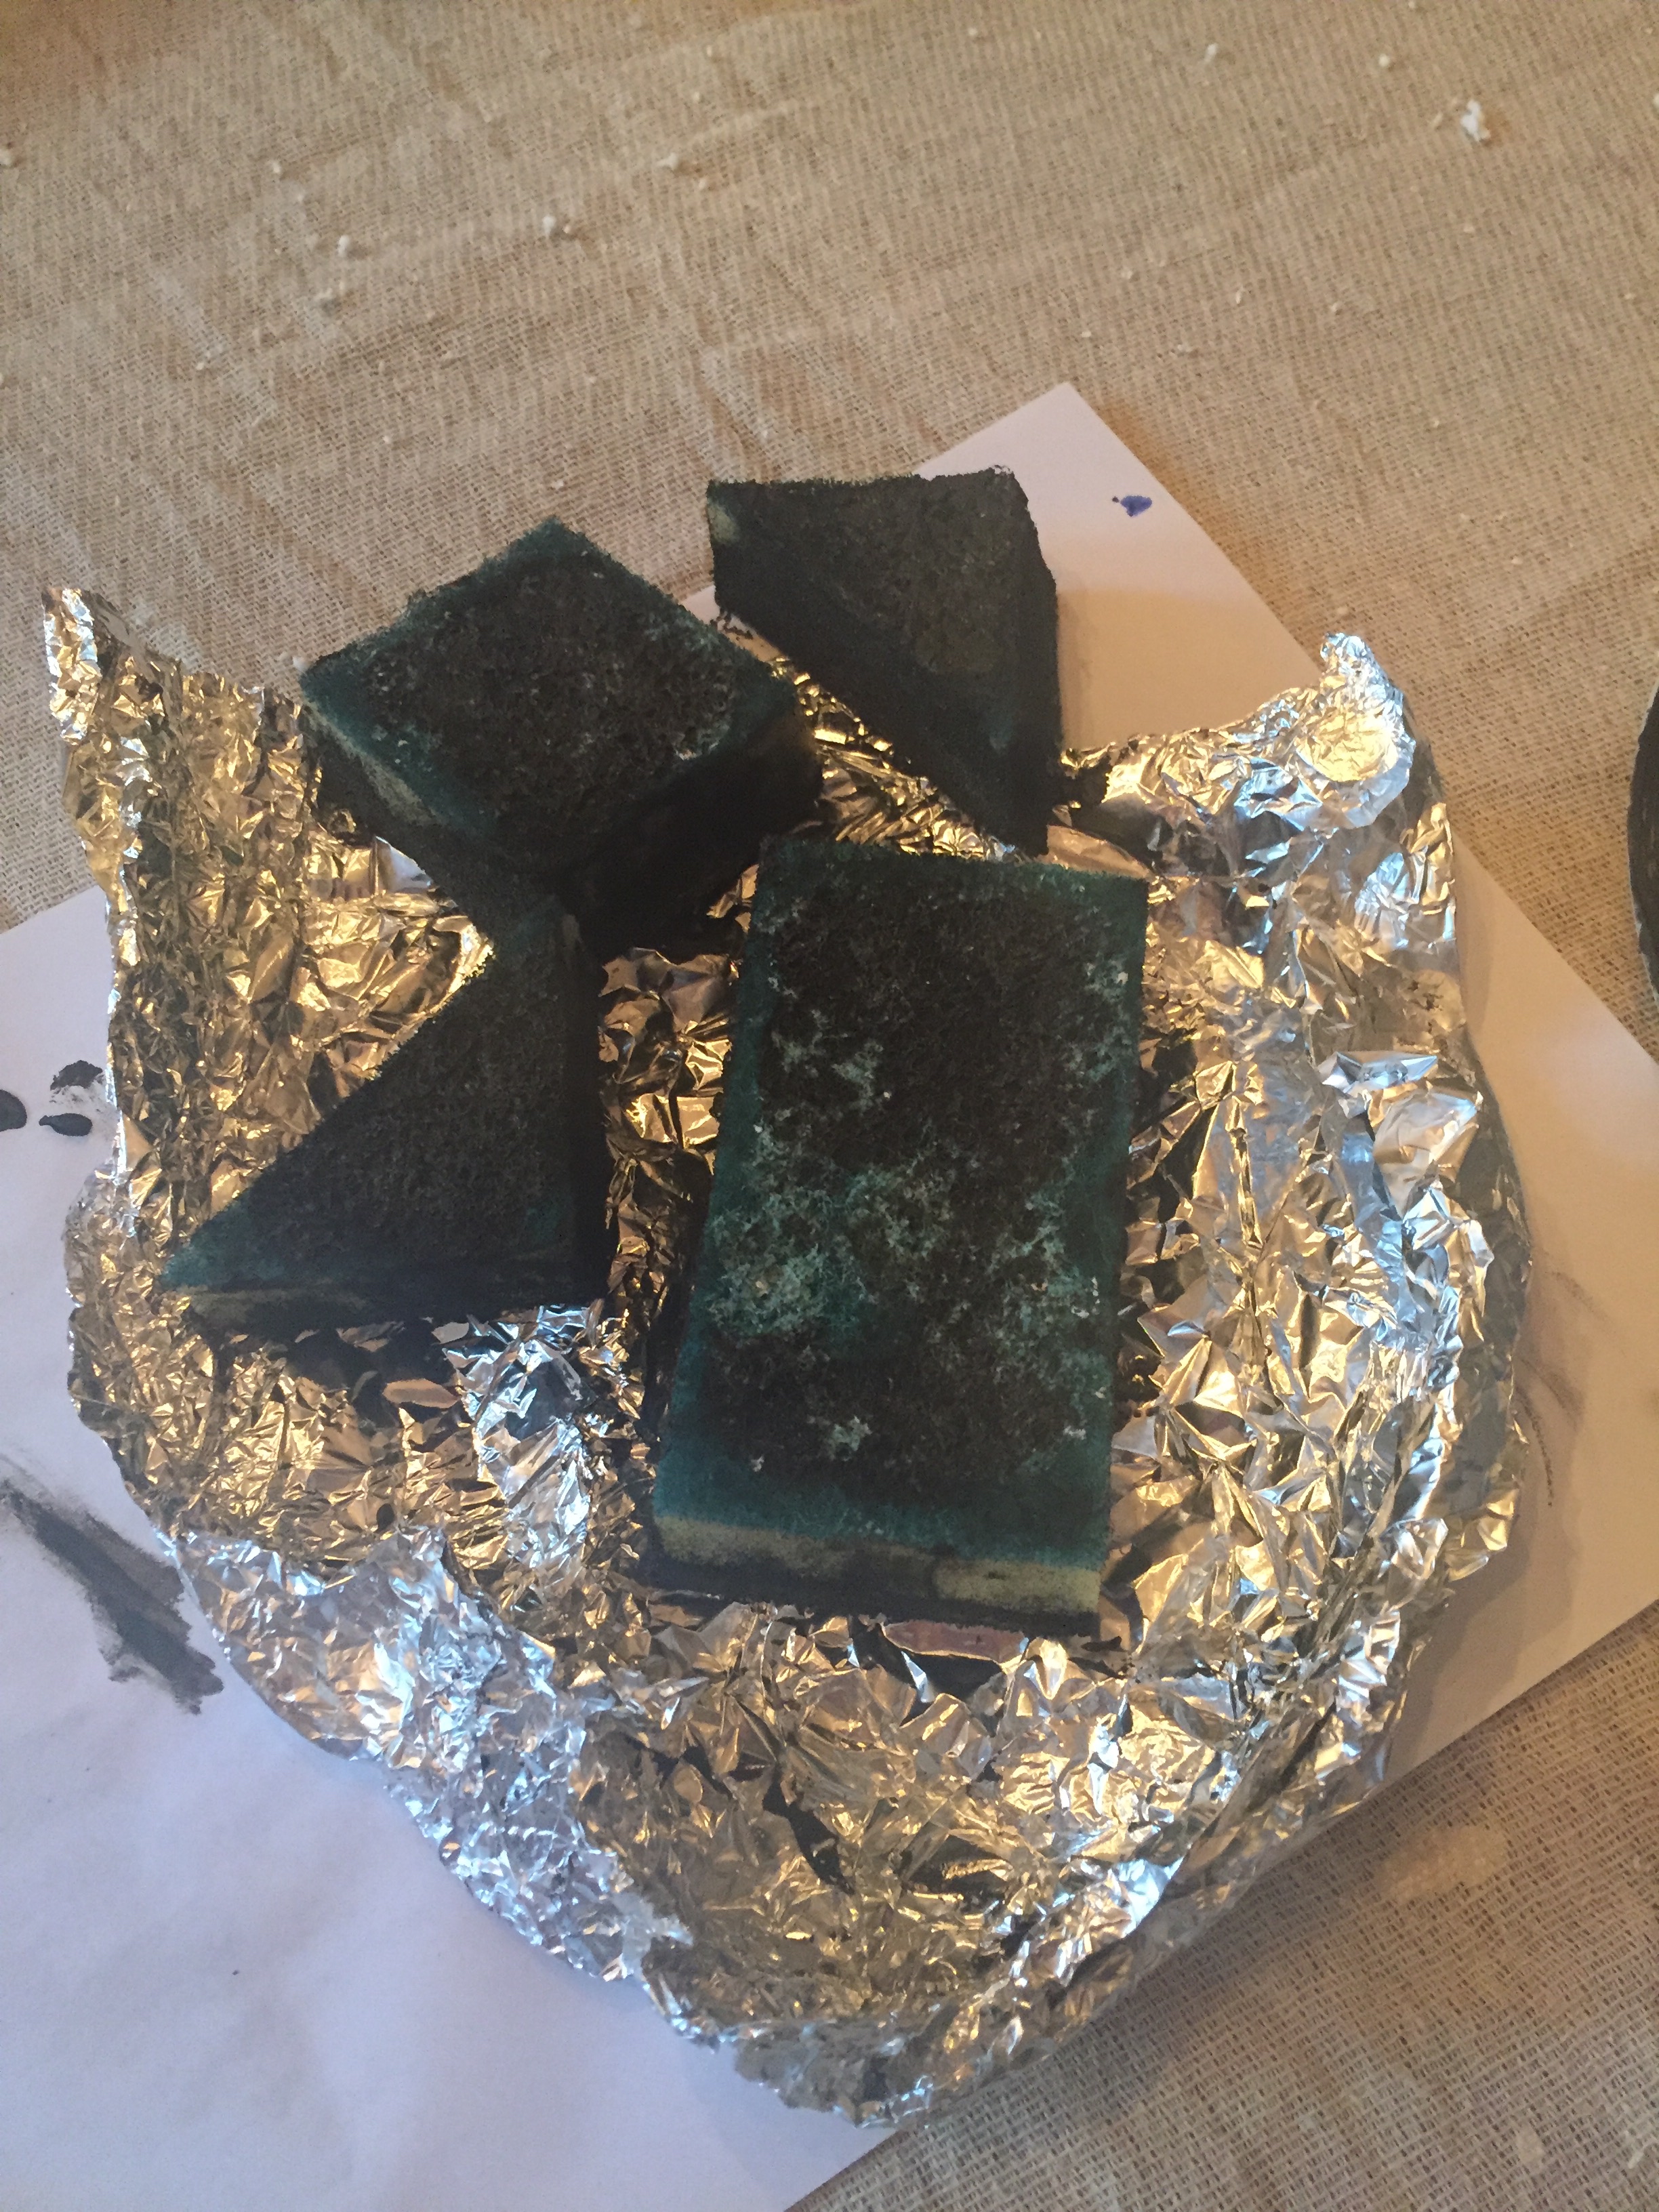
This weekend marks the start of moving towards a less wasteful life as inspired by this post. For me, it’s not about wearing a horsehair shirt but finding simple solutions that work and moving away from the total belief in mass produced, mass marketed products we pick up without thinking. The first experiment neatly fits in with my own eco philosophy – it involves dryer sheets – which to many would be an environmental oxymoron, but as a dryer works for us as a family it stays – and the spotlight goes onto what goes into the dryer..

From my research, there seem to be two basic methods – the first involves using ready made (you could make your own..there are recipes..(I’m not there yet)) fabric conditioner. Strips of old towels or sponges are soaked in the solution and then are used either wet, straight from the pot or can be dried before hand.
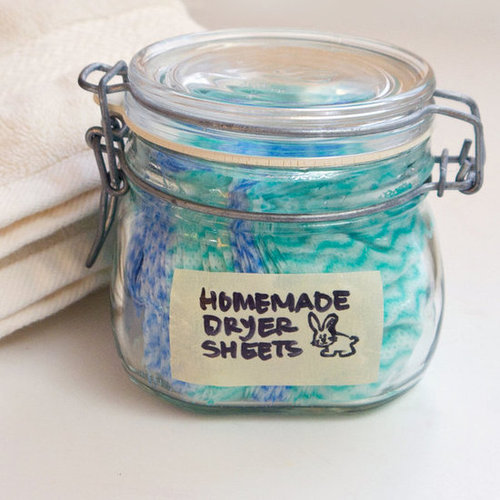

(All pics Pinterest and View from the Fridge)
The next method requires a larger leap of faith…the cloths are stored and left soaking in a mixture of vinegar and essential oils (any combination you fancy). They say, when the clothes come out, any smell of fish and chips has evaporated away…
The kids could be grateful it’s half term next week…
Laters, Kate x
Le Weekend..
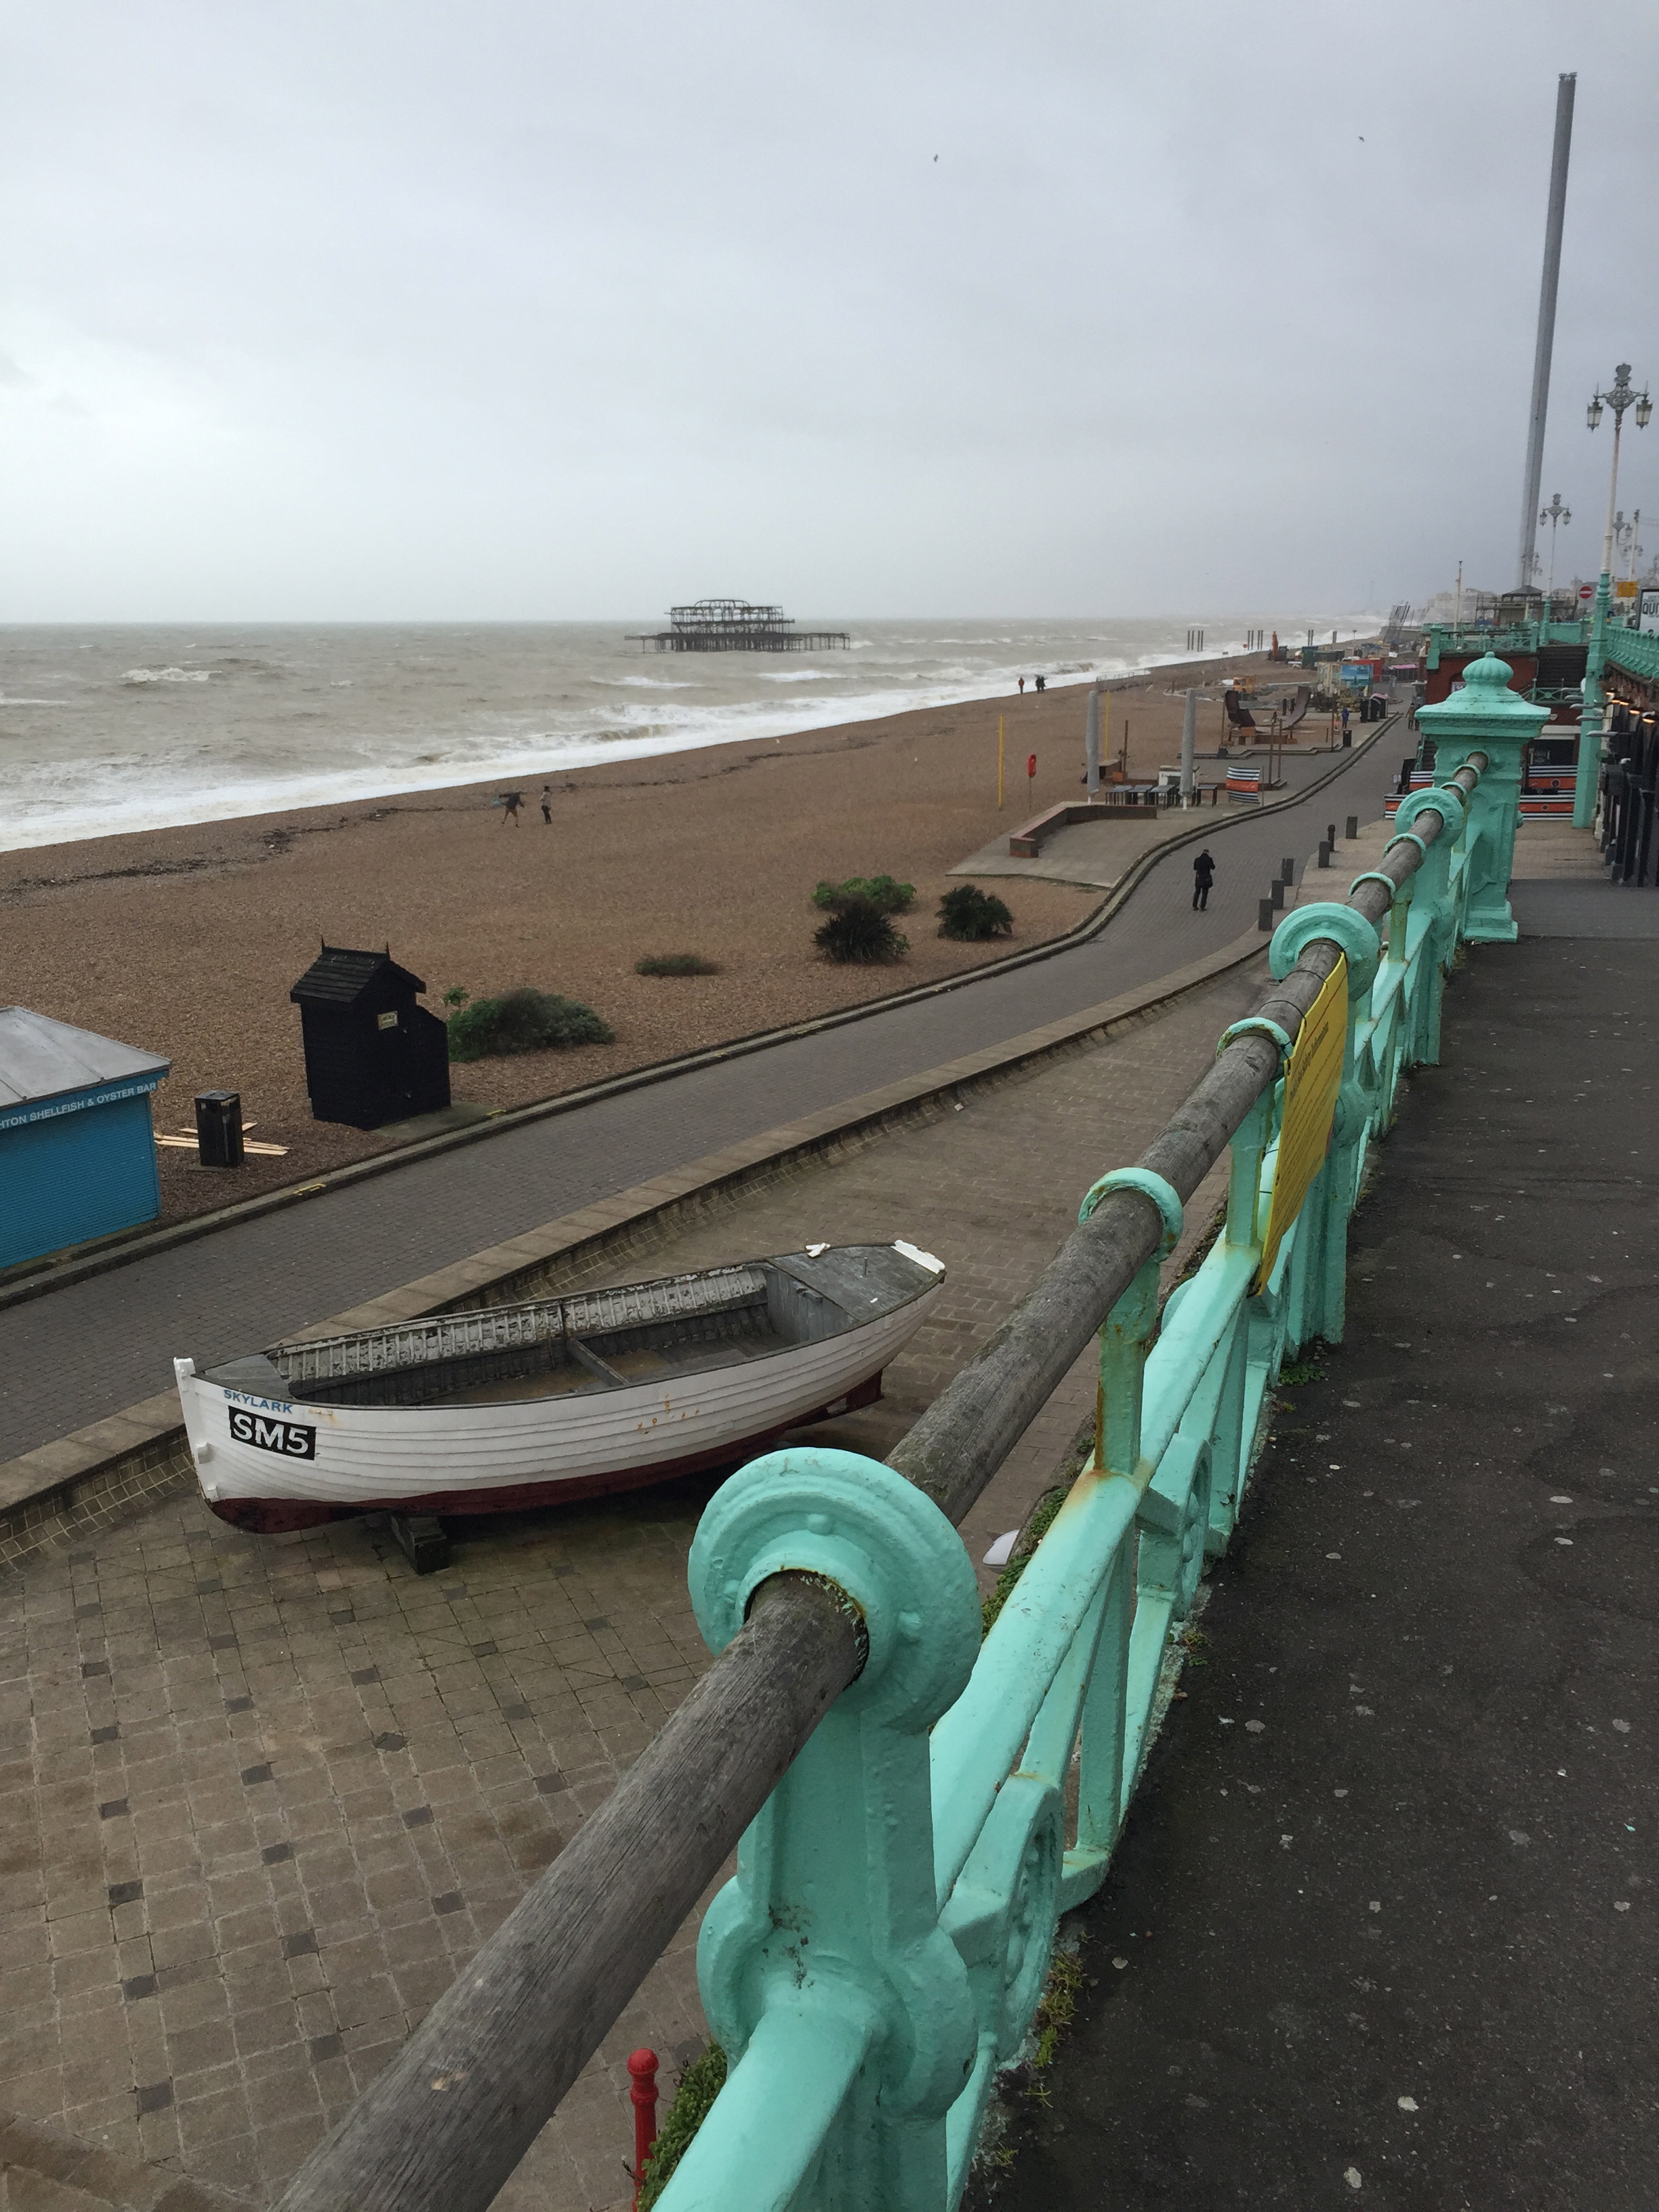
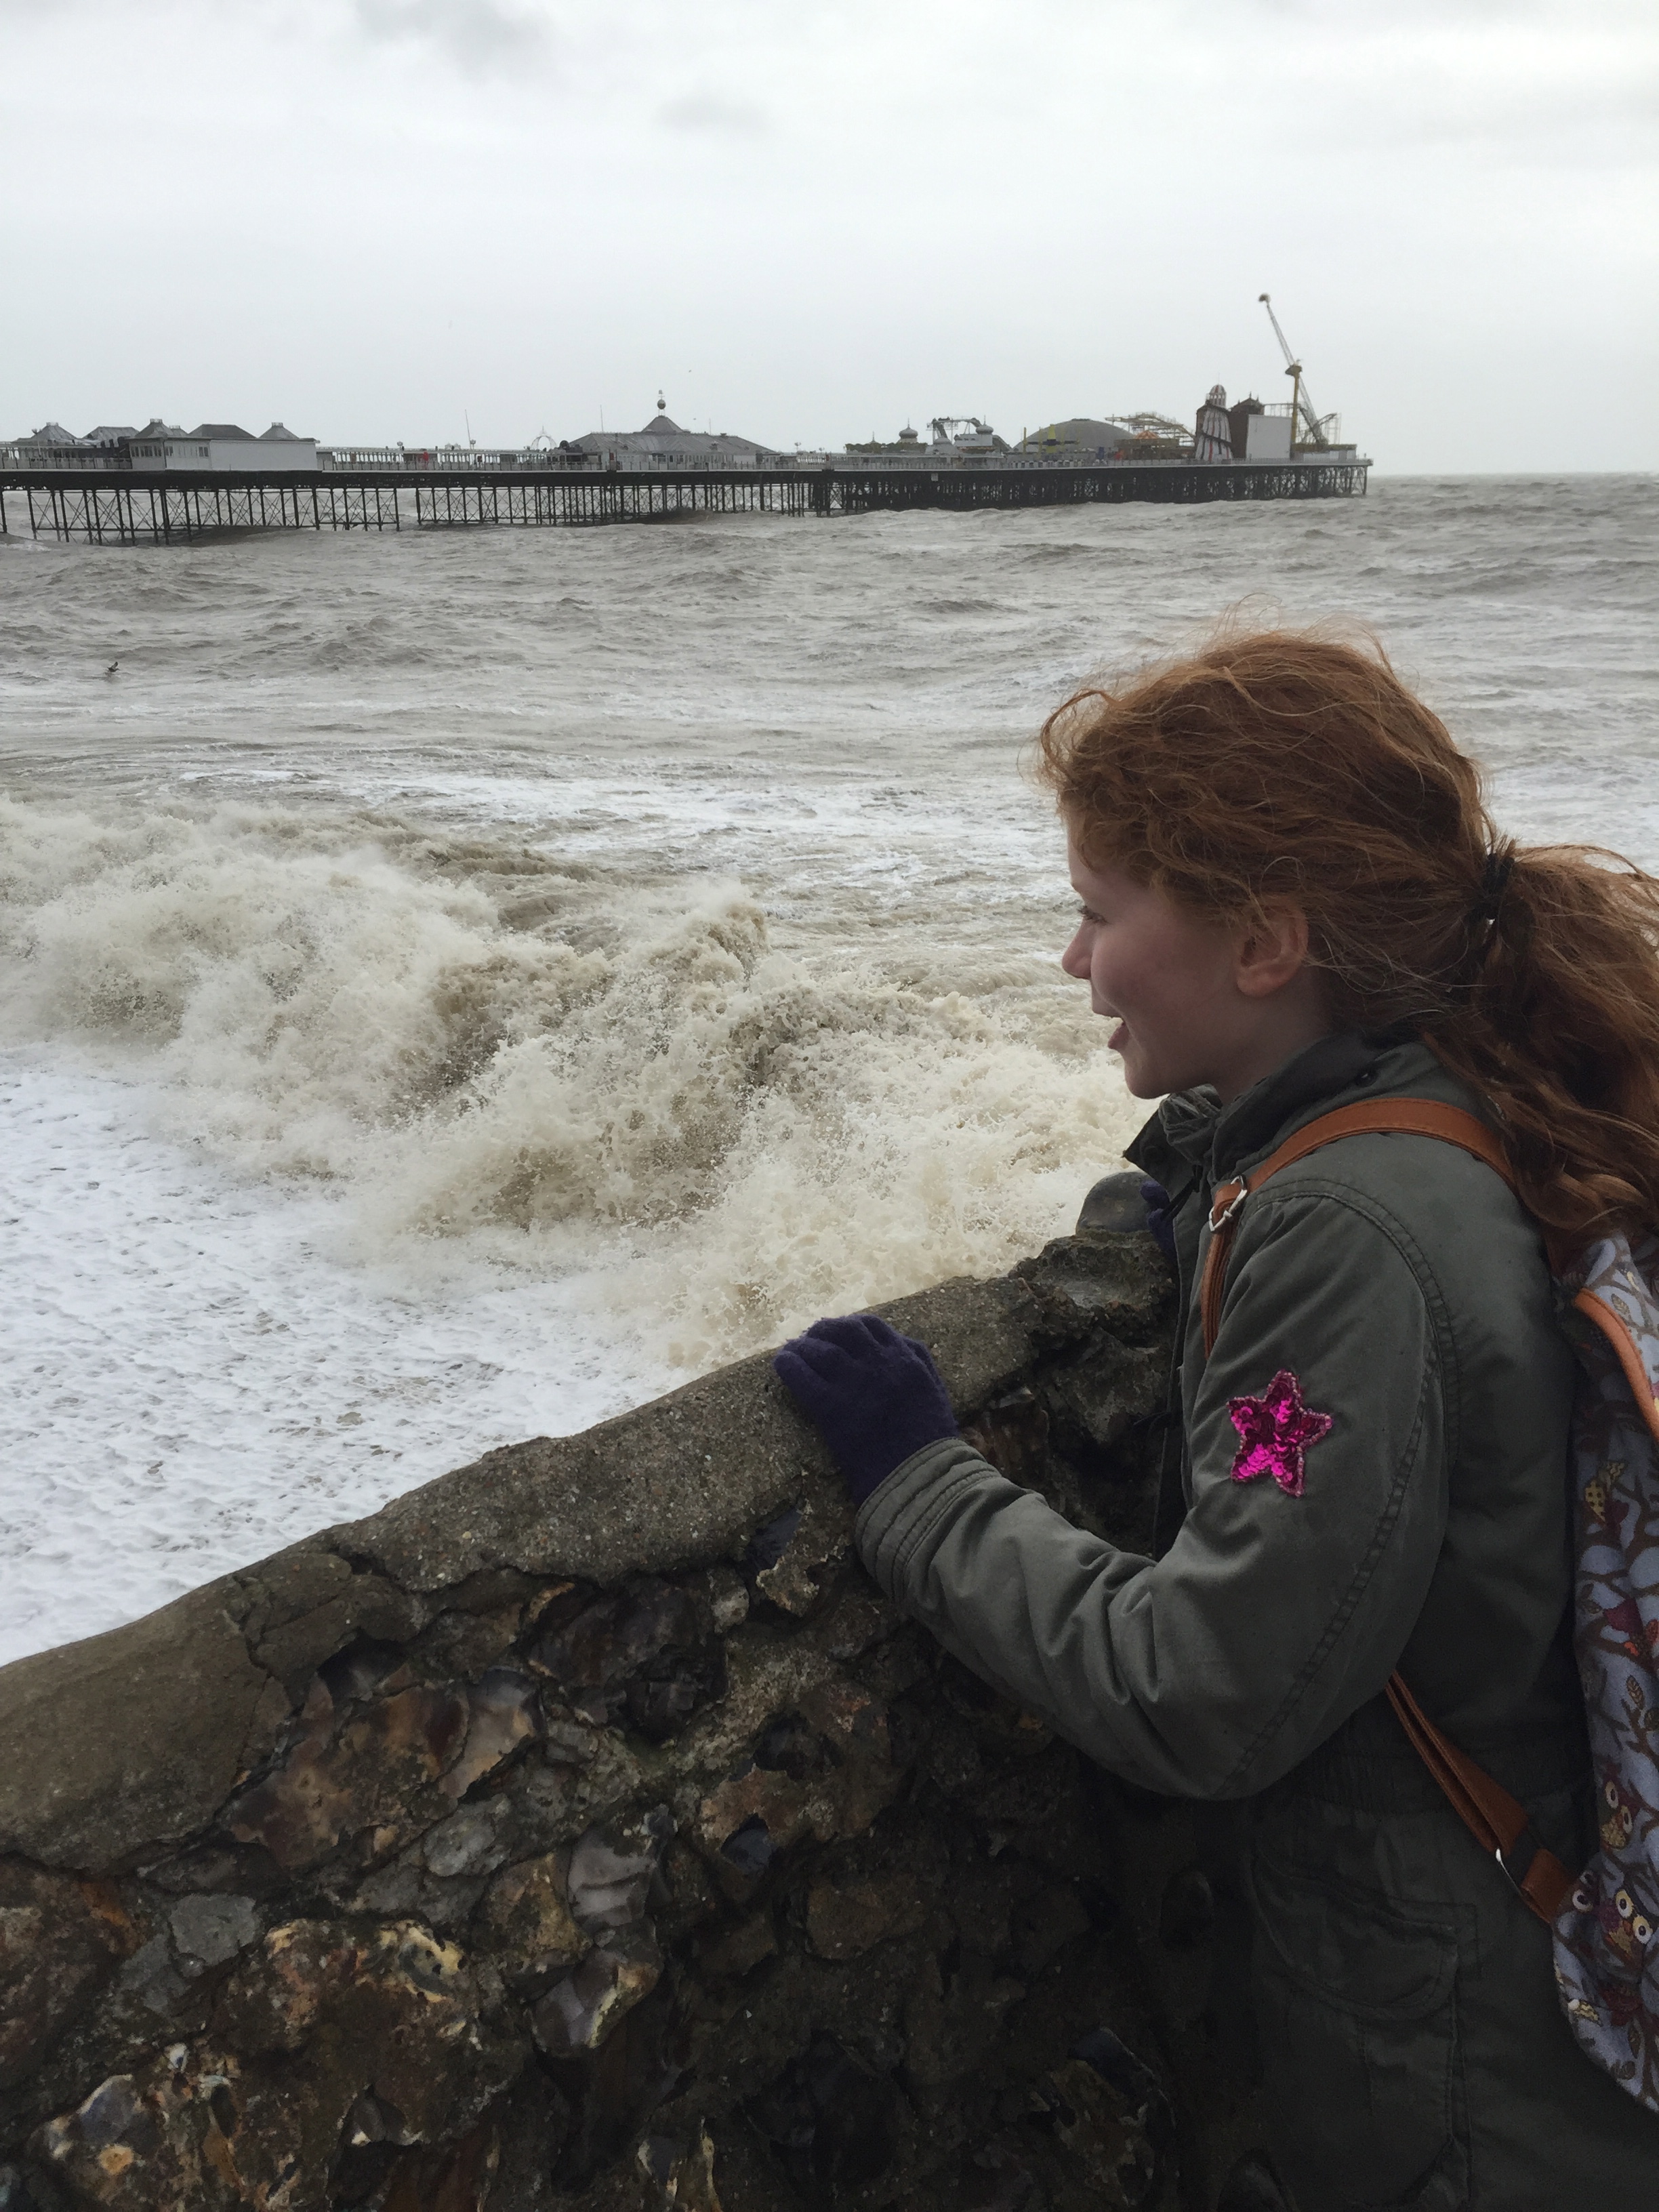
The plan was to get out of the urban bubble and see the sea..so we leapt on a train and headed for a grey, blustery Brighton.

Charlie and his gloves: Is this style, laziness..or a deep understanding of recycling??
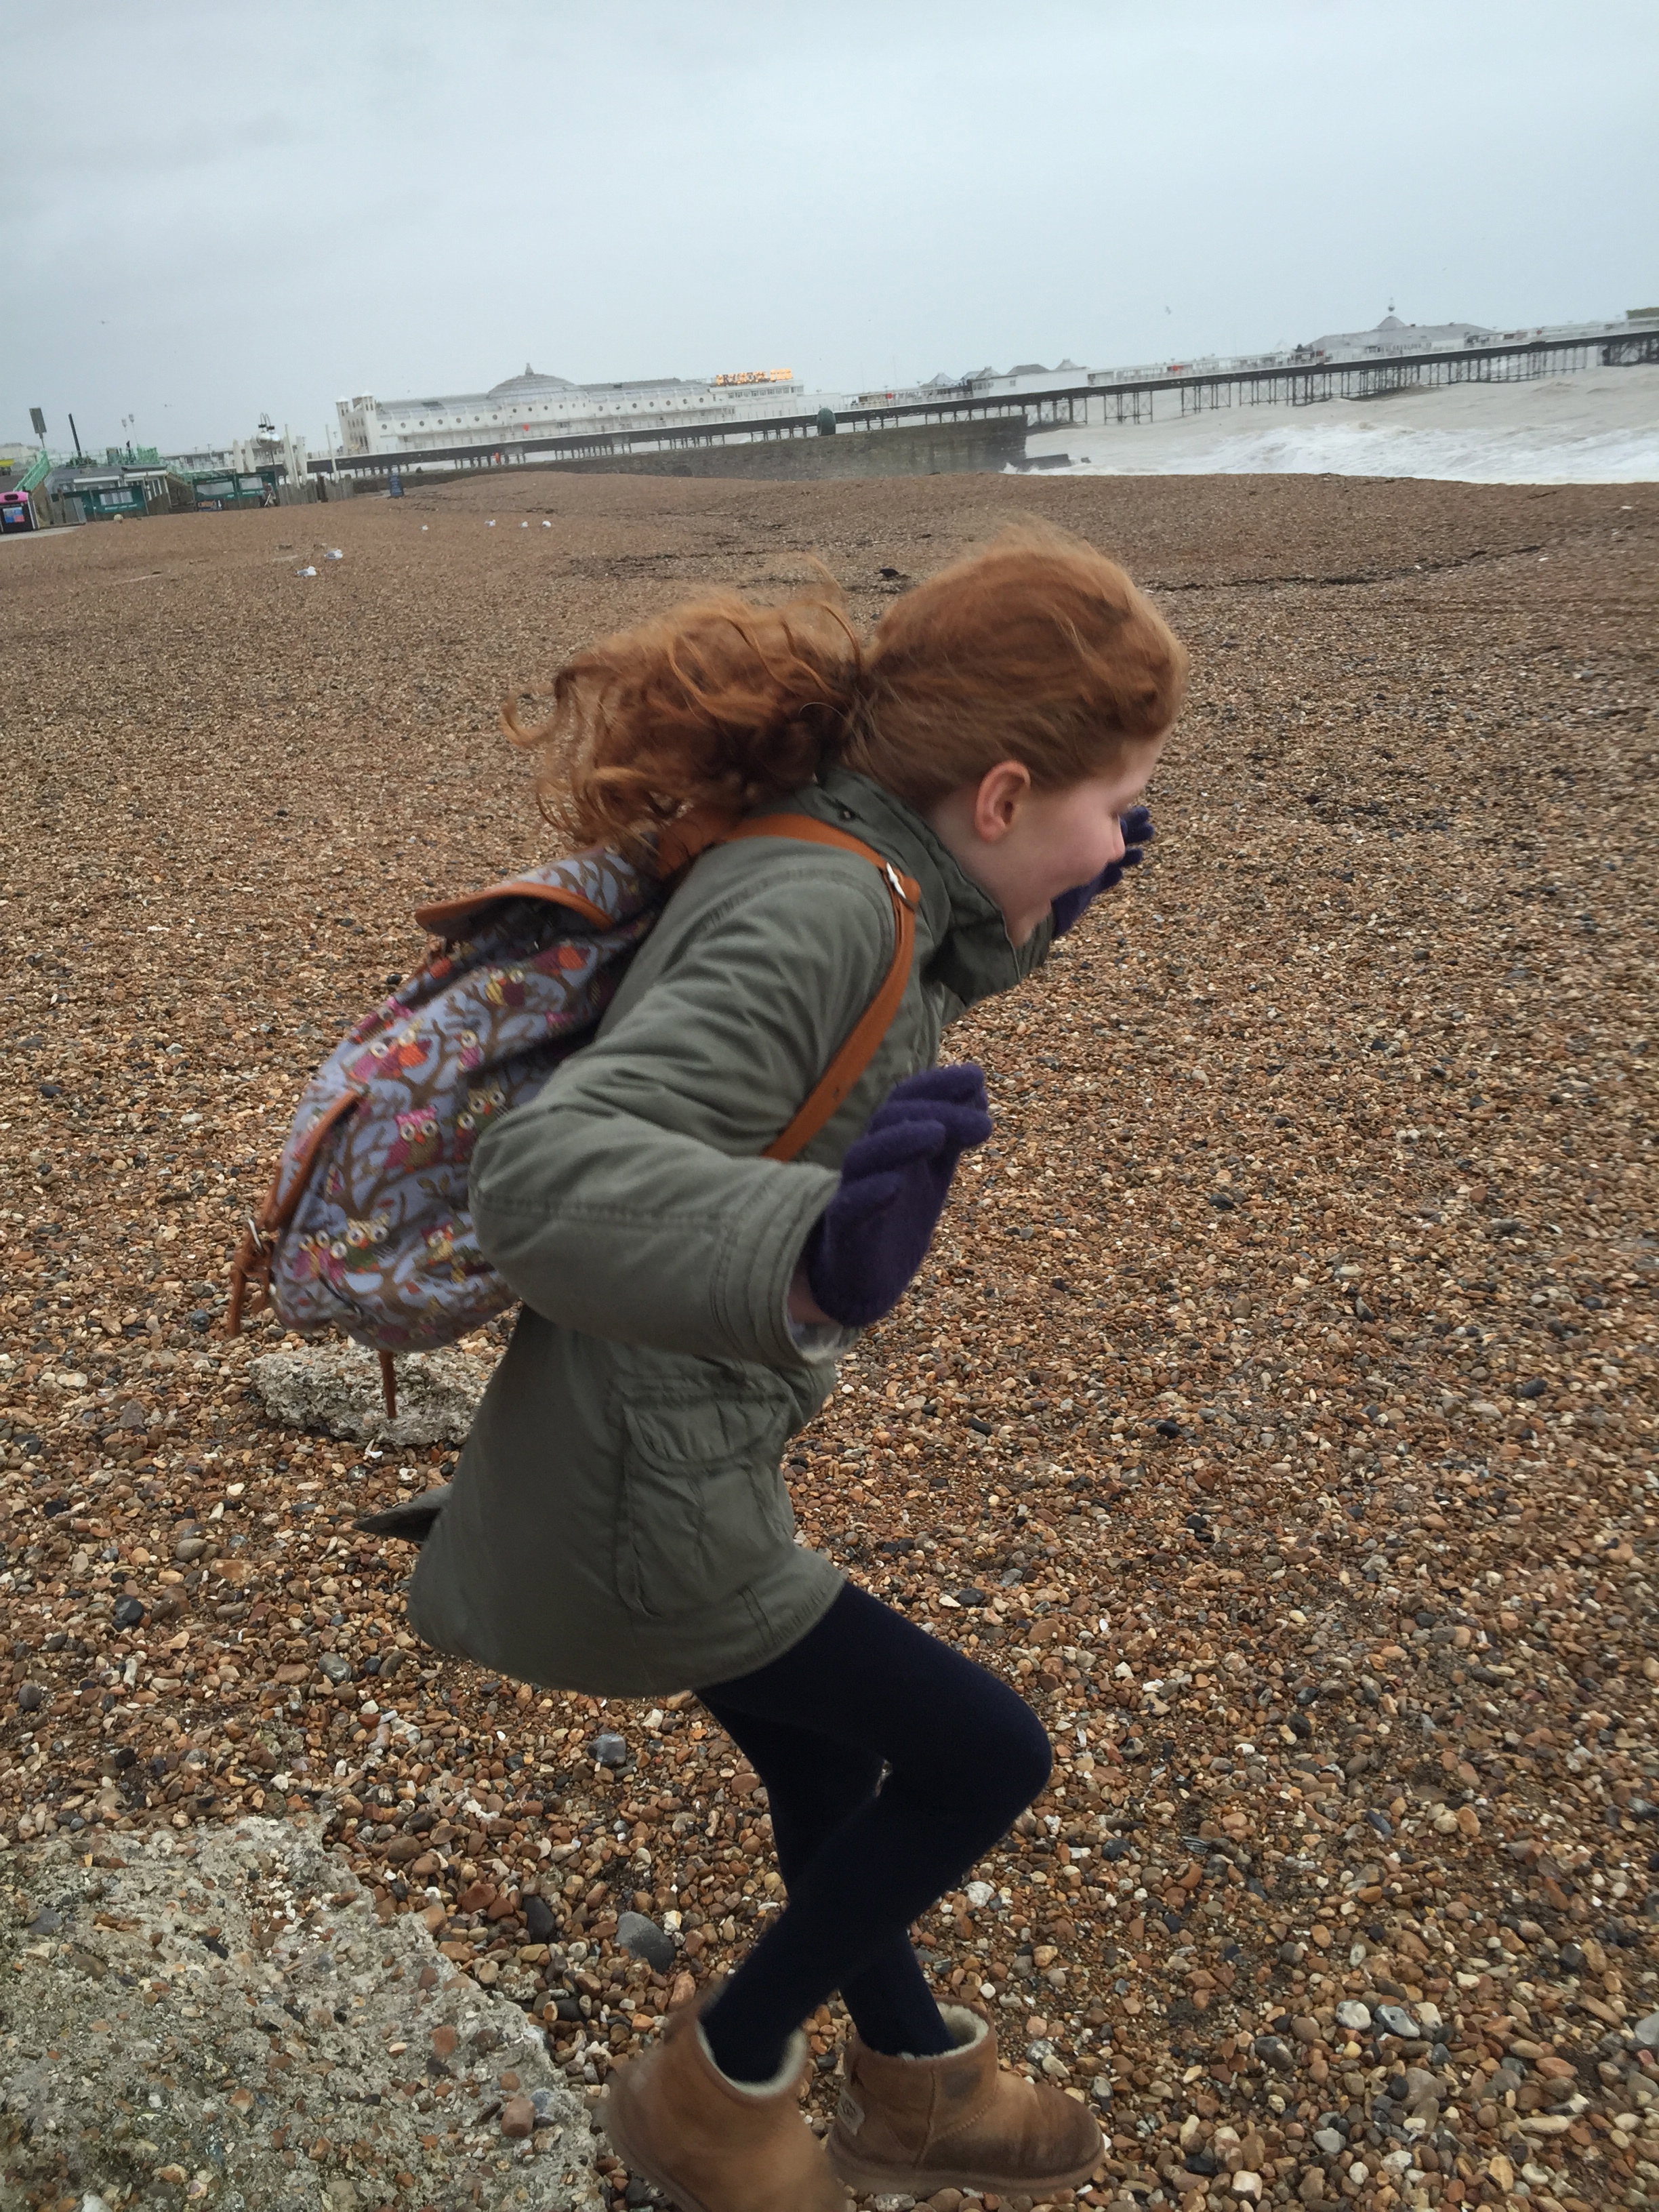
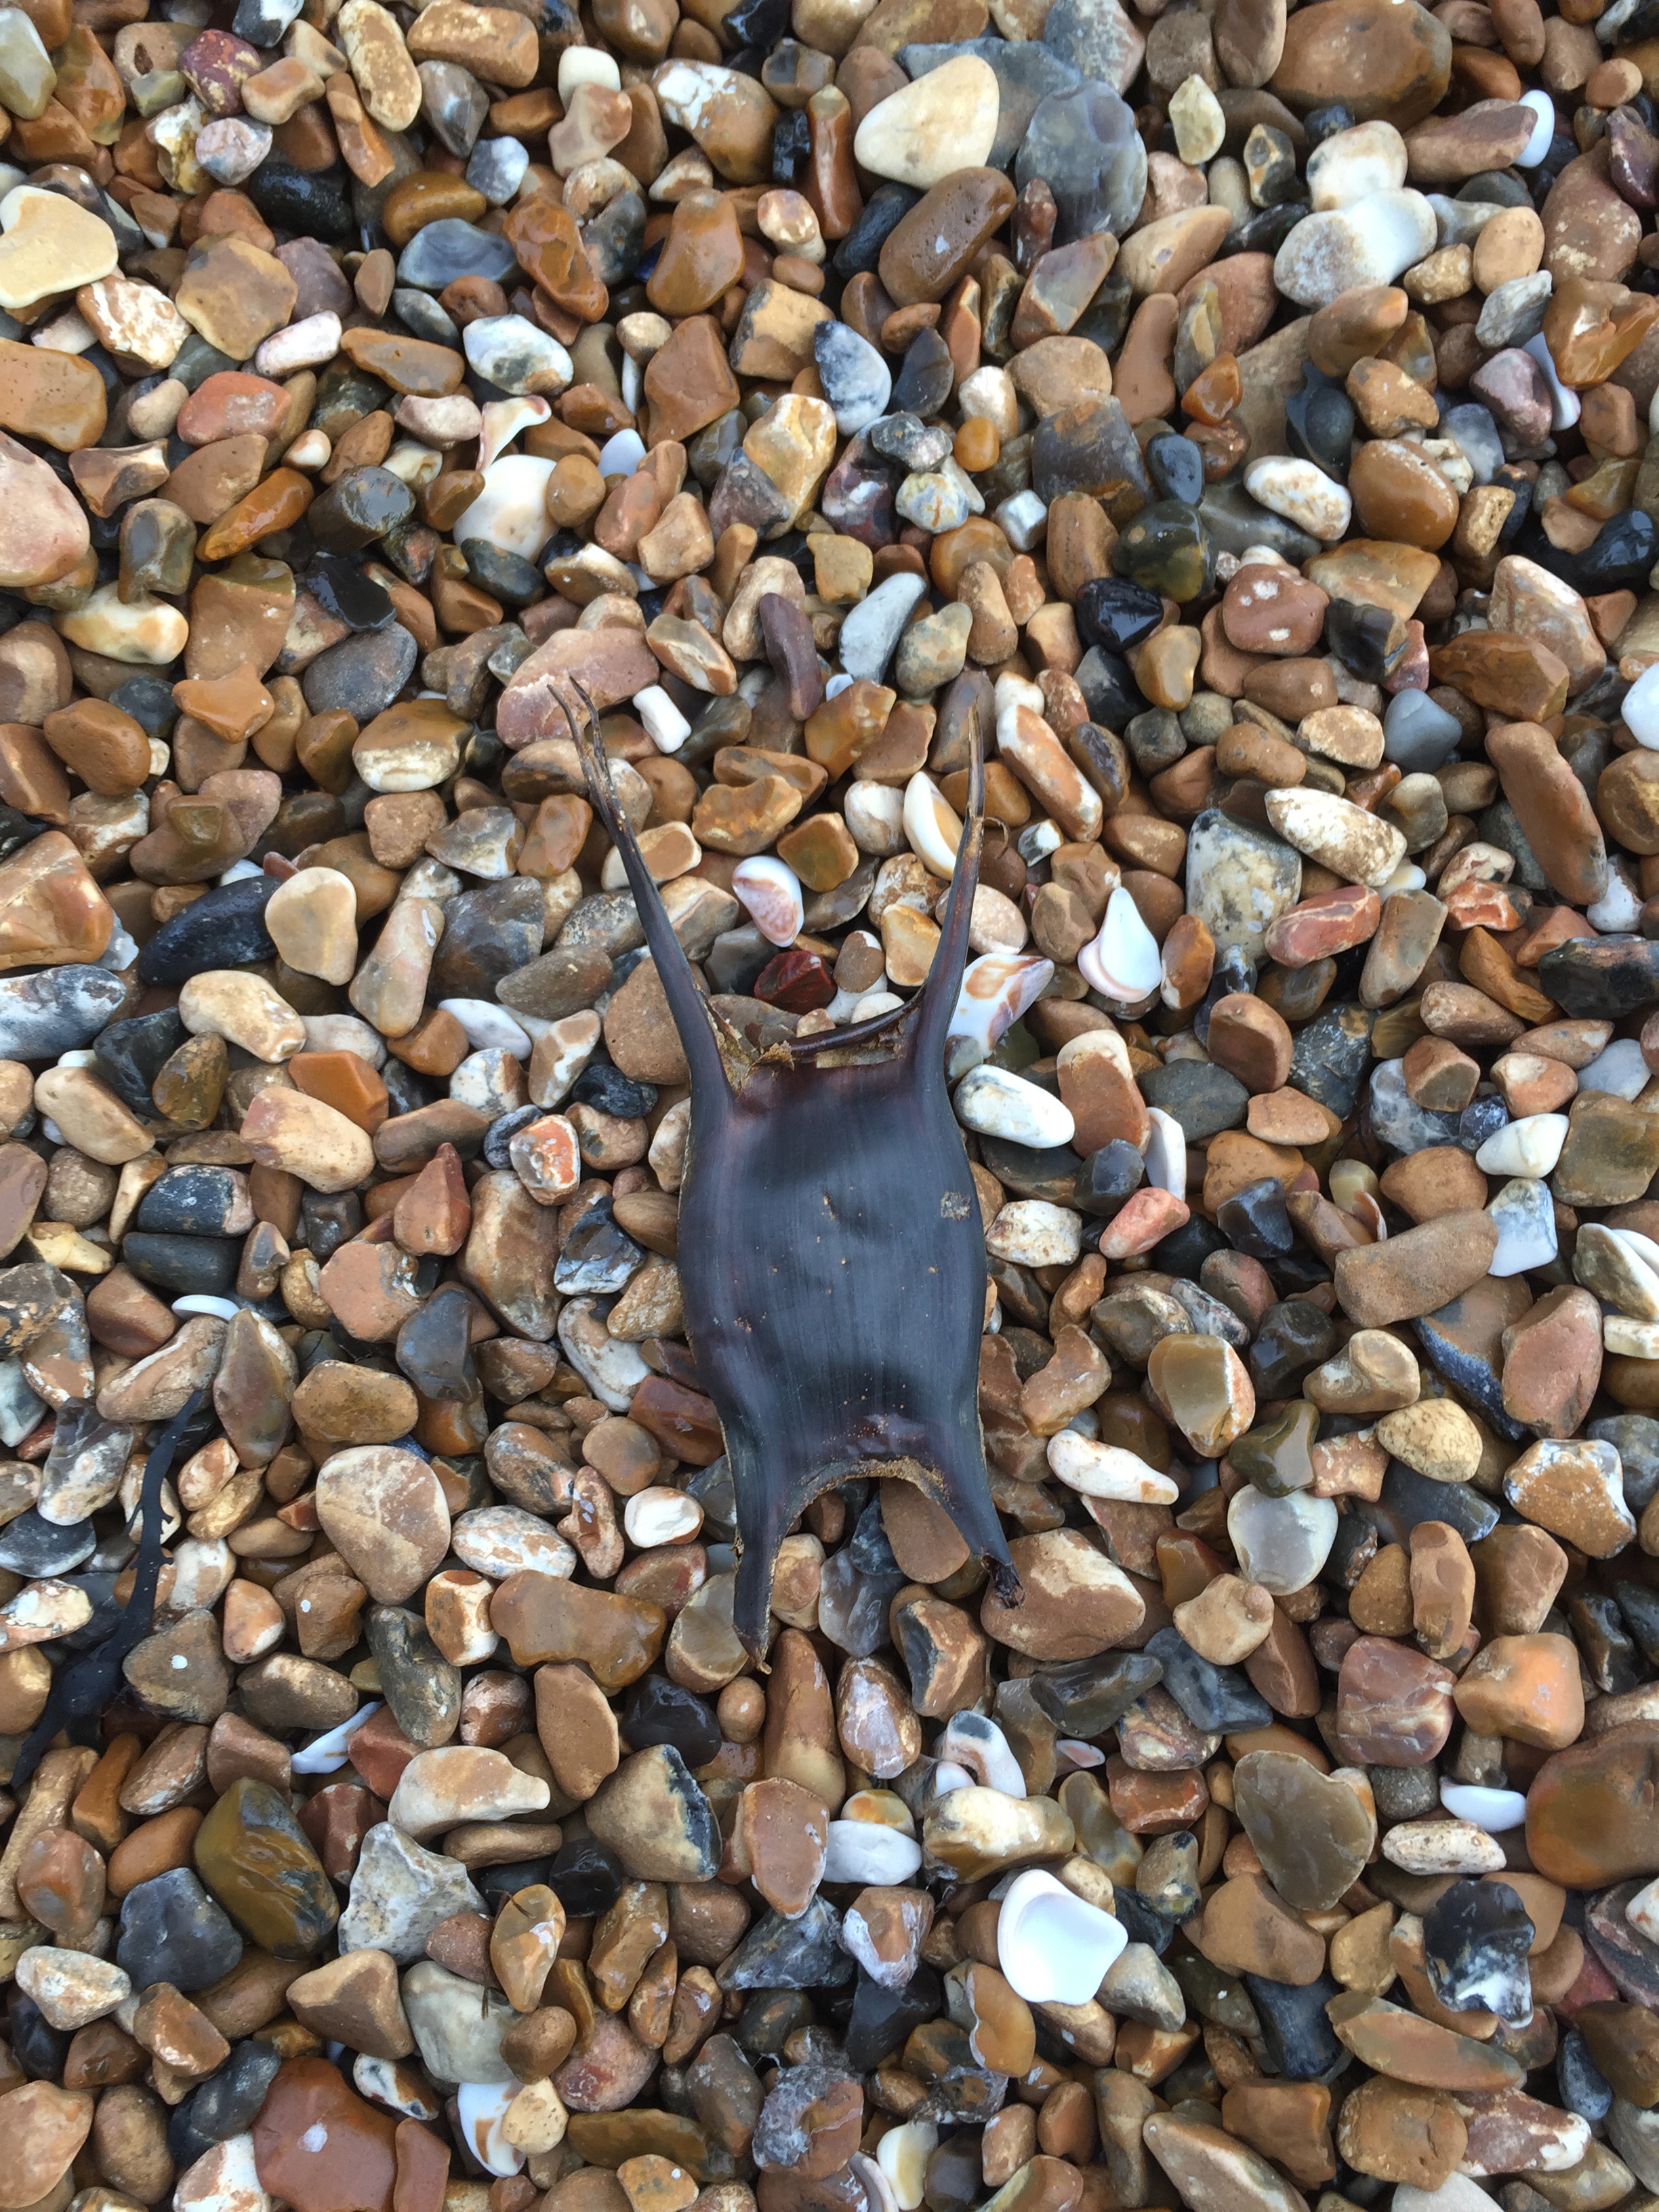
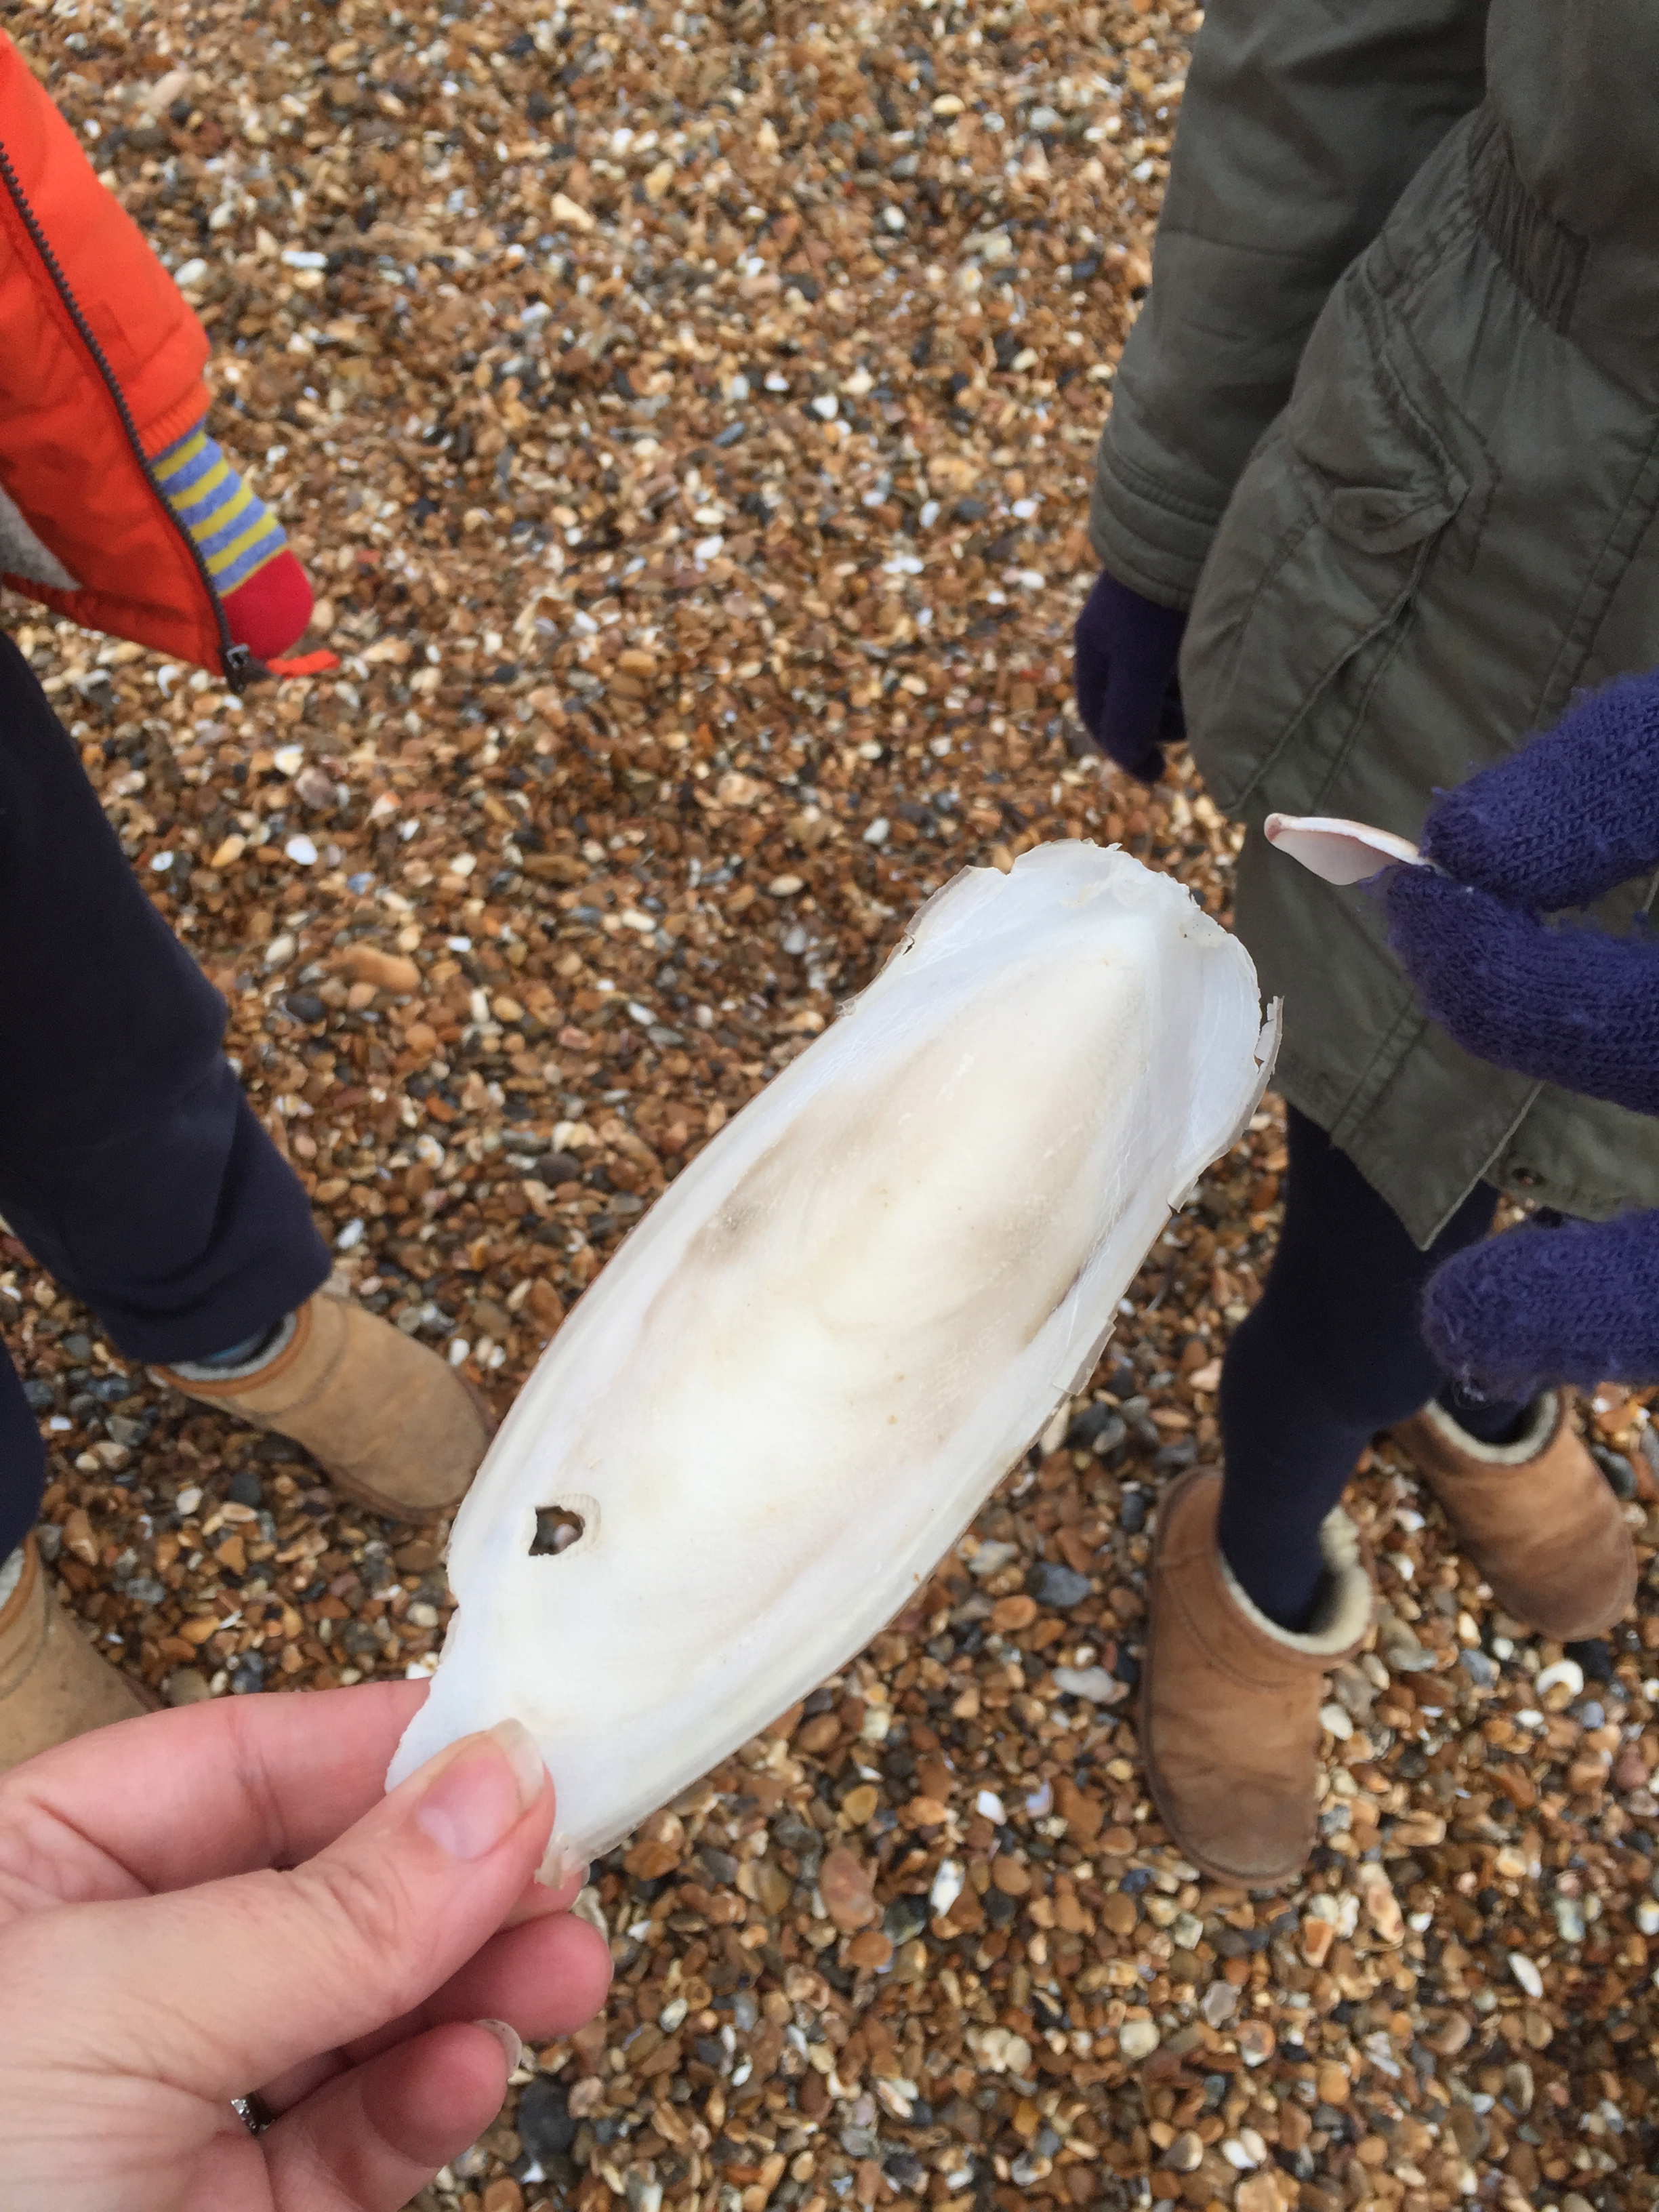
Not that the kids cared about the weather..the sea is the sea after all..

It was bracing enough to freeze cheeks and brighten eyes.


Then the boys went to see Arsenal play..Charlie’s first proper match..seventh heaven for him.
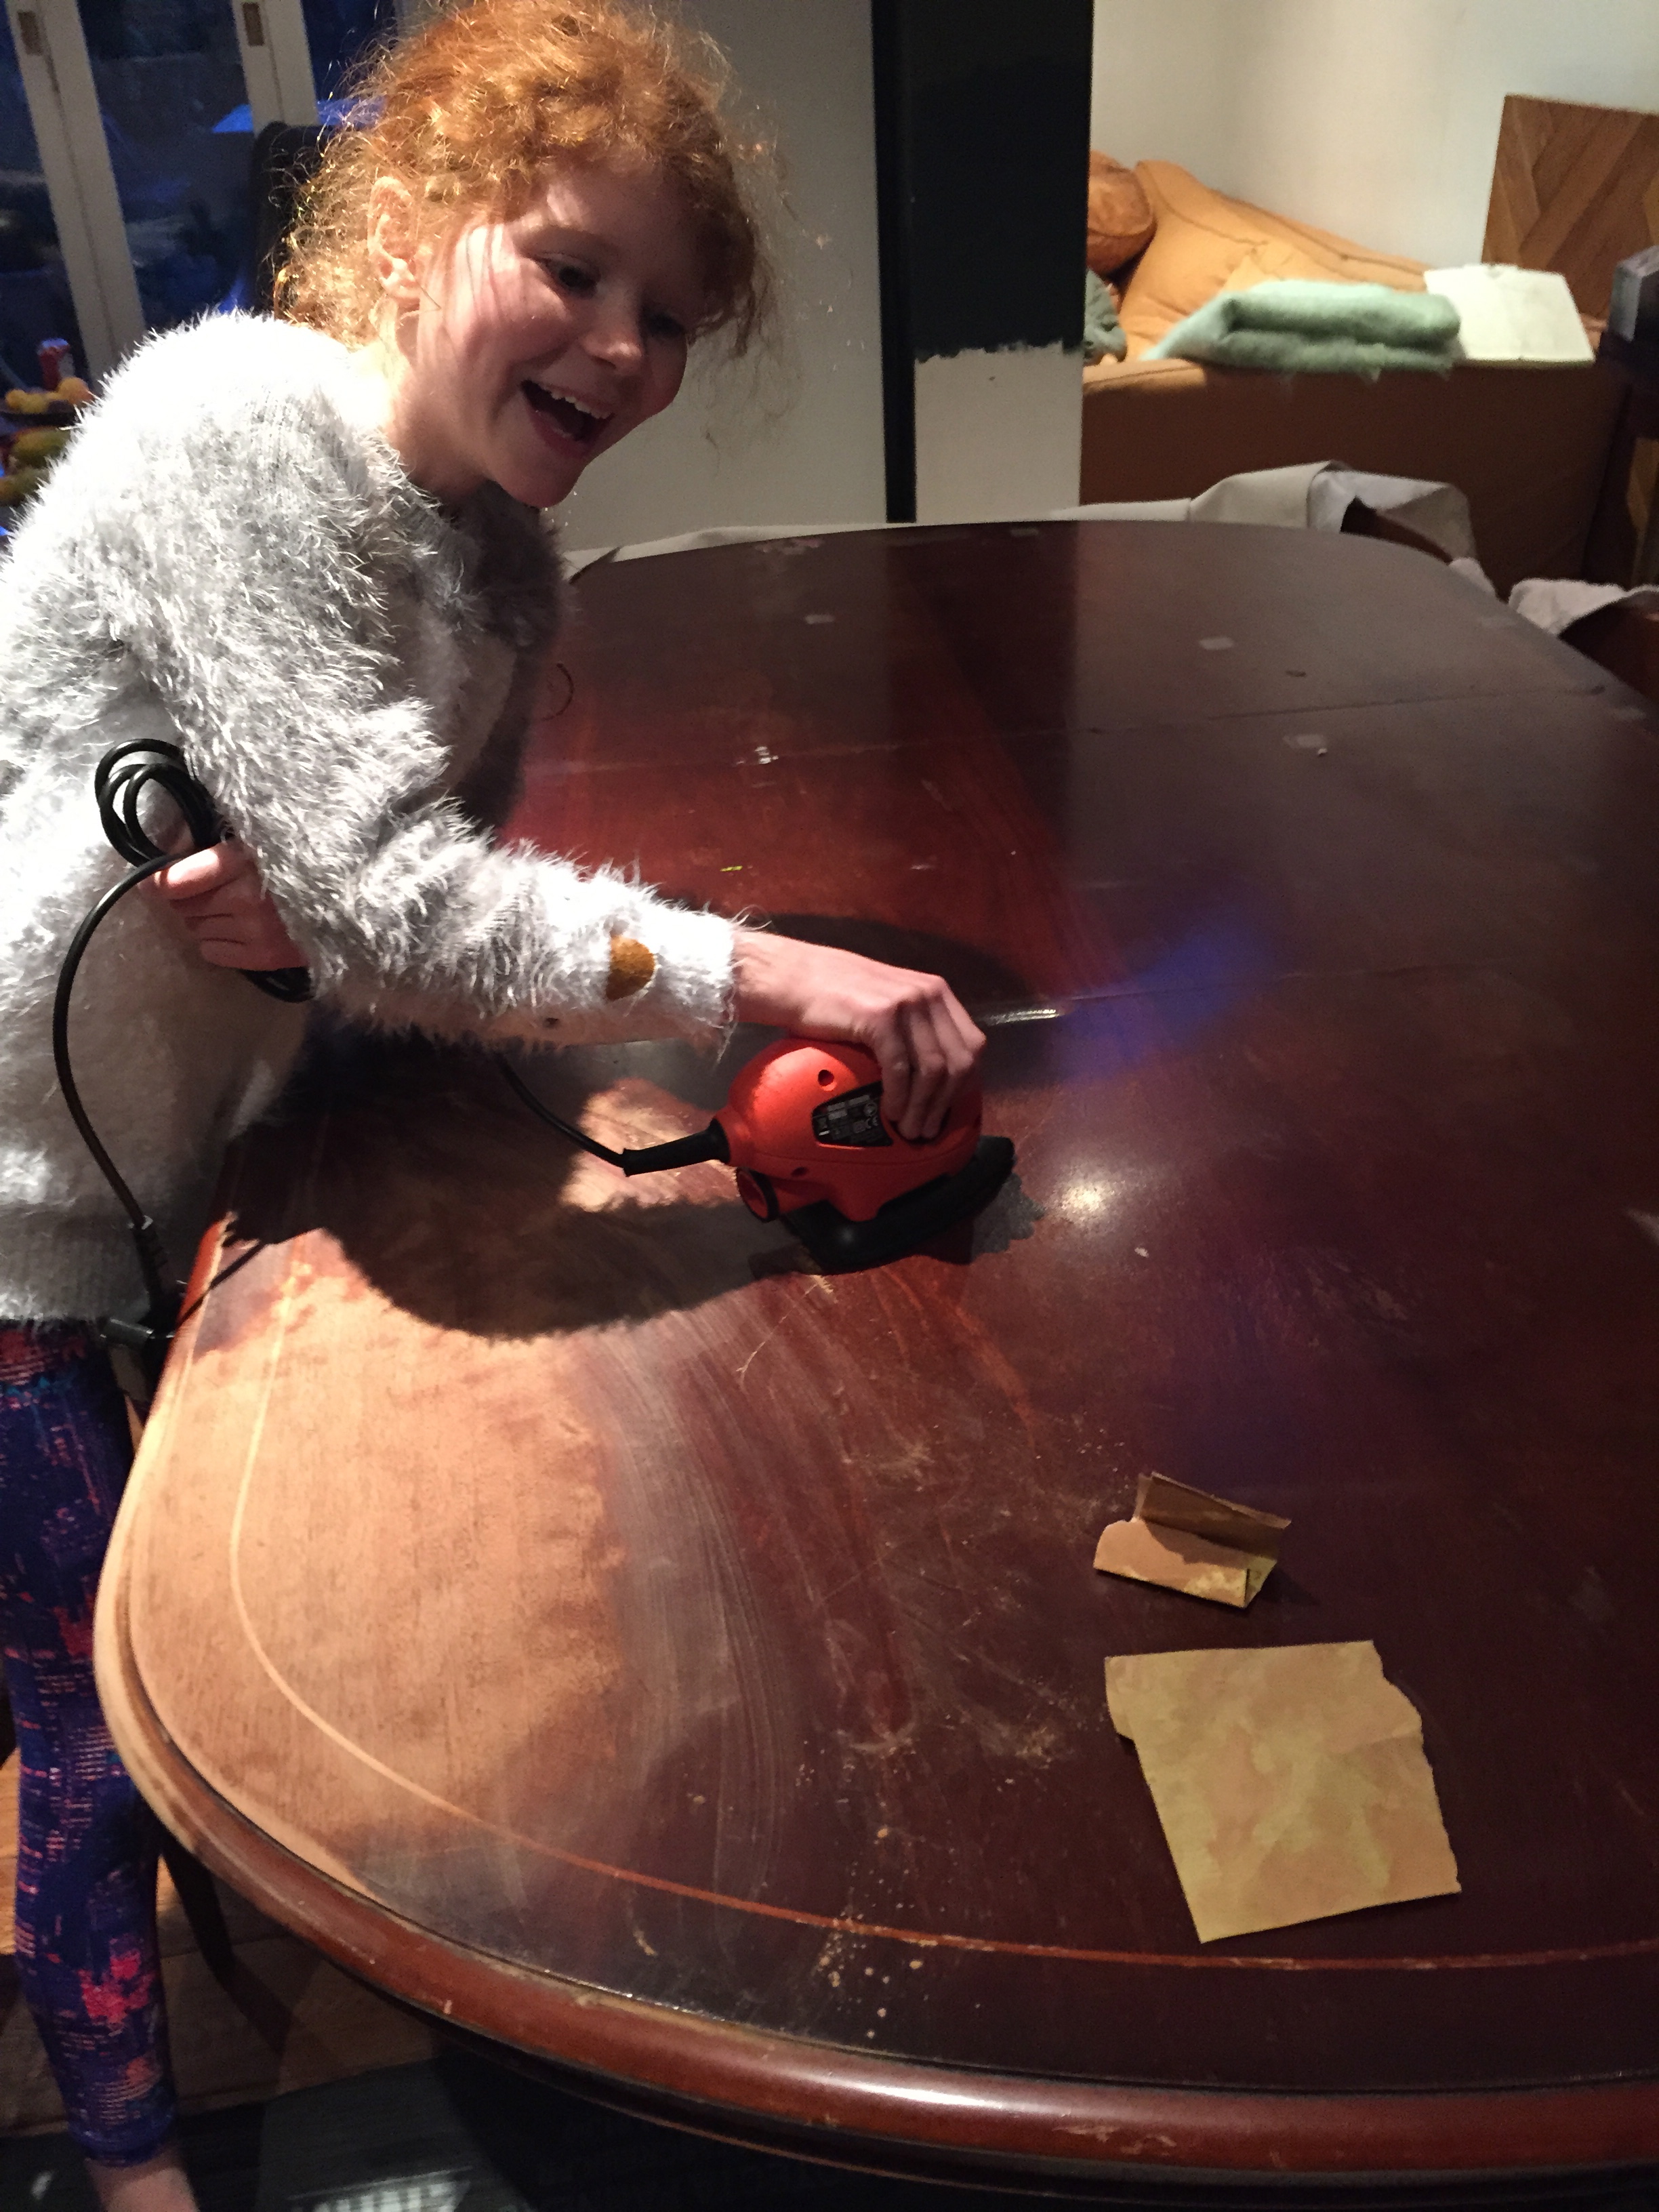
So the girls got out the power tools…and played..
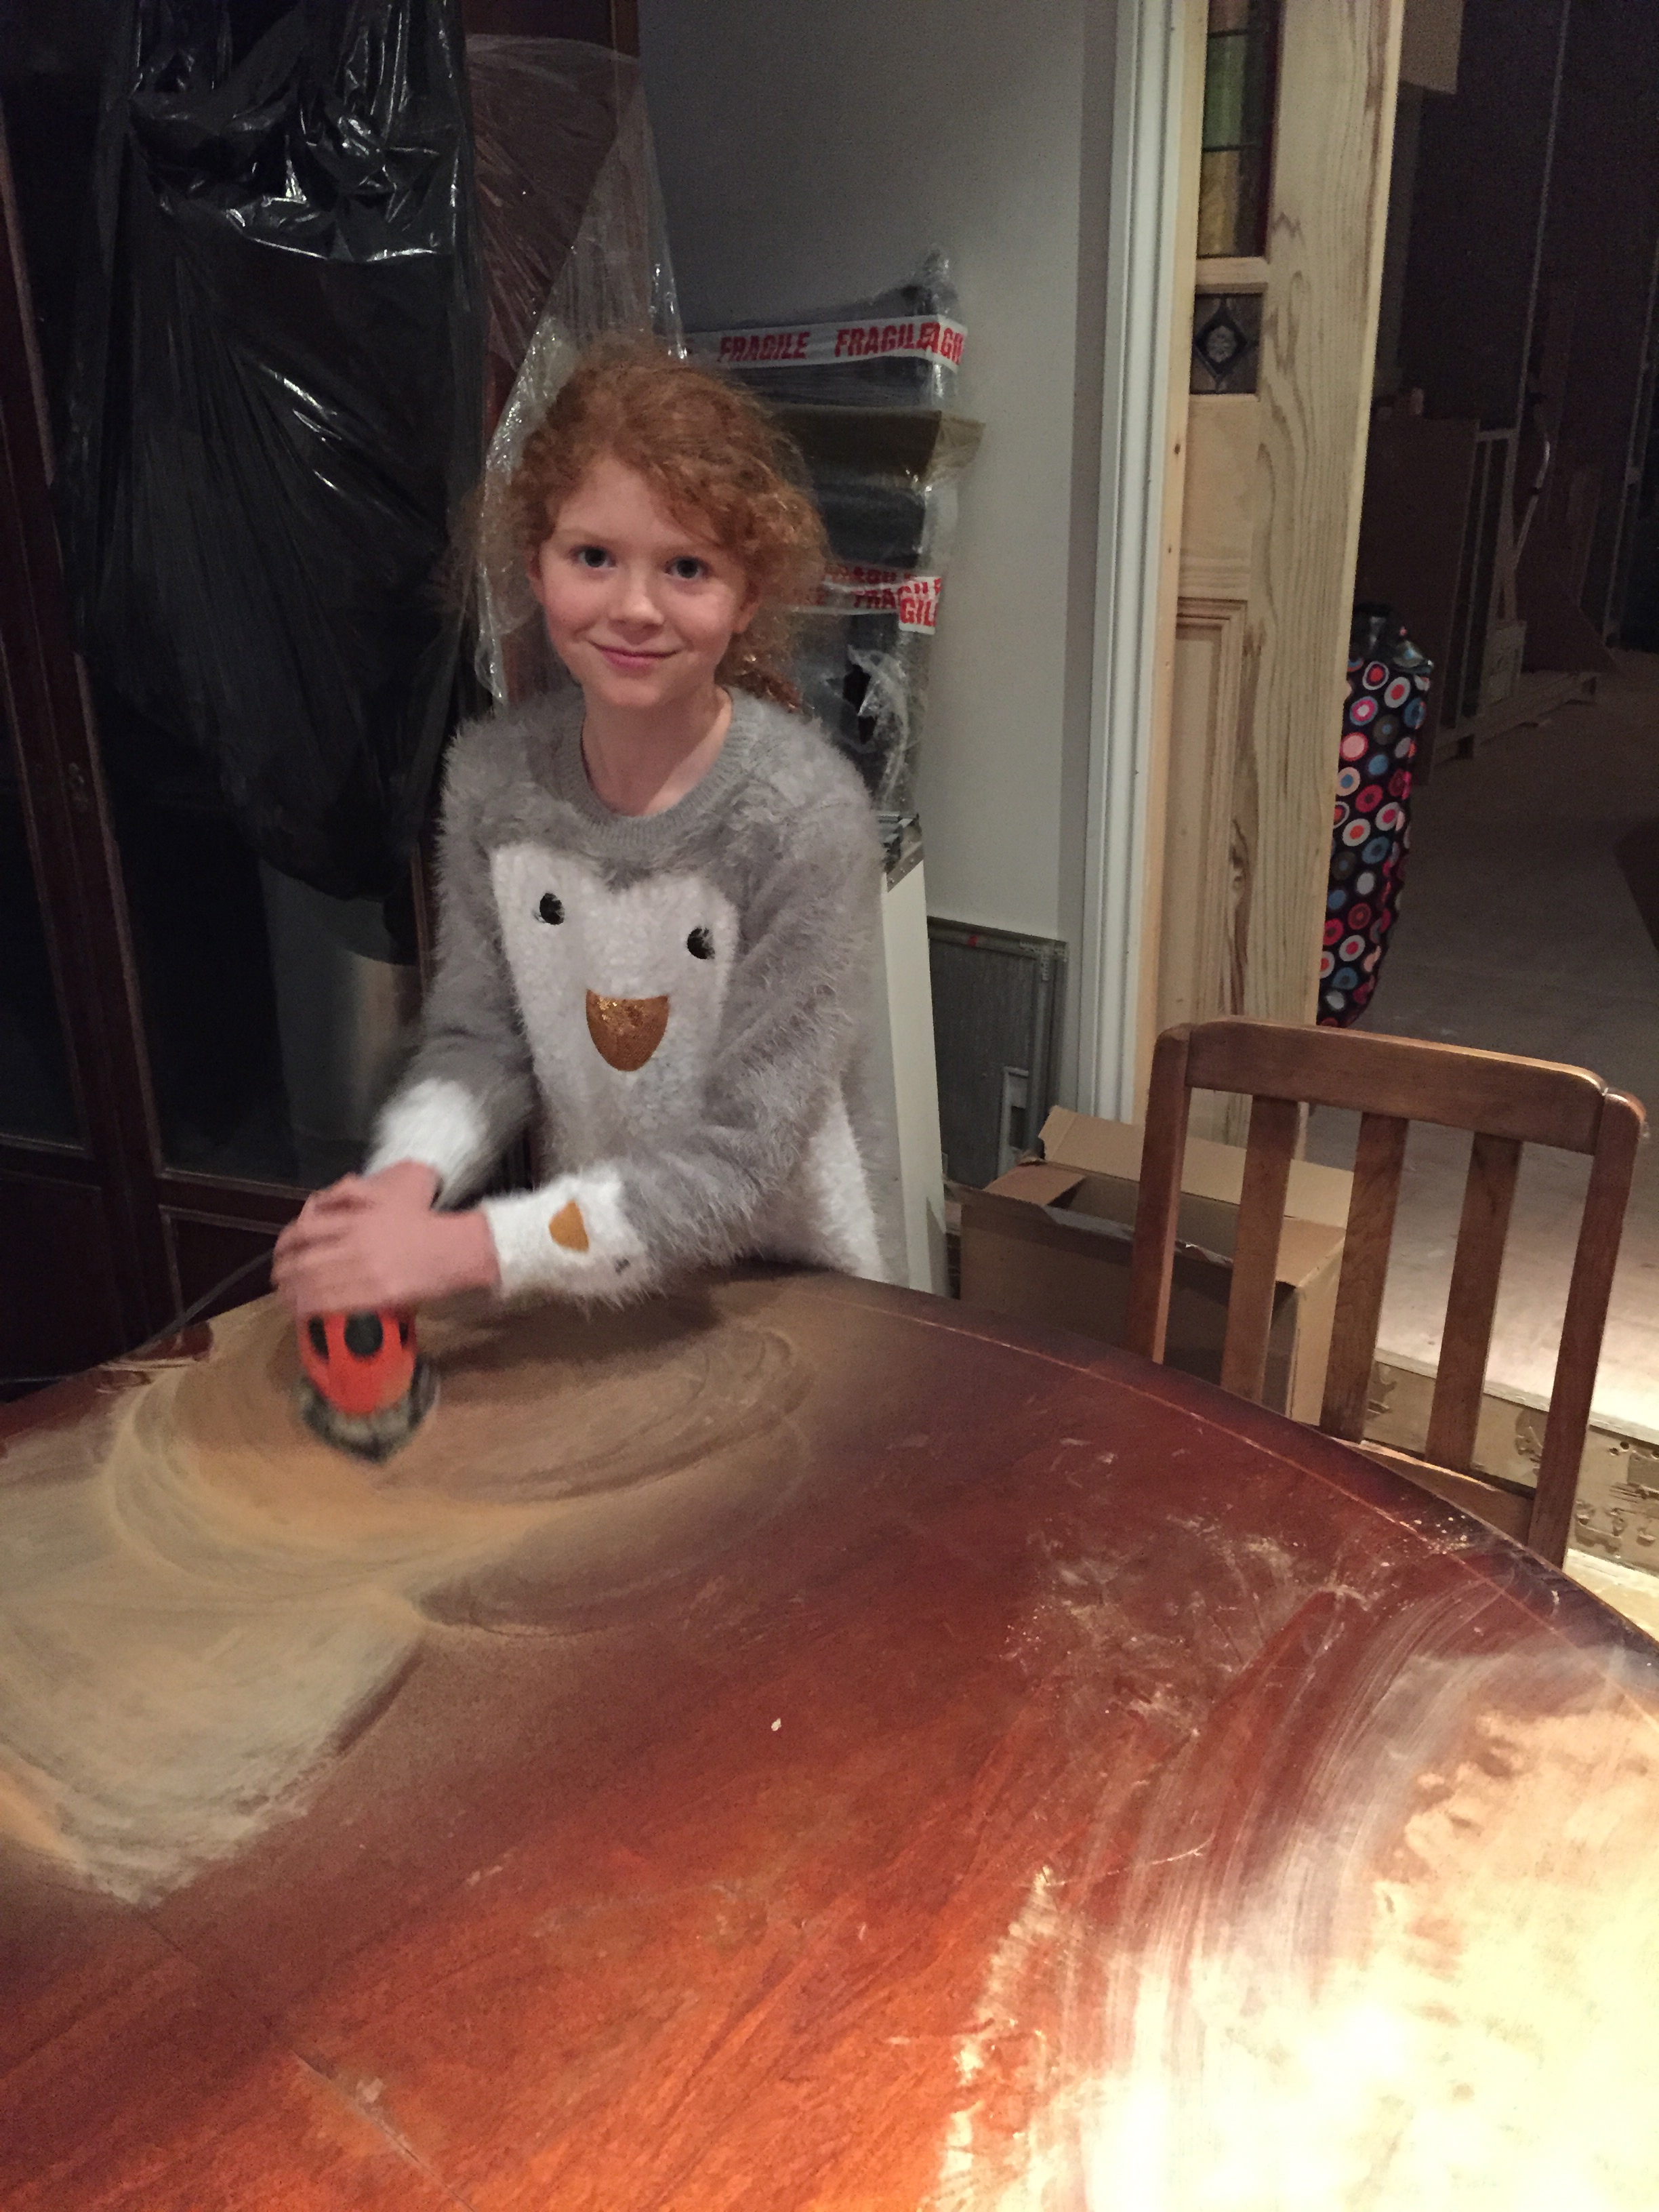
The table is our reproduction mahogany dining table that has got damaged over the years. Rather than replace it, I wanted to know if we could sand off the varnish and paint the pedestal leg to transform it into a classic but more rustic/practical piece of furniture. Can mahogany be more like a farmhouse table, happy to take dings and knocks? Not be so ‘precious’ and permanently hidden under a tablecloth? The only way to know was to experiment…

I had my helper with me for a while..but then she got bored and went to clean out her hamsters.
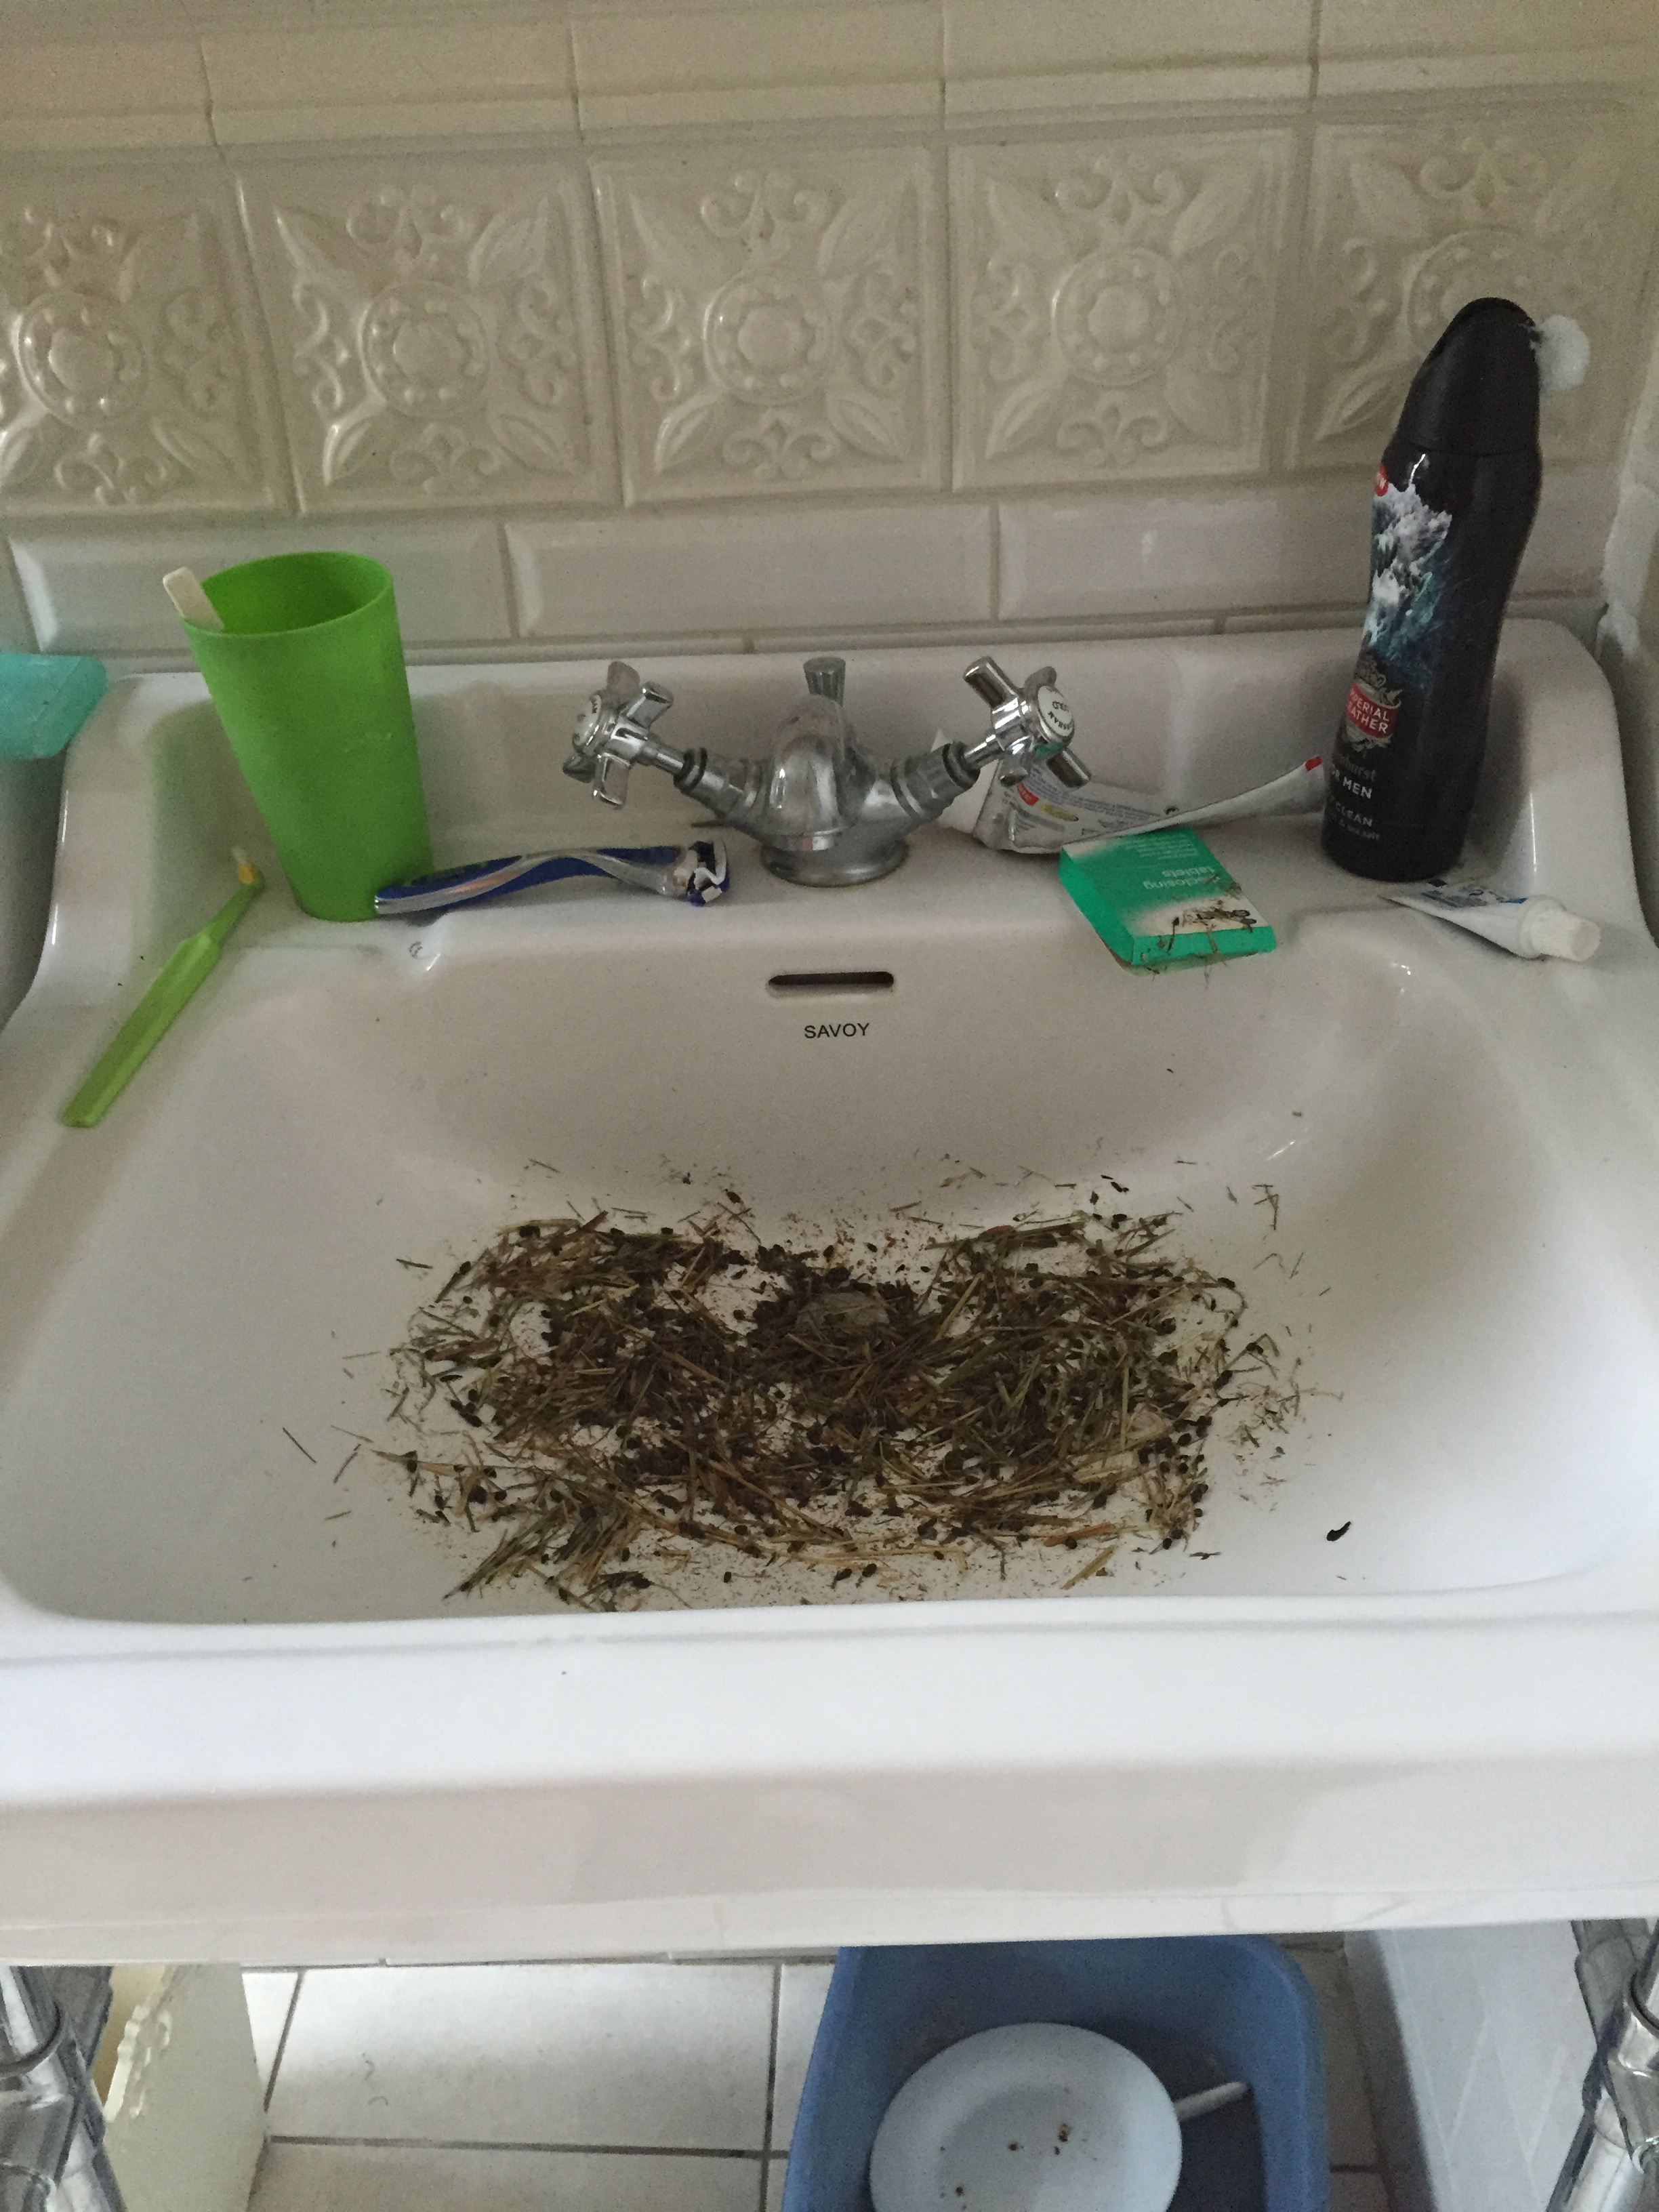
Oh joy! Lesson for mummy: Never assume you’re child’s intelligence. Lesson for Bella…we all have to make mistakes..but please don’t repeat this one again!
(Particularly when due to the building works, this sink represents our kitchen sink. Arggghhhh!)
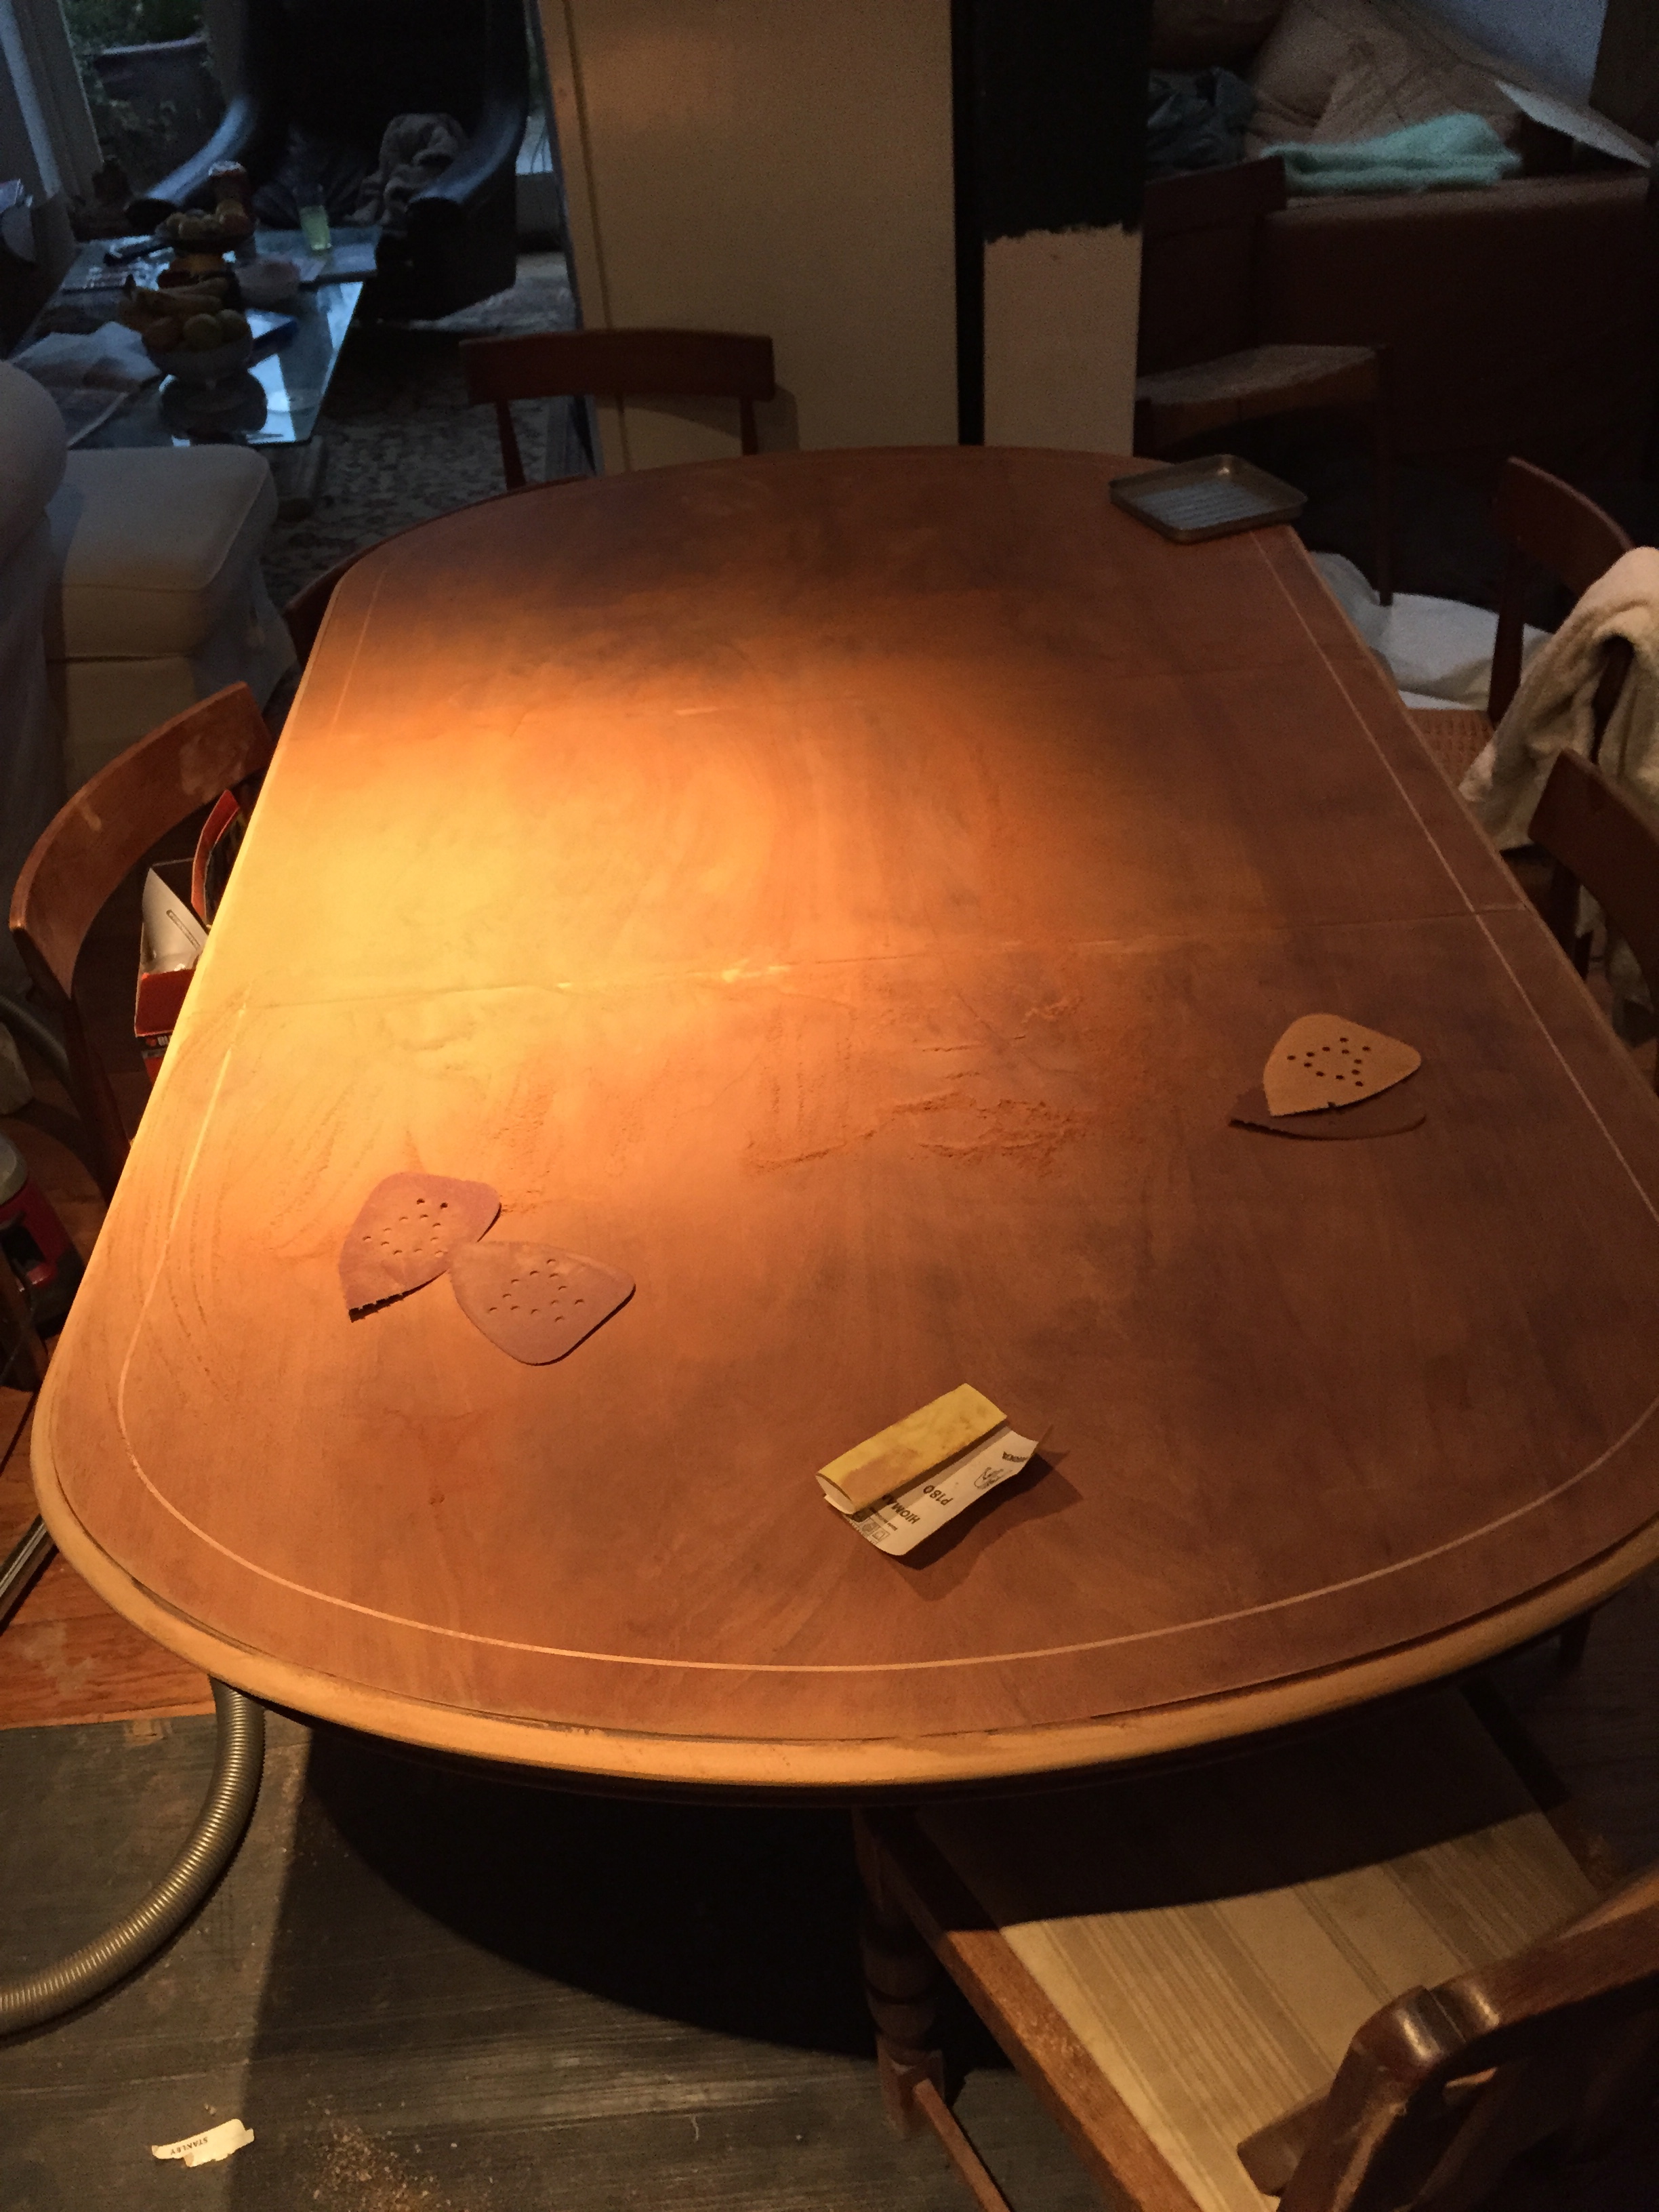
By the end we looked like 2 orange oompa lumpa’s, but thankfully the table looked fab – I already prefer it…though I have no idea what to do as the next stage….oil? Wax? I know I don’t want the shiny red again..I want to knock back the red if at all possible, but not entirely sure what to do?….any suggestions very gratefully received…
Laters, Kate x
An Update: House etc..
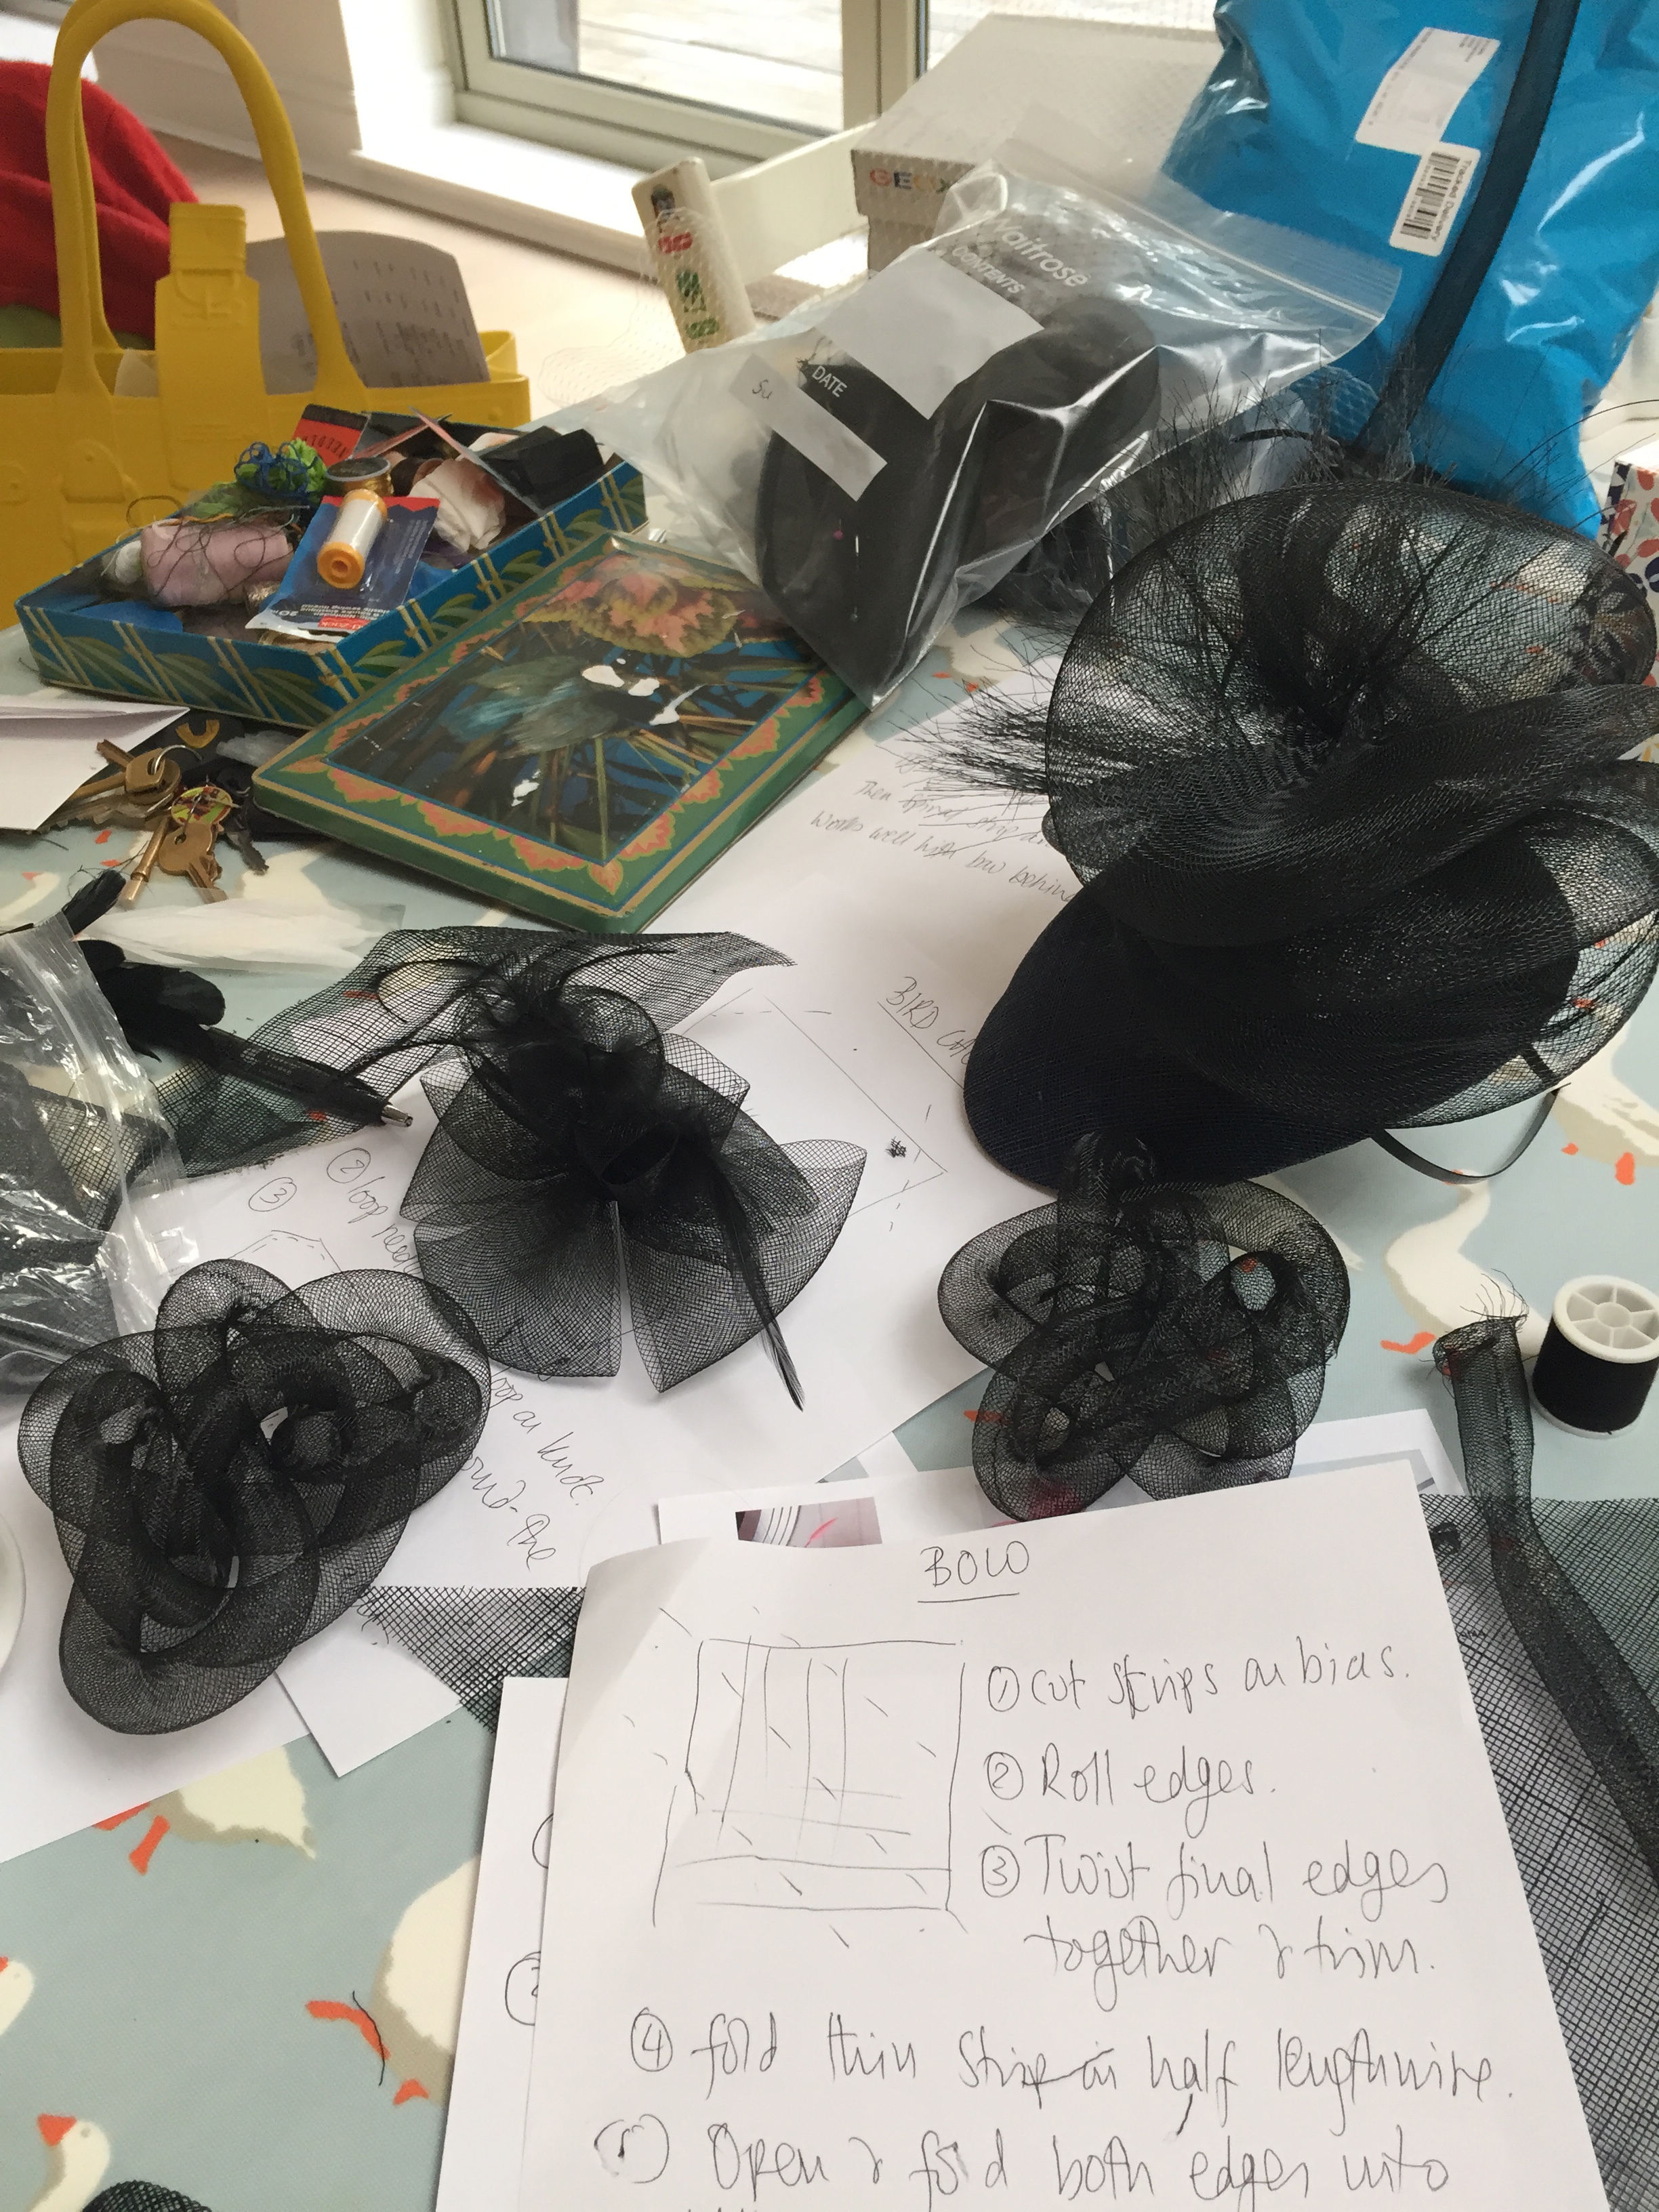
Yesterdays fascinator experiment went well..I was thinking of you Julie (hattitude) as we marshalled in the sinamay into shape! Could’ve done with your skill!!
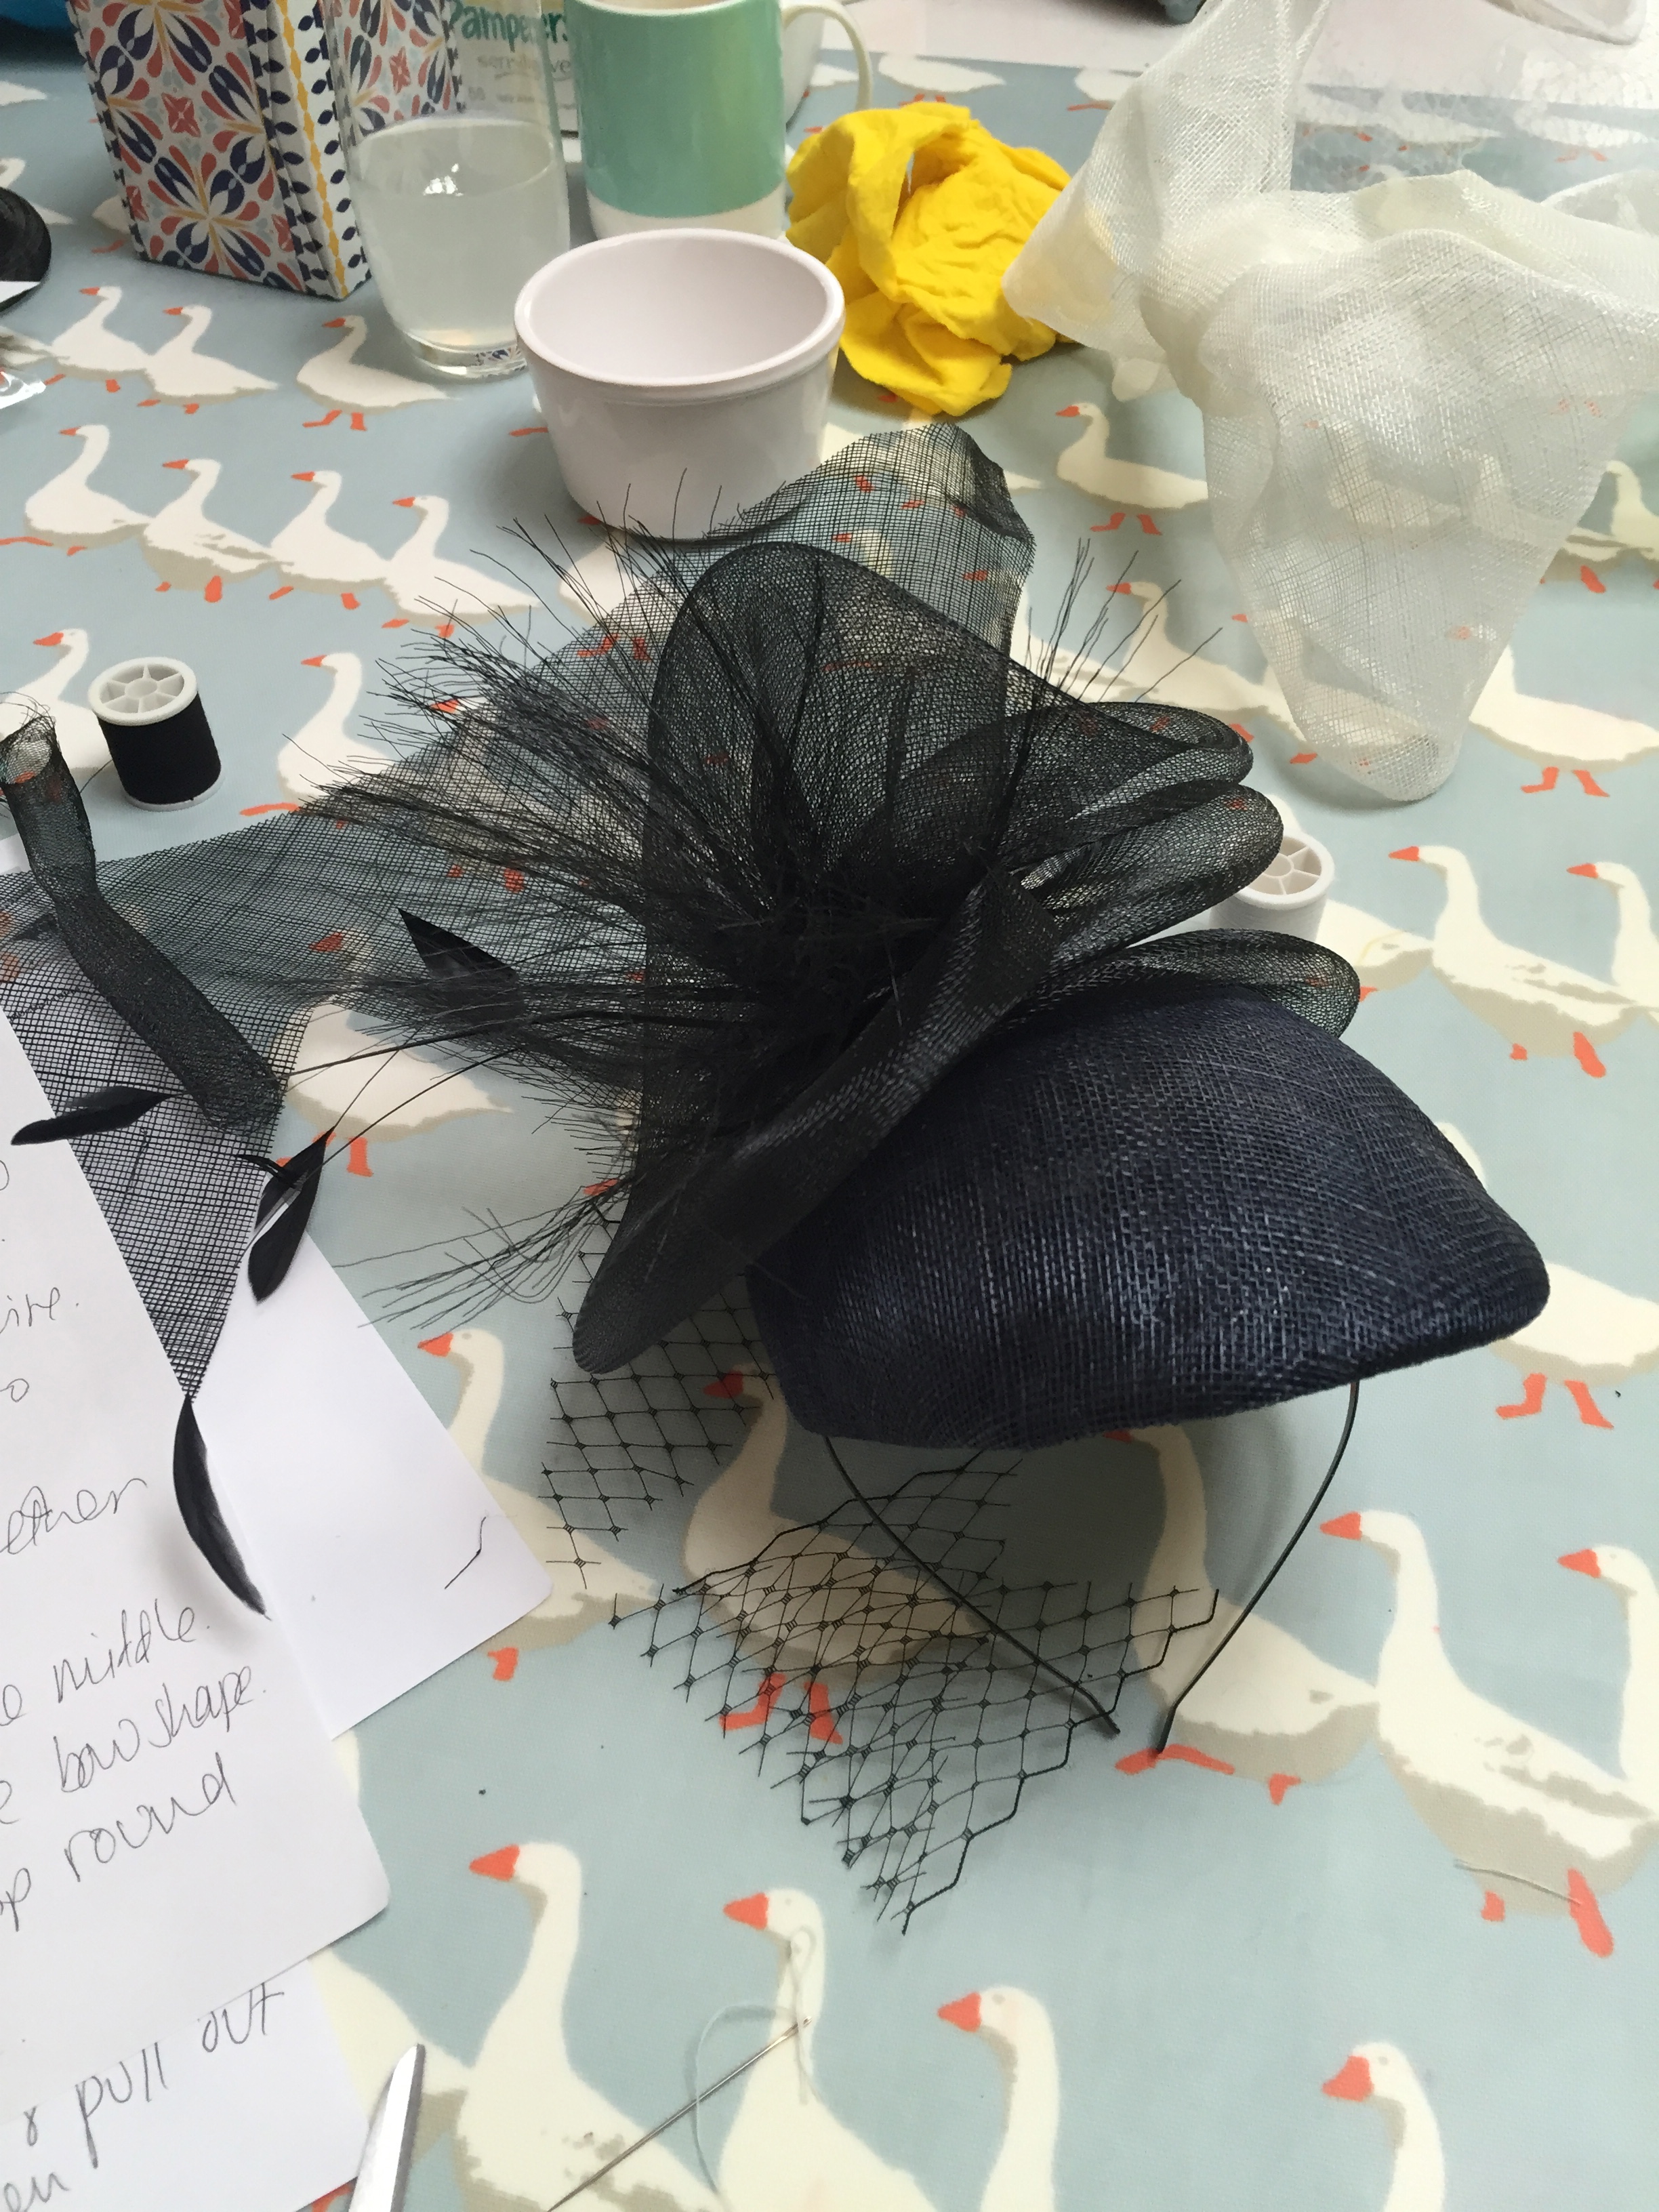
No real finished ones to reveal yet..(the first official creative coffee is on Wednesday) but I think we’re a bit more prepared..

(It’s great stuff just to let loose and play with..I recommend it.)
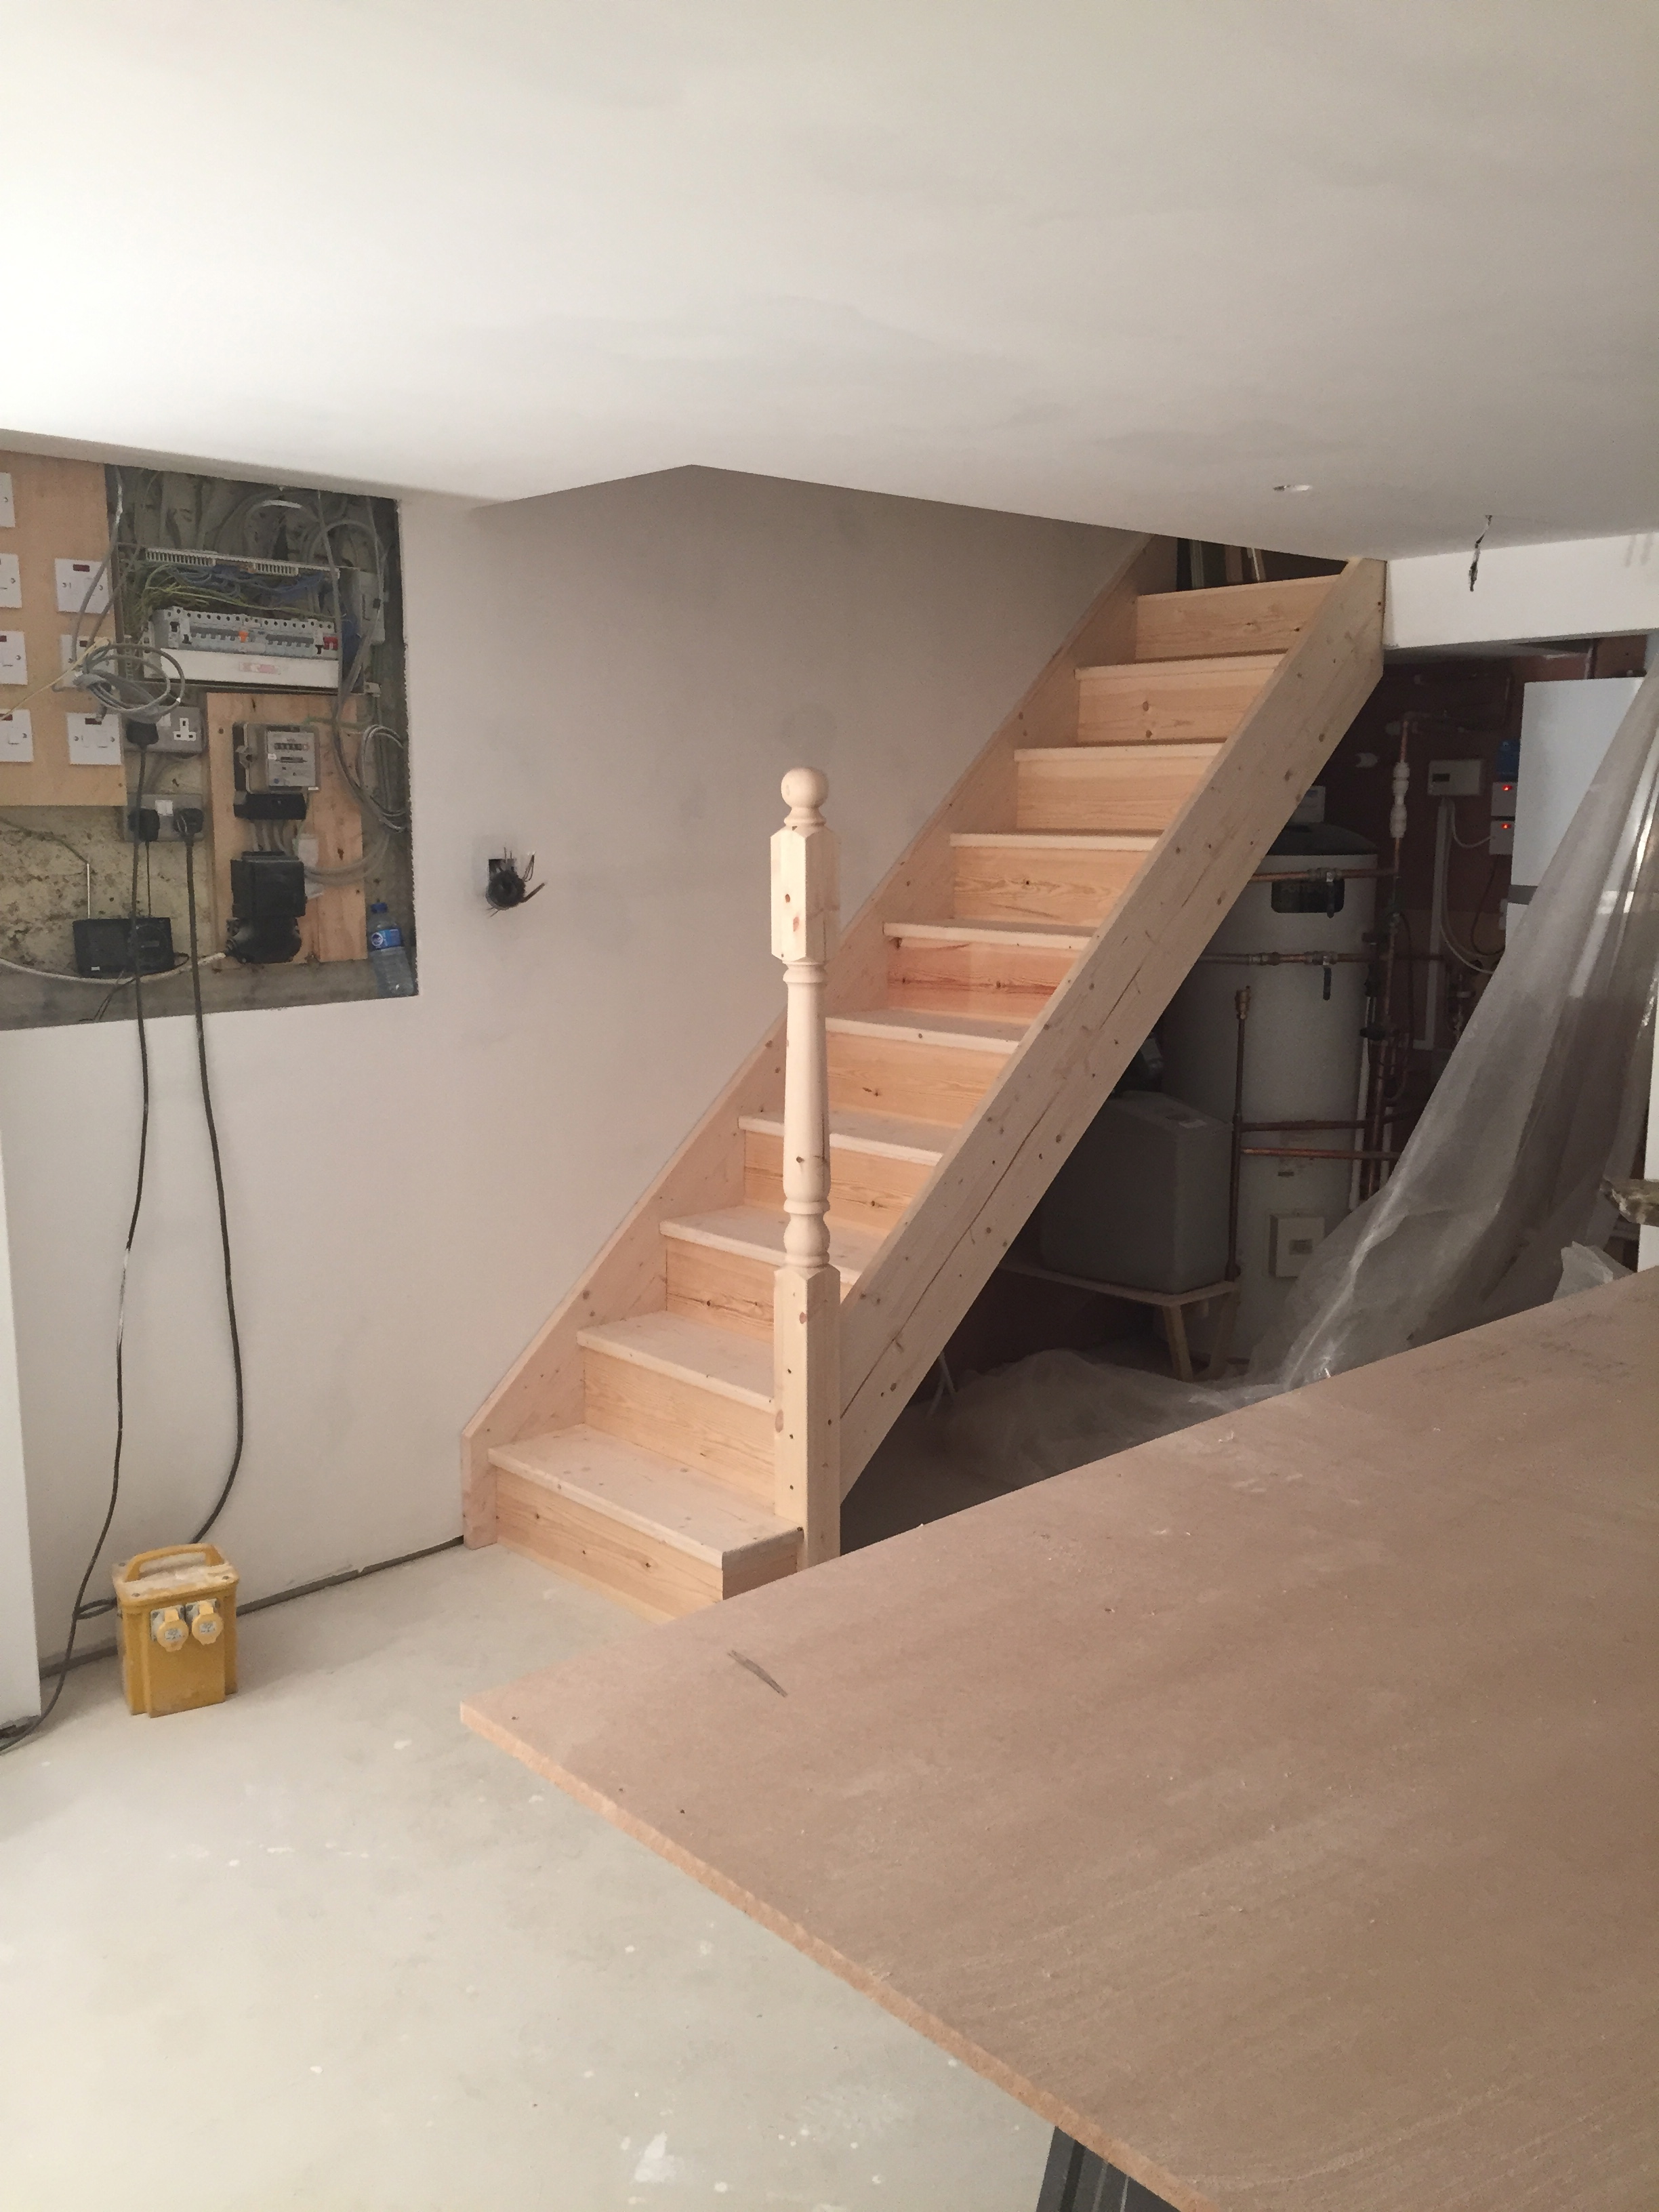
On the house front, there’s no longer a broken neck risk checking out the cellar…we now have stairs!..

Upstairs…could that actually be a sink in the kitchen??!

To the unknowing eye, this all just looks like mismatched piles of wood..

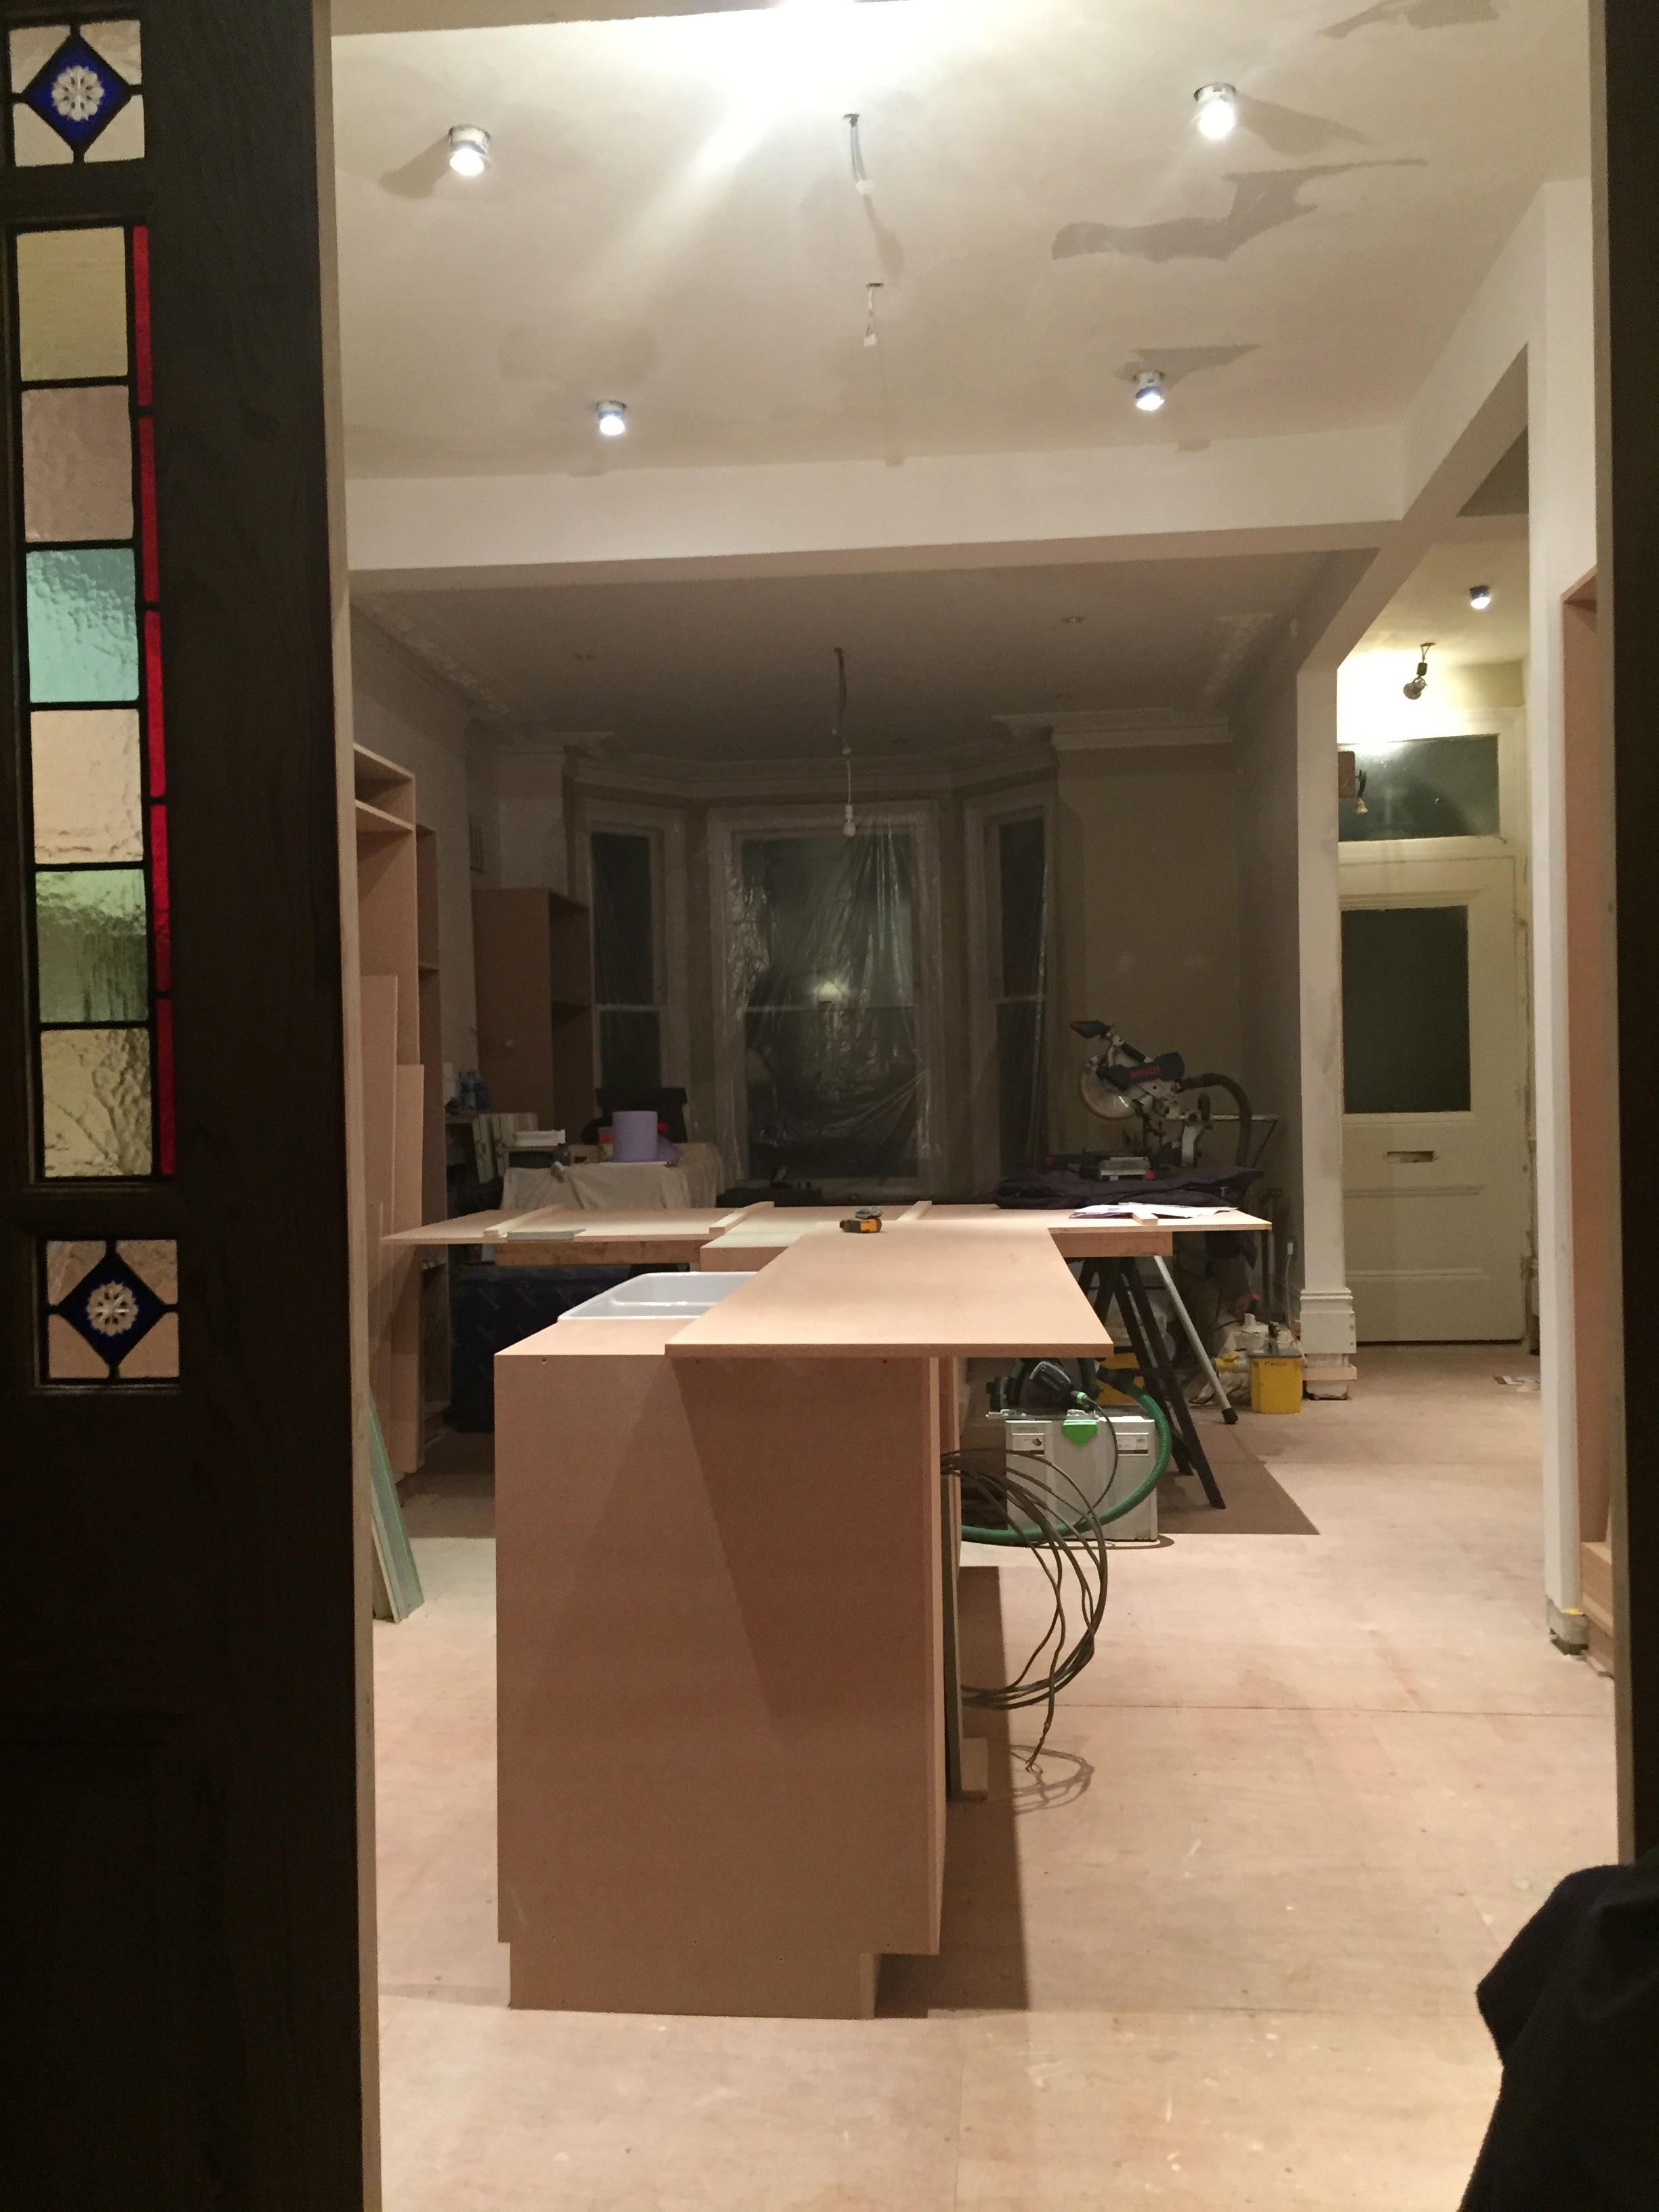
To me, it’s the light at the end of the tunnel..(even knowing, once it’s made it’s coming out (sob!) to be painted (and so the floor can go down))..but this is pure progress. We may even have a working bin soon – the excitement, the luxury!
Laters, Kate x
Best Christmas Craft EVER!
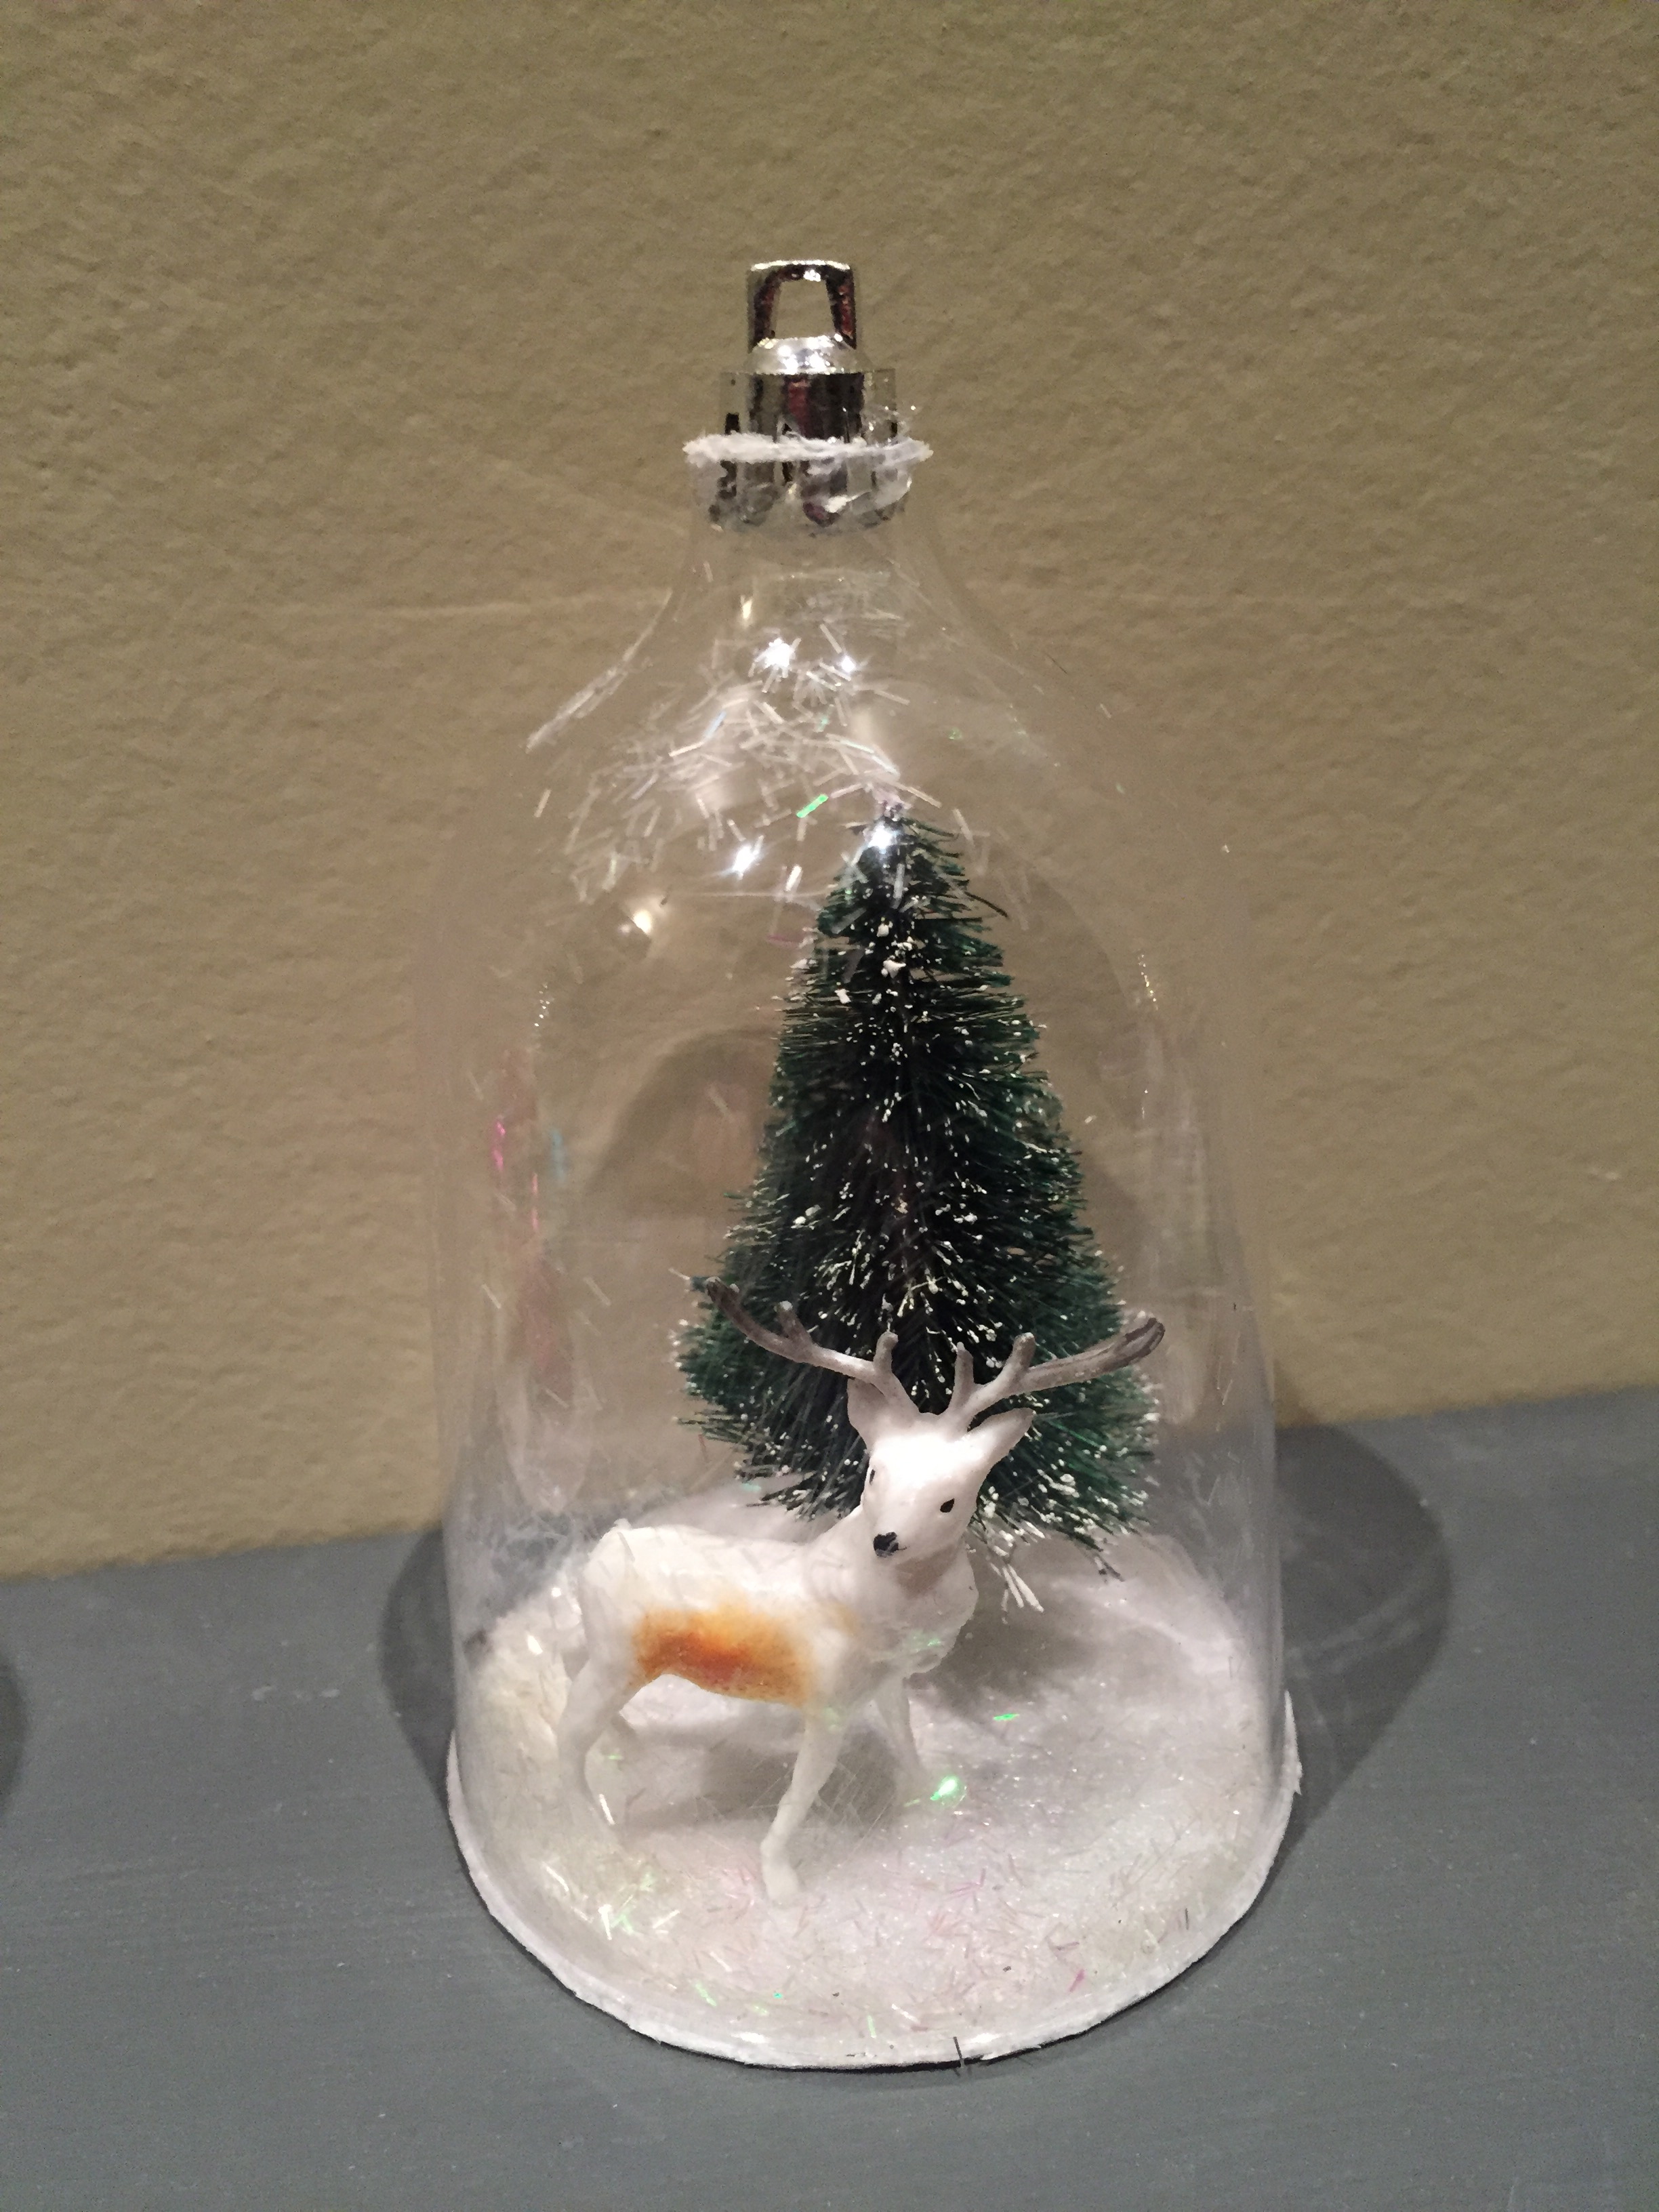
Bella and I had a festive Saturday afternoon covered in glue ‘n’ glitter, making our own Christmas cloche dioramas…they were so simple…yet so satisfying!
In amongst our renovation/building chaos we gathered all our bits together: A glue gun, uhu glue, foam plates, plastic wine glasses, glitter and all the little Christmas ornaments we could find.
We carefully, using a sharp knife, cut the end of the plastic wine glasses off, and cut out oversized circles from the foam plates.
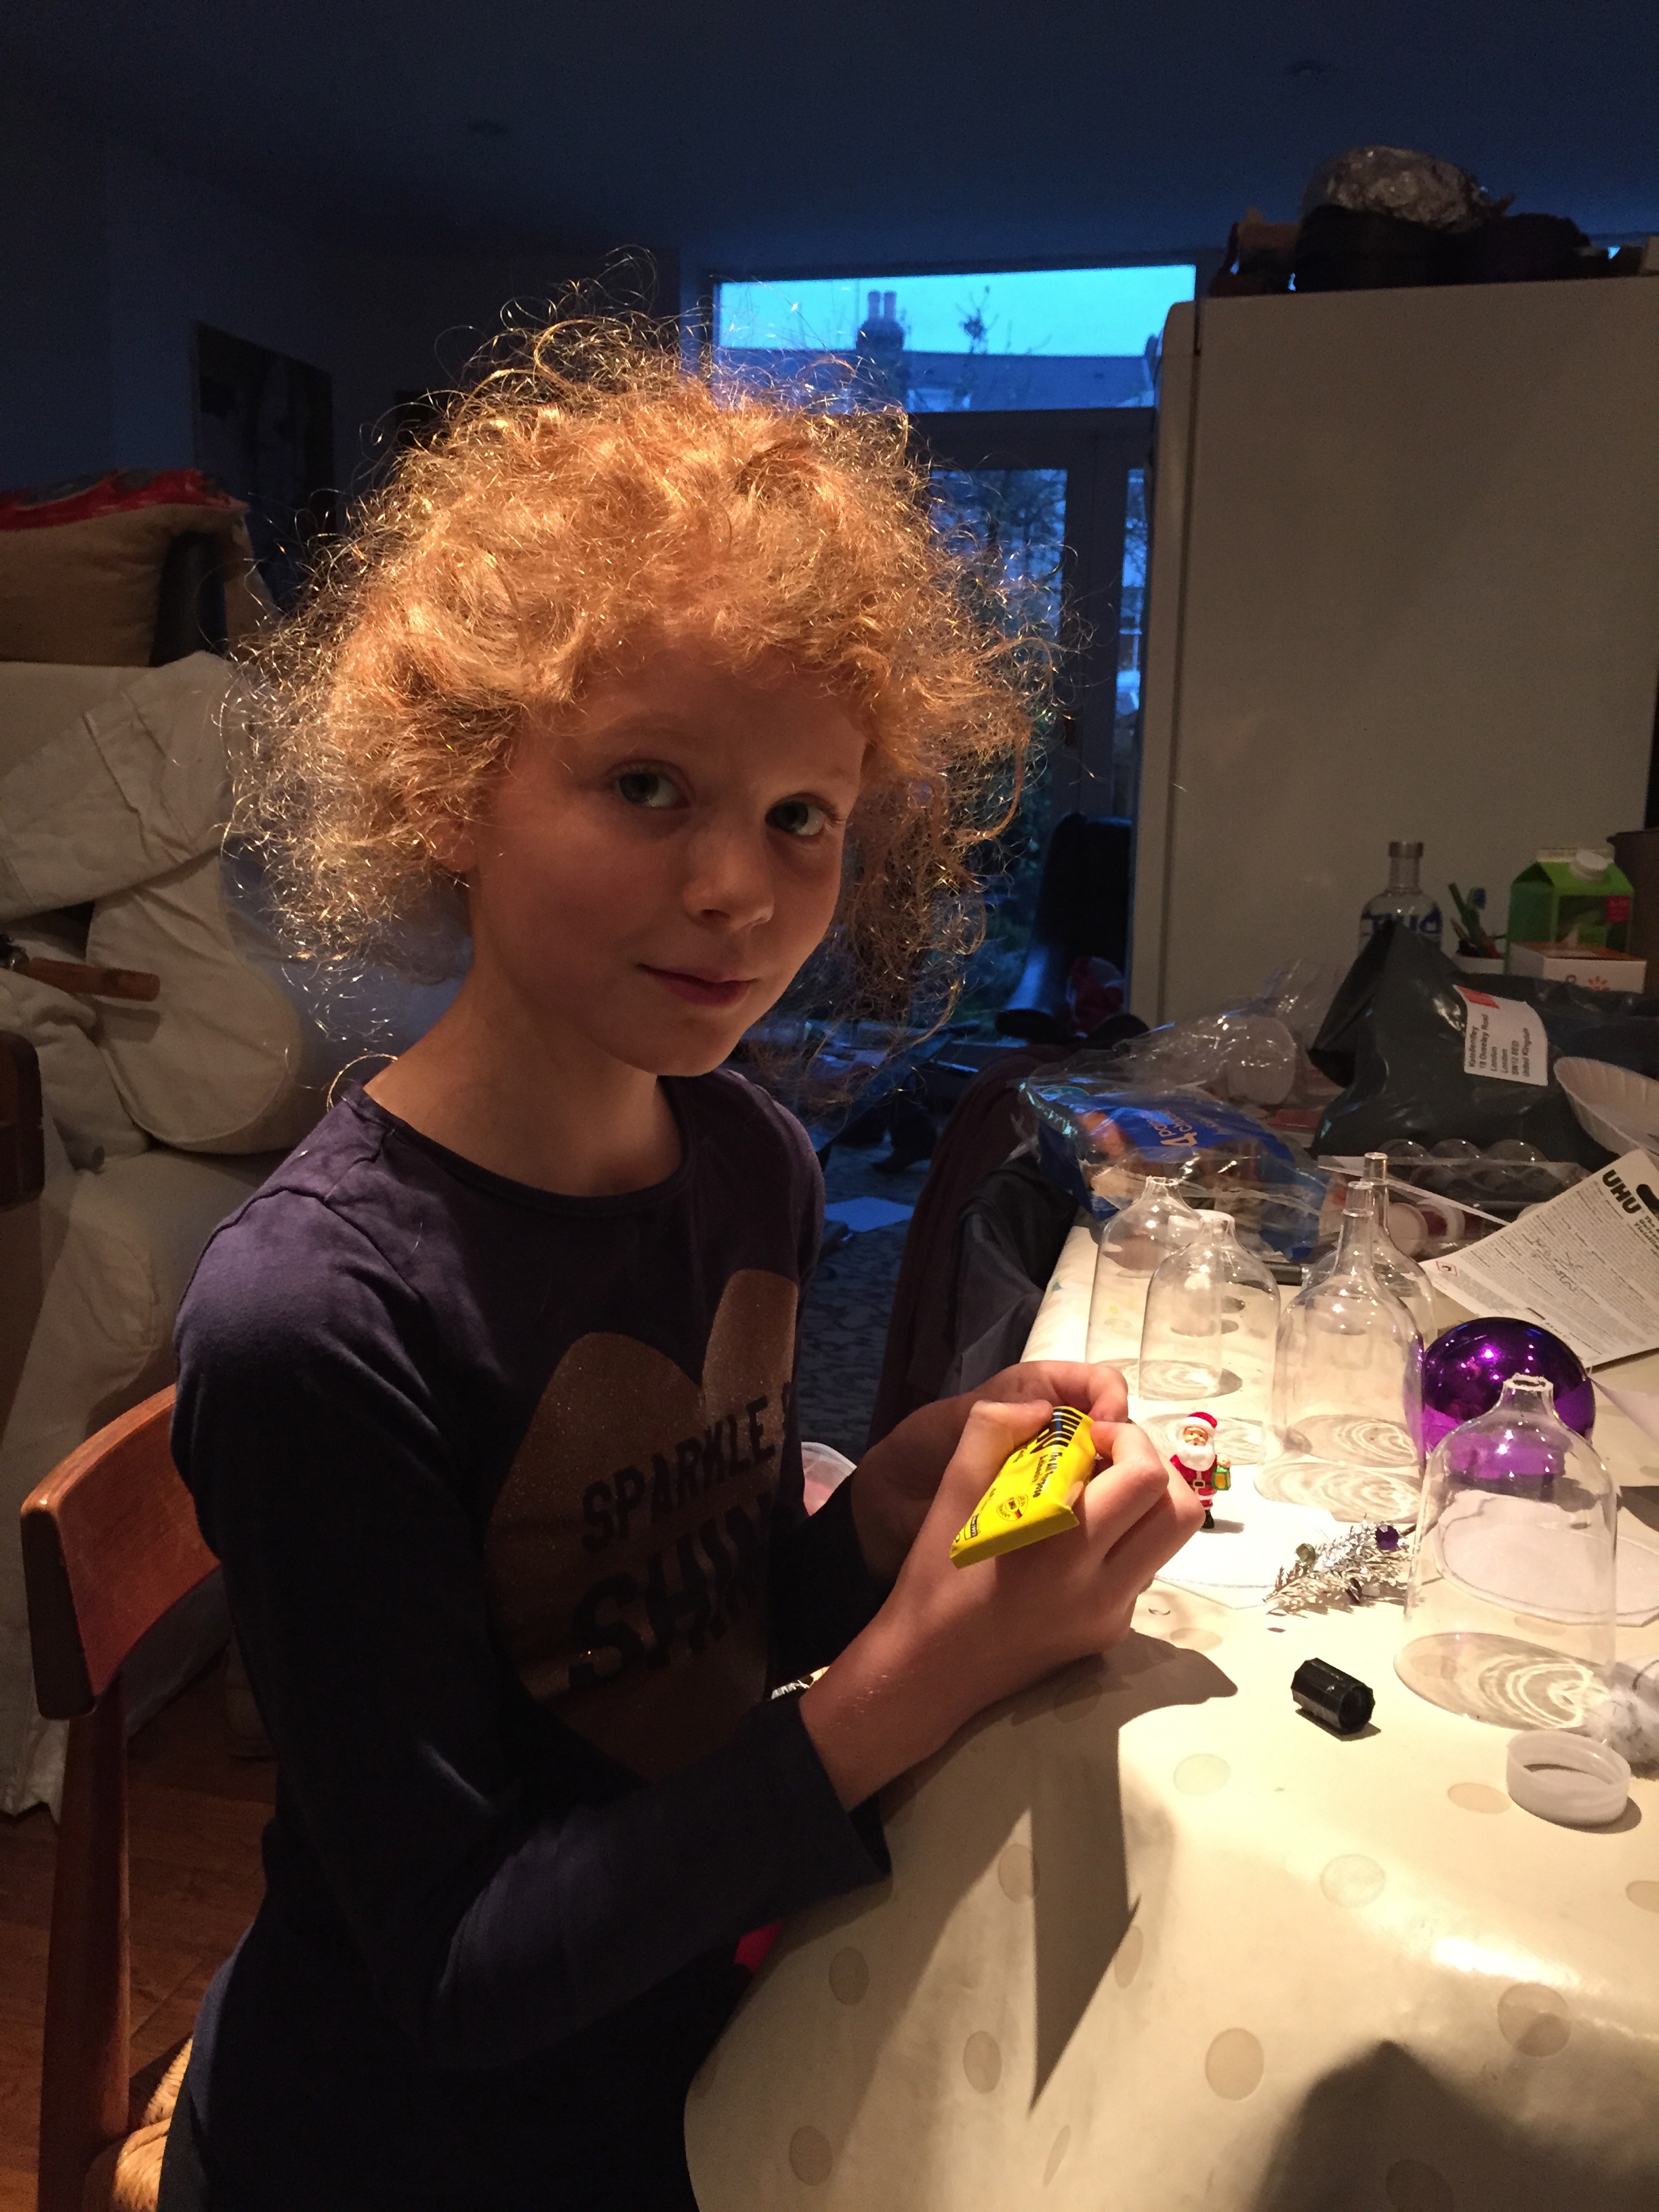

Then we arranged and glued on our festive scenes.


The upturned glasses were glued down and had glitter added through the still open stems.

Finally they were topped and glued with the hanging part of an unwanted bauble and the bottoms trimmed off.

So effective.
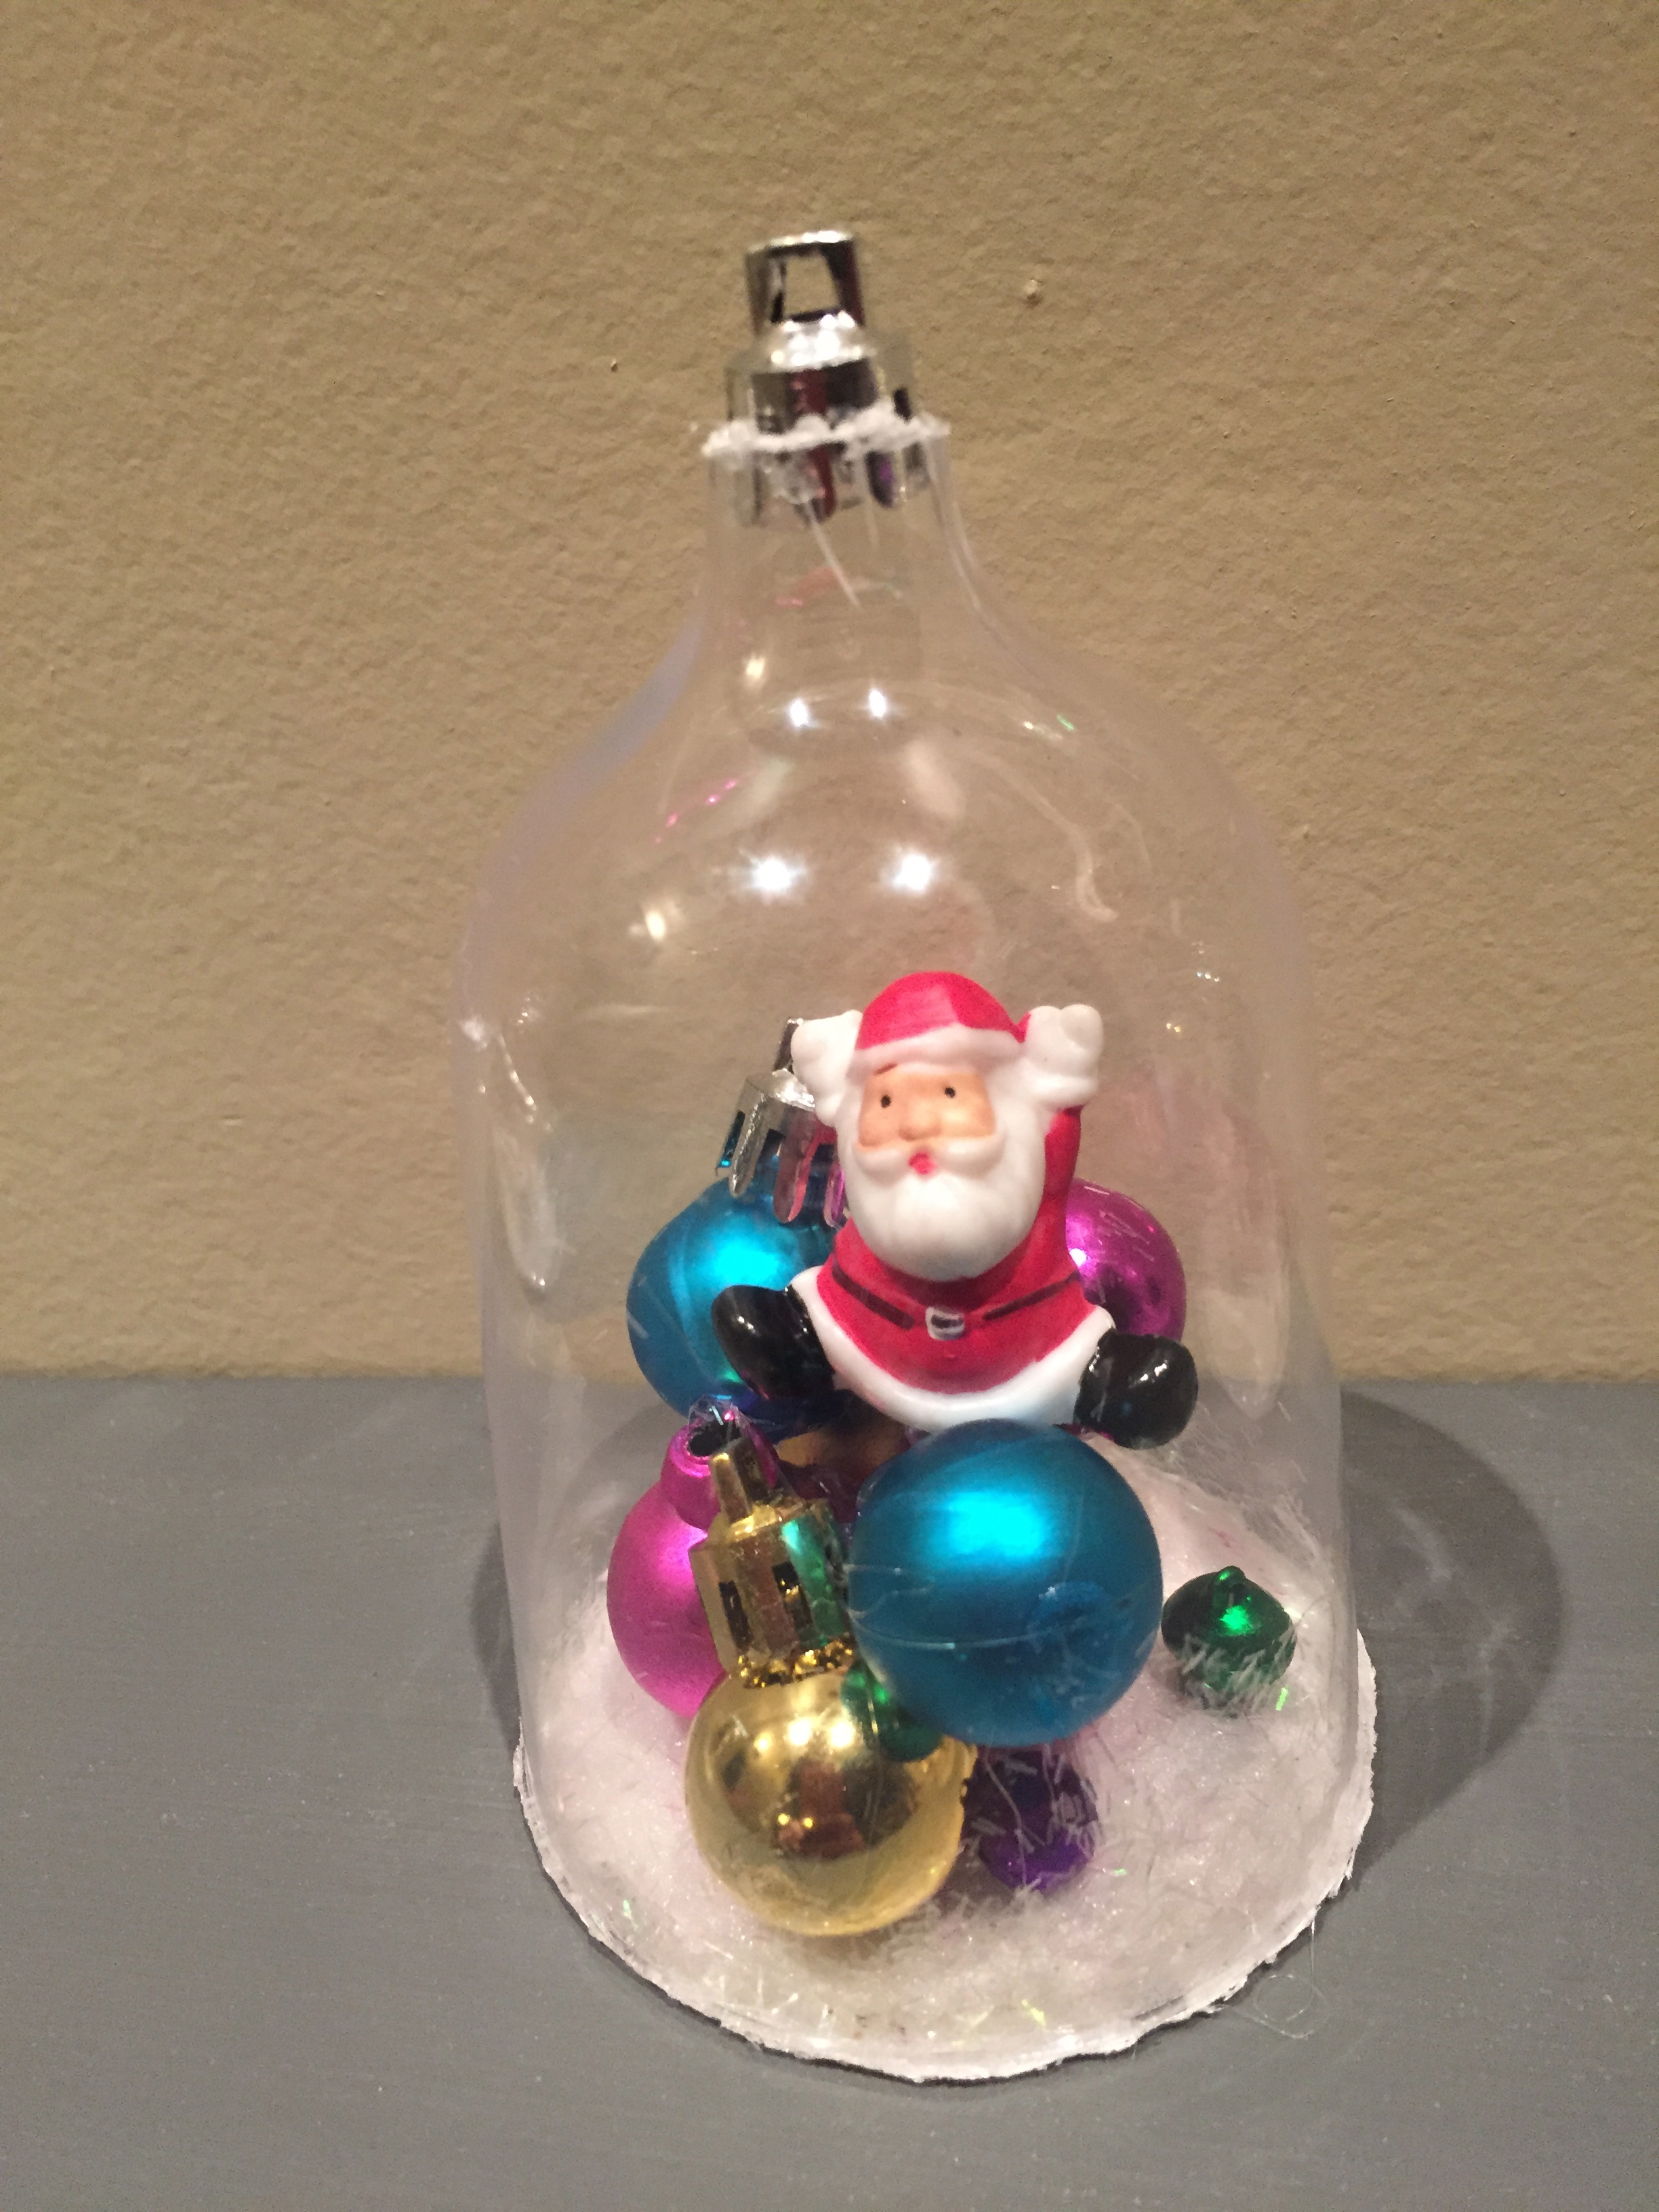
Such fun!
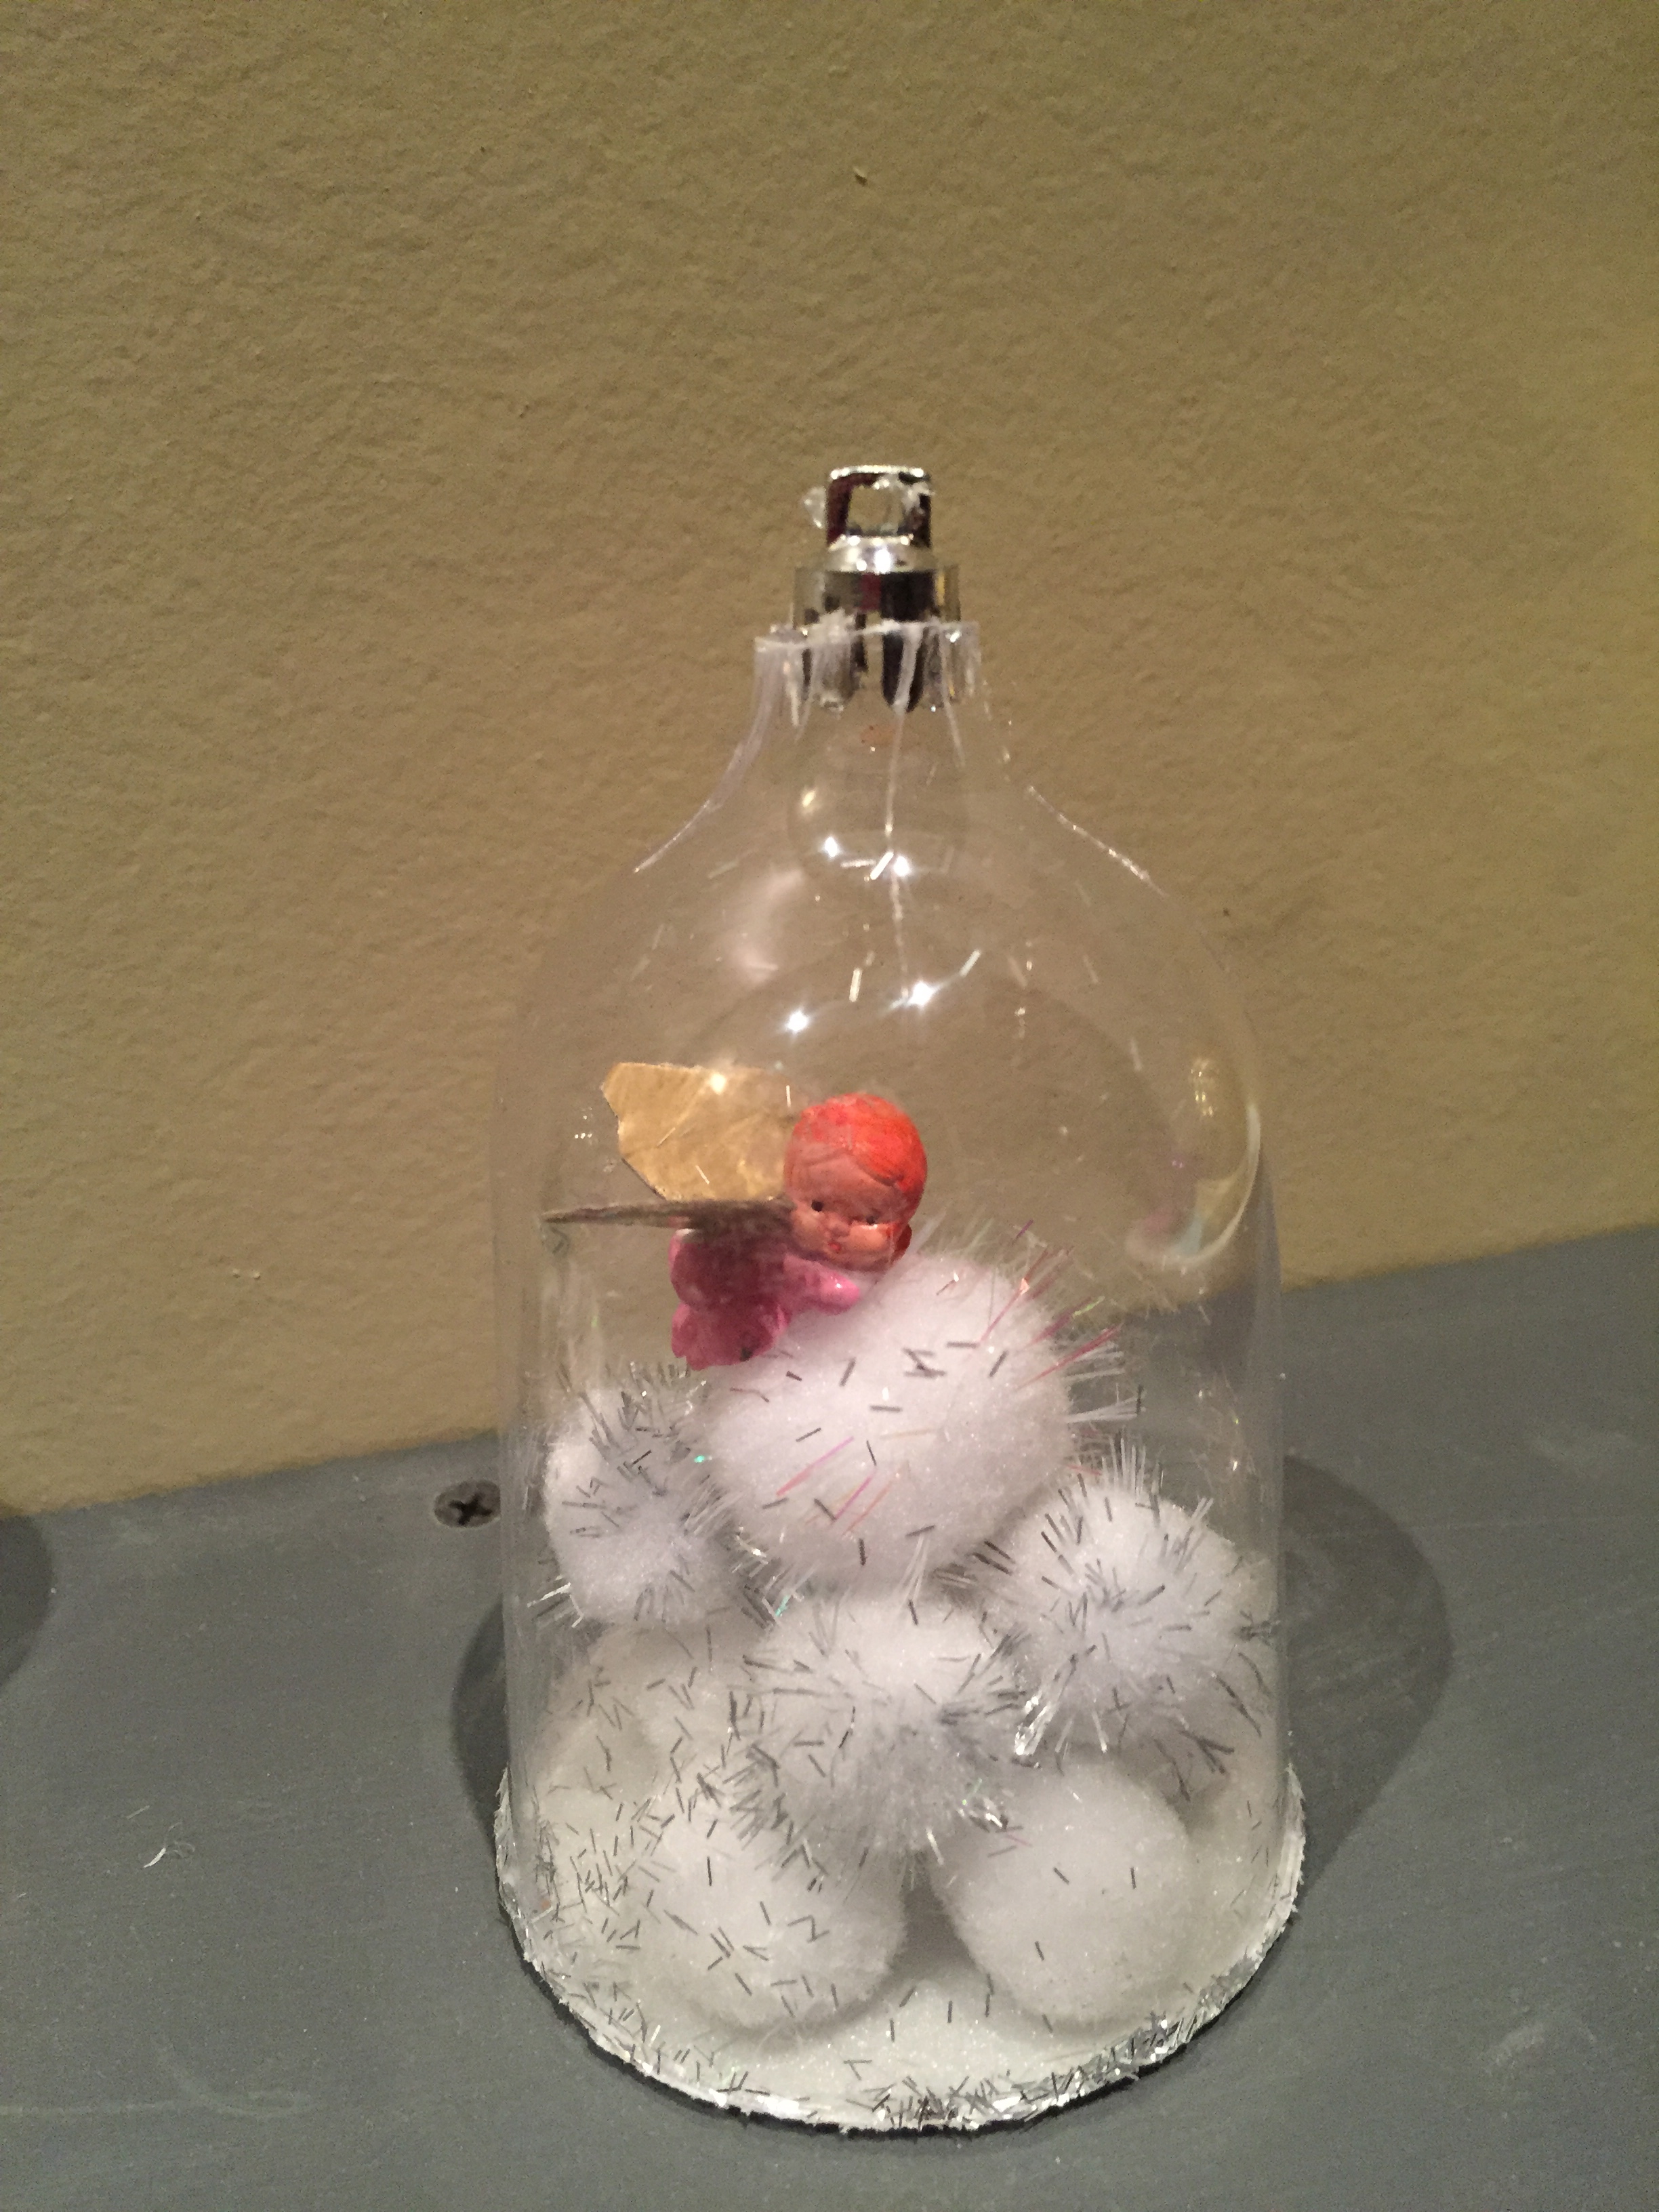
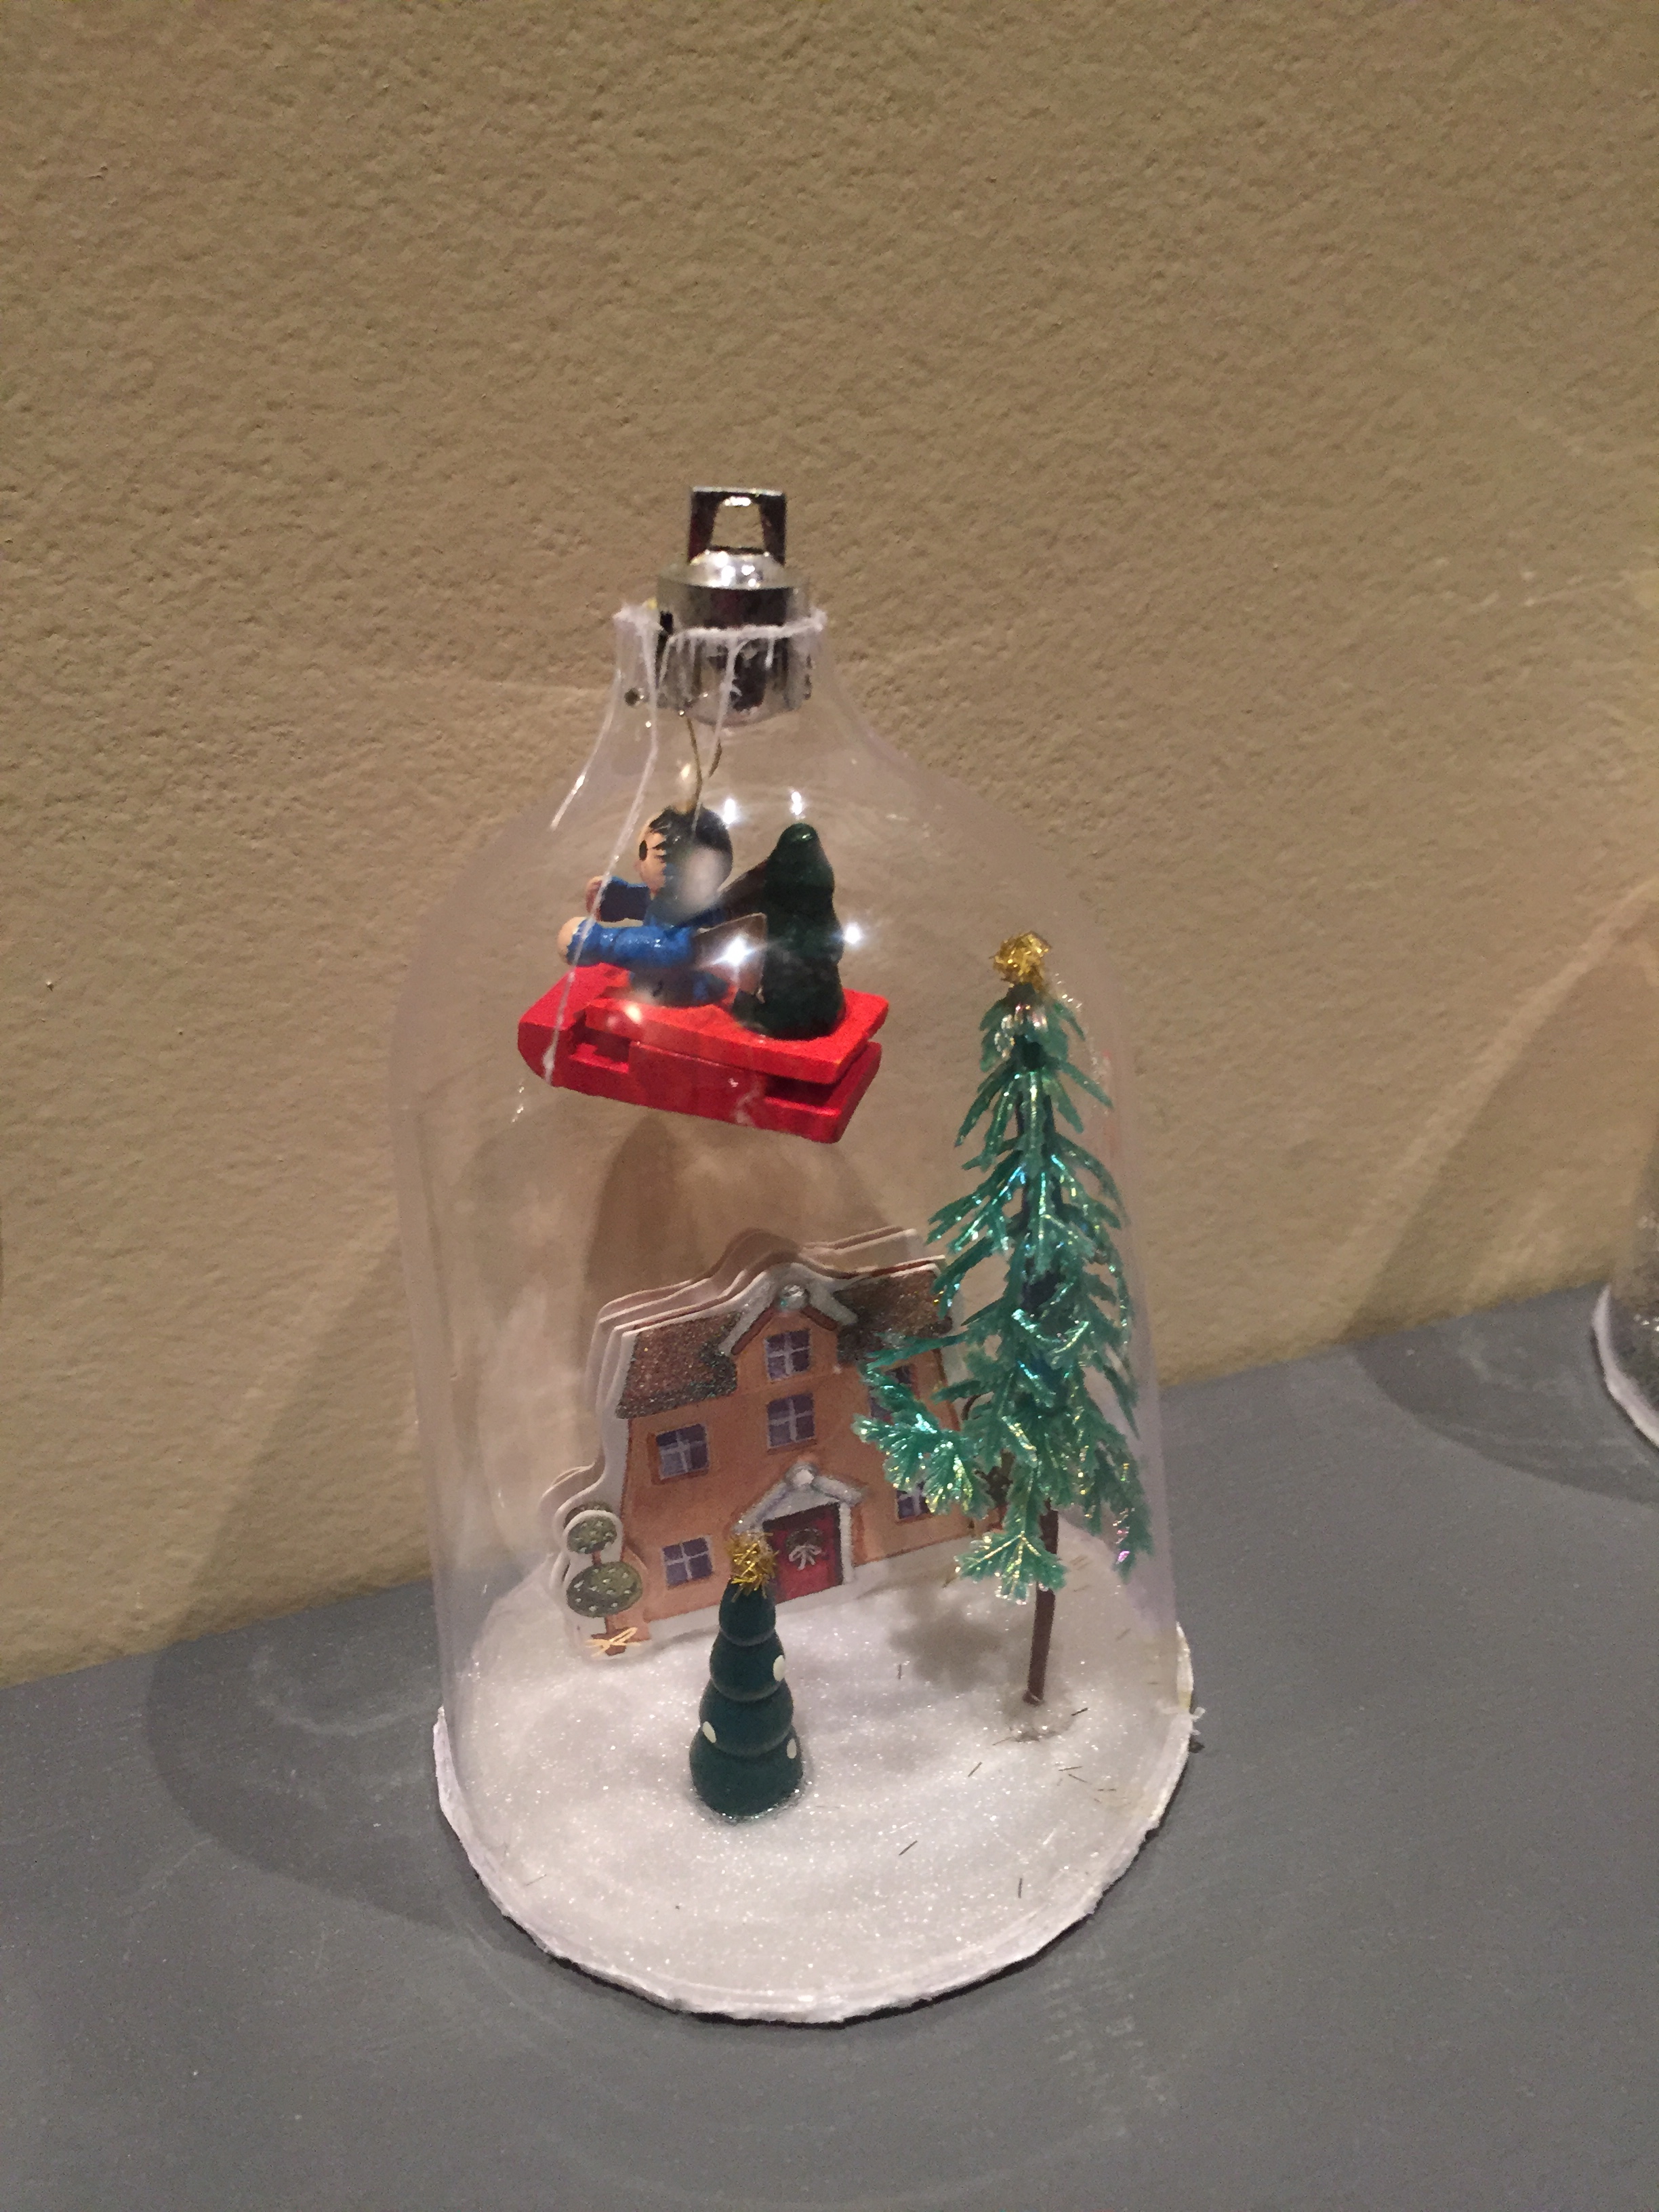
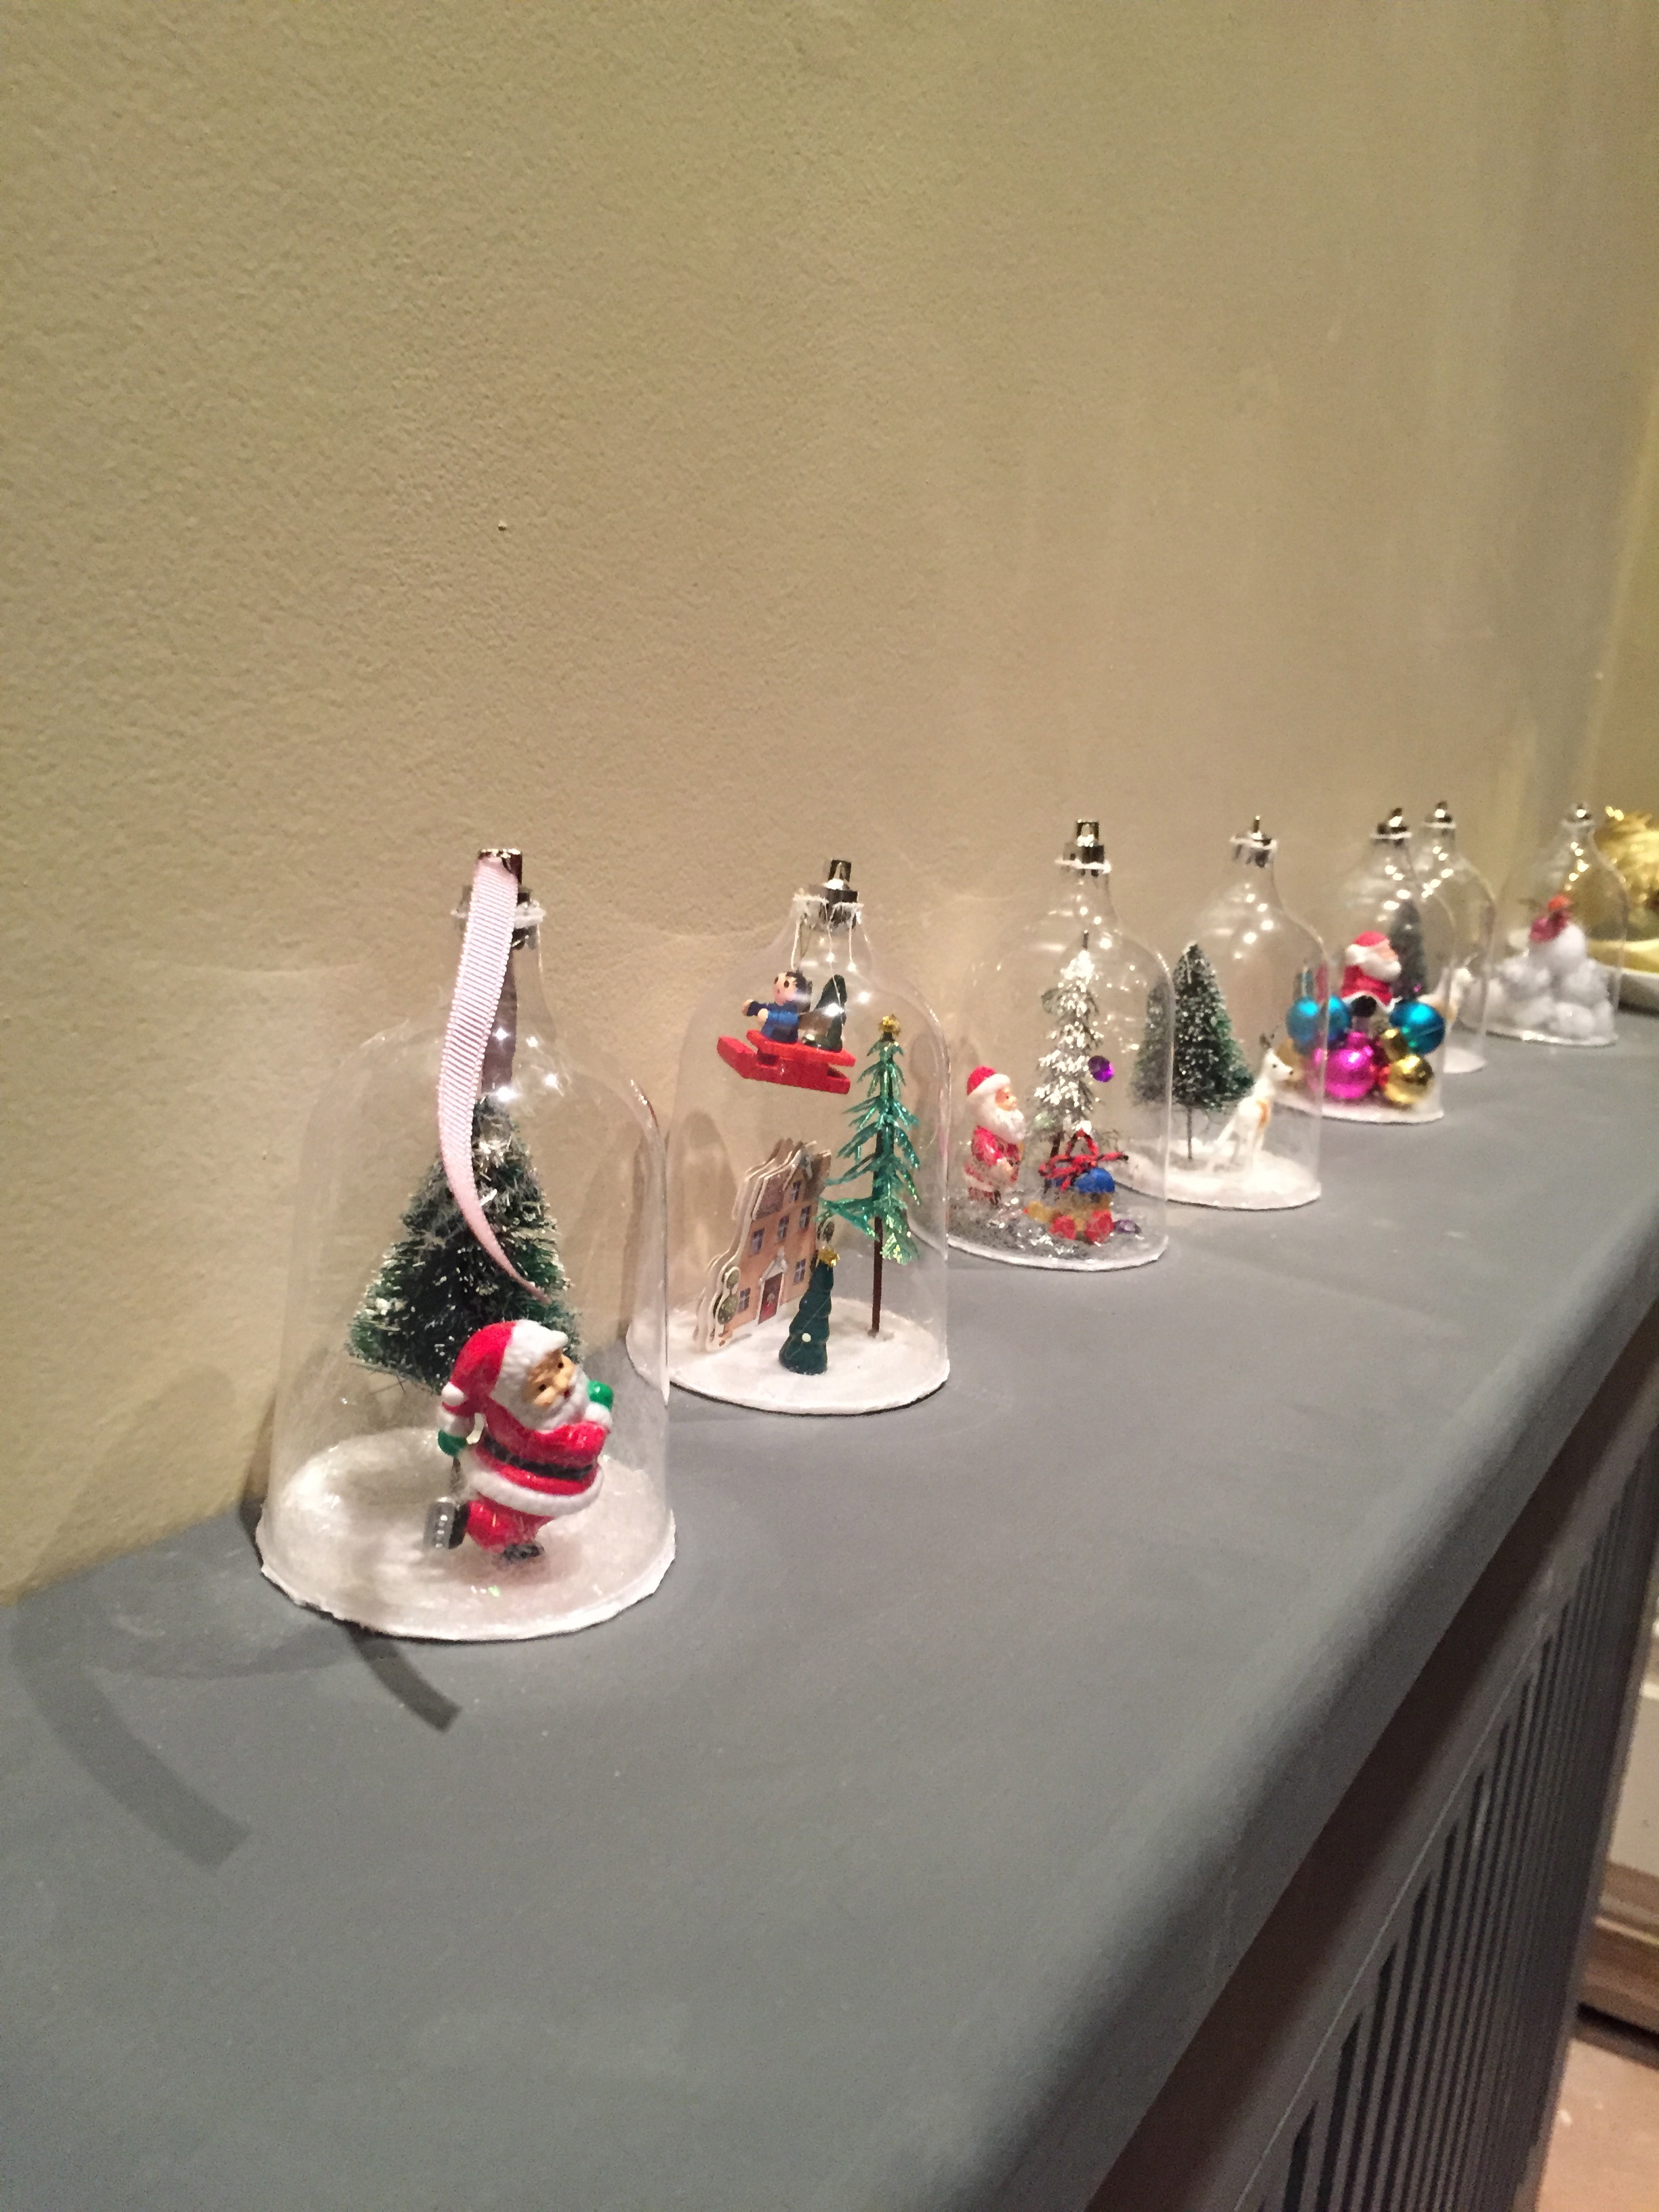
Making them together and seeing them all…just made us smile.. and want to make more and more!
If you can..just do it!
Laters, Kate x
Bling and Bottle tops x
 There’s just over two weeks left of the summer hols and surprisingly this is our first full weekday at home just to be and make. I’ve been itching for it – doing crafts in the garden with the kids is the summer dress I look forward to all winter. This year the bar has been raised (with the Husband’s help) by transforming the shed into a mini-studio with a lean-to on the side for all the real sheddy bits (priorities, priorities..) It’s been lovingly painted, bunting hung, baskets gathered and projects planned..

Not that crafting with kids is straightforward…the main ingredient of creativity is not spontaneity but planning..having the right ingredients to hand to let things flow, which then includes ignoring the adult need for perfection – it’s when everything’s been mixed together – the splashes, the bits over the line, the gusto and exuberance that the magic really happens.

Today the sun is shining and we’re finally turning our felt pictures into cushions avec pom-poms, (then we might tackle some of the projects above) (all from Pinterest)..but before anything happens, I need to write this post..so I’ve set Bella and Charlie up with some painting in the shed. How cool?
It lasted all of five minutes before they came running out shouting ‘Spider, spider!’
I can see it’s going to be a longgggggggg summer.
Laters, Kate x
Ode to Creative Coffee..

We had our final Creative Coffee EVER yesterday…a day of sadness, joy..and achievement all rolled into one.

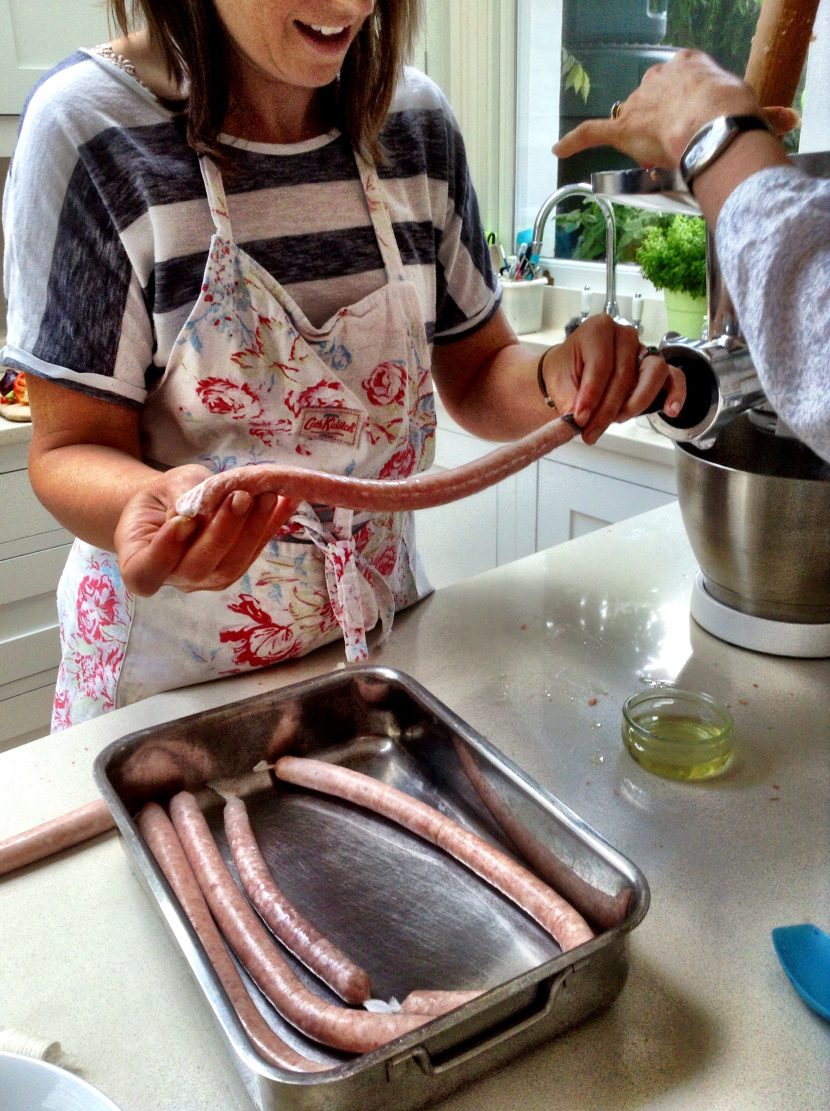
Sometime it’s the simple things in life that make the magic and one of those things for me were Creative Coffee Mornings. They were started by the lovely Sophy many years ago now, when she made the genius decision that chatting over coffee with young children was so much more fun when creating was involved. Originally we’d all take over our unfinished projects and use the time to give ourselves much needed permission to complete them. Then Sophy and best friend, Minta developed it further and prepared, for a small fee, everything in advance with a termly timetable of once-weekly delights. From sugar craft to liqueurs to making sausages…it was the perfect antidote to urban brain boil.

Now Minta is off to pastures new – a whole new chapter is opening up for her in the wilds of Scotland, which I know she’ll relish and grab with both hands…but she’ll be missed.
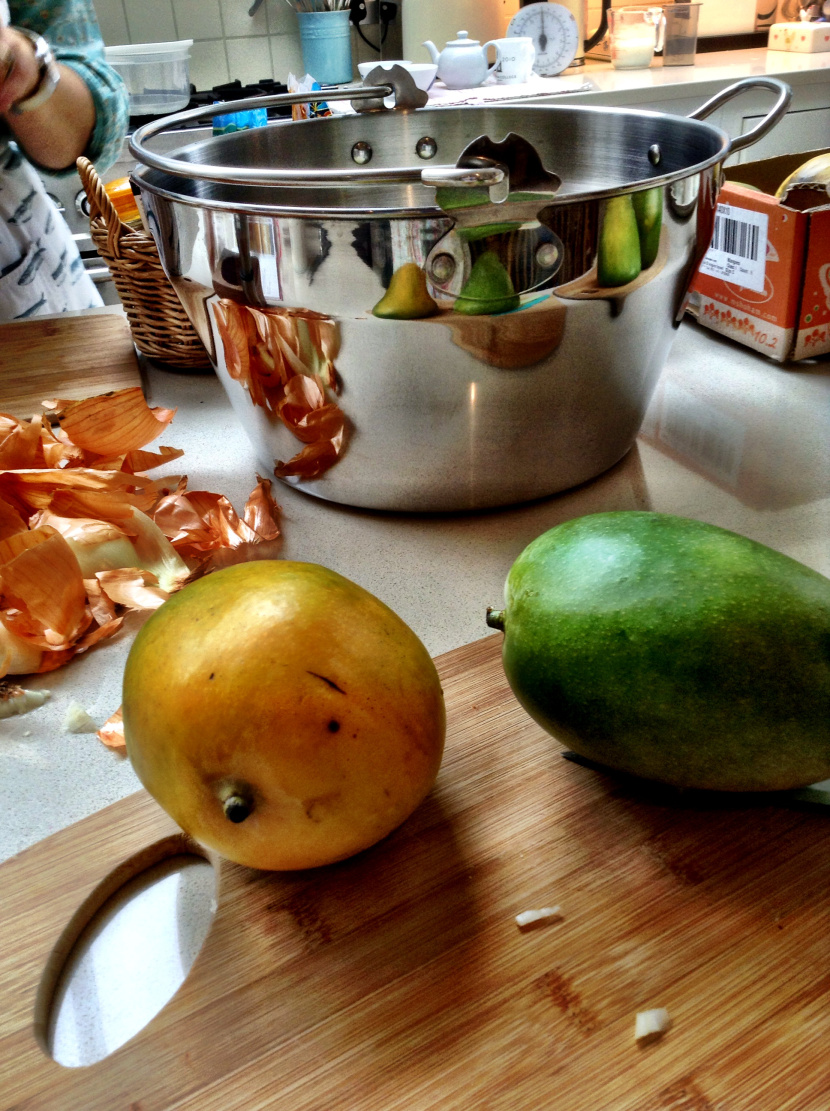

Wednesday mornings will never be quite the same again..


(These are not handmade rolls but an edible sculpture, entitled ‘eight nude elderly ladies tying their shoelaces’..)


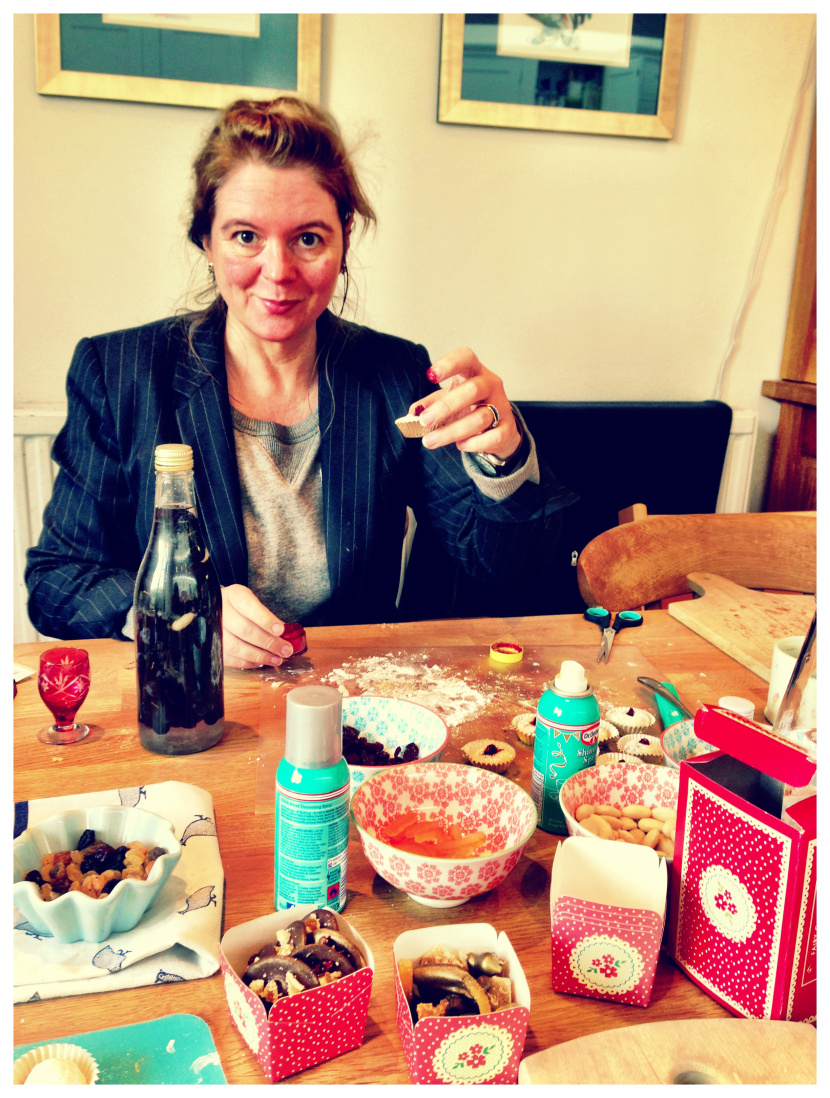
So I raise a cupcake to the wonders of Creative Coffee and all who sailed in her…. Ladies, it was a commanding performance with a spectacular range, lead with aplomb and an indescribable magical touch of alchemy. Thank you for the opportunity to spend time with some of the best women I know laughing, baking, making and creating. The memories will live long..(well..those that aren’t addled by sloe gin…)
I absolutely loved it.
Laters, Kate x
Trial 1..

The inspiration..

The recipe.

The attempt.

That never progressed beyond this.

The aftermath.

The rain.
(Trial 2…soon….I will not be beaten. My garden might…)
Laters, Kate x
