Category: DIY
Green is great x
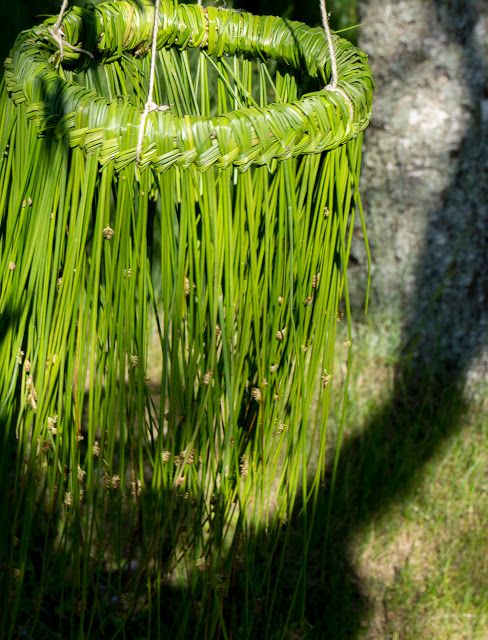
So different from last year when the season changed at the flick of a switch. This year, the weather also seems to have been infected by all things associated with the pandemic. In London it’s cold, like turn the heating back on, winter socks and thermal undies cold. Outside the green is appearing – but it’s being battered by high winds and driving rain; my garden hasn’t had it’s summer make over yet, there’s been no incentive. I’m thinking maybe an offering to forgotten earth spirits is required – it’s what these green chandeliers make me think of, there’s a joy in their simplicity and a celebration in their construction. Who couldn’t fail to be impressed?


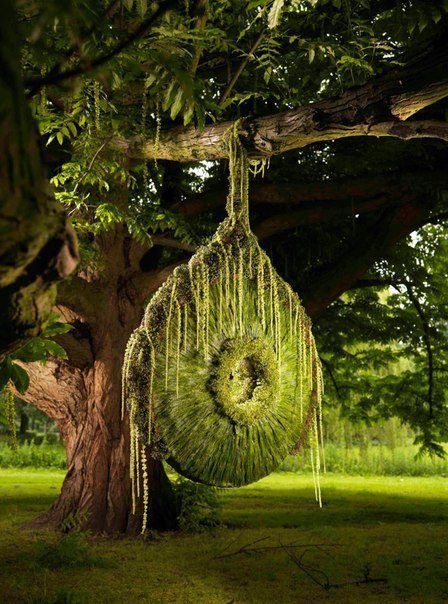
(All pics Pinterest)
And if nothing else, I can watch them bobbing in the wind.
Laters, Kate x
A Gem x

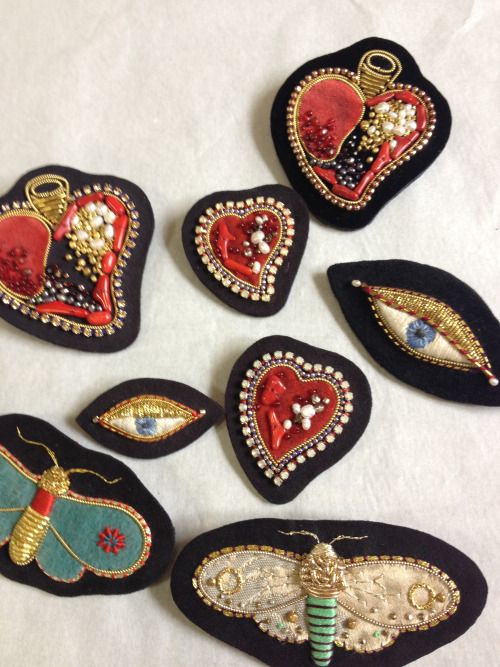
So here’s the thing – I did a post about brooches a while back. But my love of them shows no signs of abating, instead the need to embellish is growing and multiplying like a sparkling, cabochon mold.


But there’s something else that’s caught my eye, away from the traditional magpie pull of vintage costume jewellery; beautiful handmade and handcrafted brooches, little masterpieces of creation, witty takes and outrageous pieces of inventiveness.


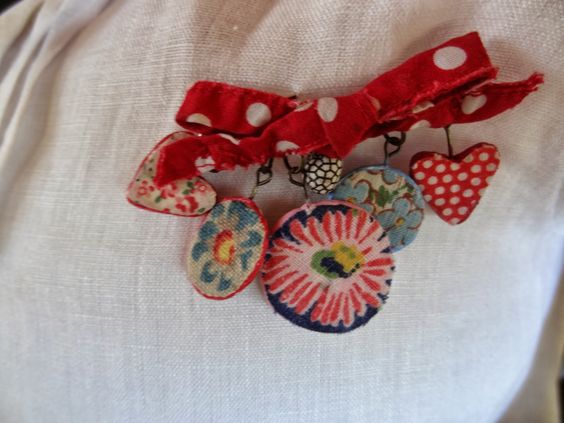
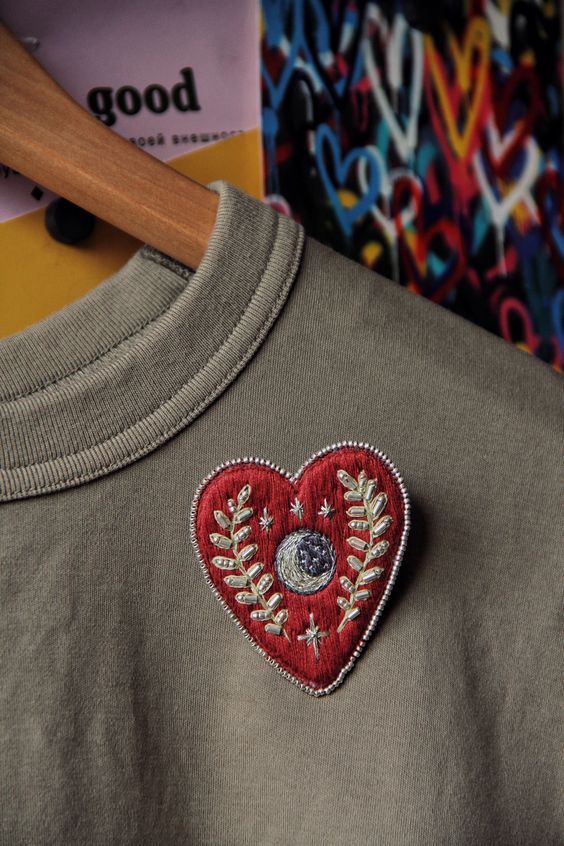


(All pics Pinterest)
I love.
Laters, Kate x
Summer Project x

Every summer needs a project. Something that requires learning a skill, but nothing so taxing the chances of success always remain a once wished dream. I also believe tools and ingredients matter – low cost, simple and preferably eco friendly; I think this one gets A stars in all the right boxes – a crocheted rag rug.

The best instructions and most of these pics come from this brilliant website – My Poppet, and this youtube channel has easy crochet instructions. But the necessary bits are easy to gather – you need a good supply a jute string (you can you wool, I just believe the jute gives it a unifying look as well as being strong and sturdy), a crochet hook and lots of unwanted clothes and material scraps.

The idea of cutting up unwanted clothes, particularly the things the children have grown out of really appeals. It’s that feeling of history and memories and life continuing on. The aim is to cut the cloth into one inch strips, then roll them into useable balls. There’s different ideas about how to attach different strips together, some people like to sew the strips together, others just overlap the strips and crochet them together as and when.
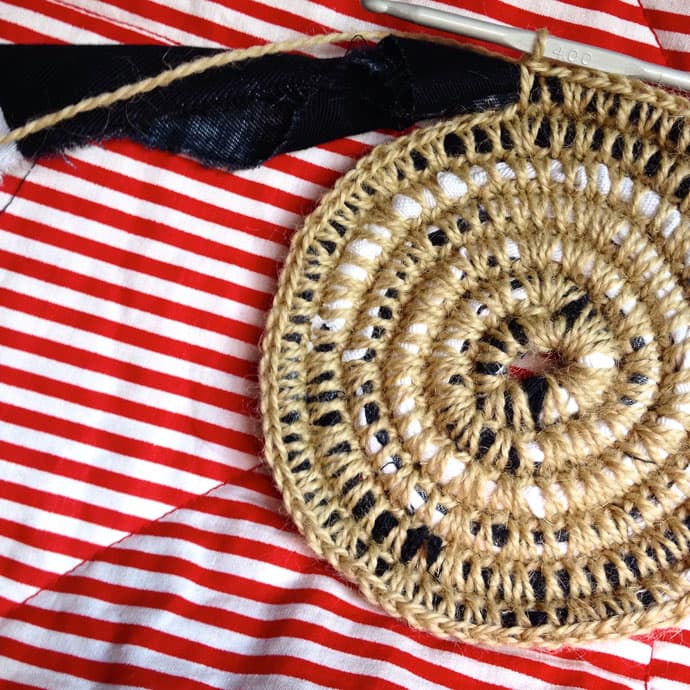
The crochet required to make the rug is literally the most basic stitch you’ll ever need – this isn’t about doing anything complicated, but more about time and care and working in slow time.


The size you go is totally up to you. The one tip I’ve read over and over again, is when it starts getting big, crochet on a flat surface to keep the rug flat.

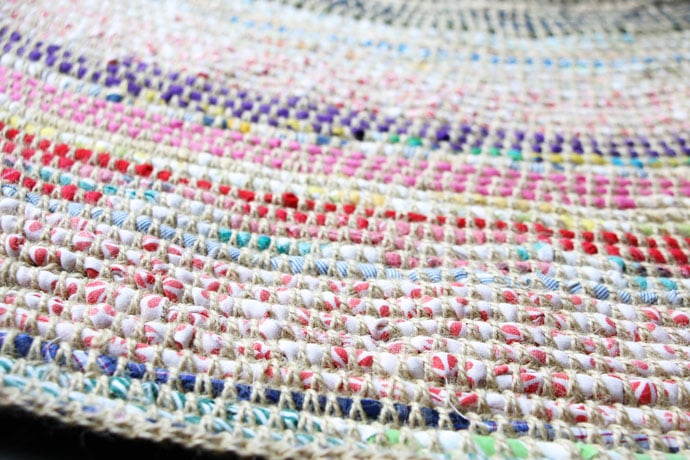


(pics from My Poppet and instructions here)
Circles of life.
Love it.
Laters, Kate x
Interior x
The interior of the garden studio will be a new building with an old soul. Nature, natural, re-claimed, loved and lovable will be the theme pulling it together. Soft edges, patina and unprecious the by-lines.
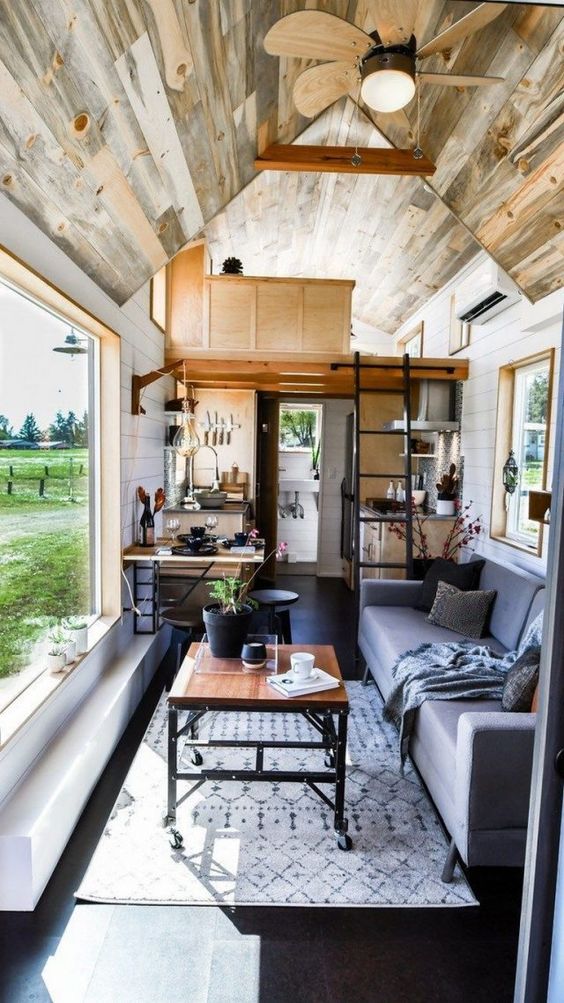
The space will not be big, but that does not exclude character.


The walls will be exposed wood, the floor wood, covered by a jute rug.


Down the left side of the sitting room, on the adjoining wall to the office, I will finally have the perfect place for the remains of my Cado storage system I originally bought for the sitting room for TV and has remained under a bed ever since – we only needed one section, but I bought…three! It’ll provide much needed storage, a place for a record player and an extra desk space – always useful.
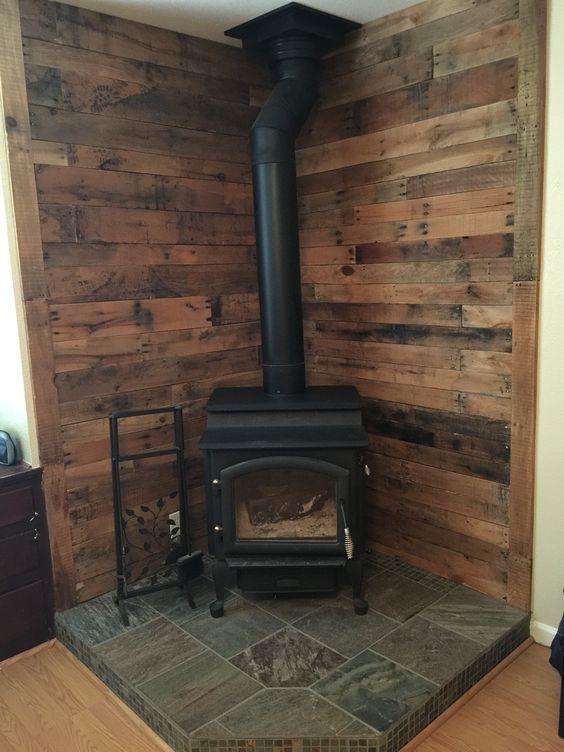
The pod will divided into two – a small office room with storage on the left side, a larger sitting room on the right. Both will have stoves as heaters; this has been a moot point – I would love proper, wood burning stoves – but we live in London, and I don’t think it’s fair on neighbours or the environment, so they will be electric, but cunningly disguised to look the business.

The office room will be a vintage homage, simple desk, anglepoise wall lamp, pictures and storage.


At the far end will be a door leading to floor to ceiling storage for things like our tent and paddle boards.

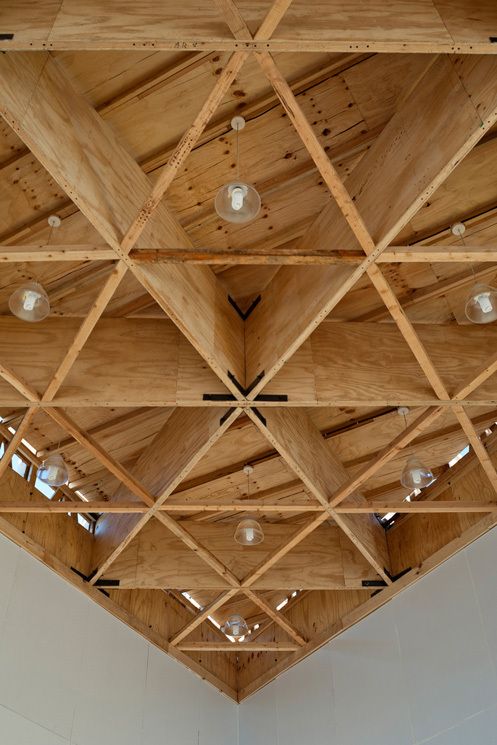
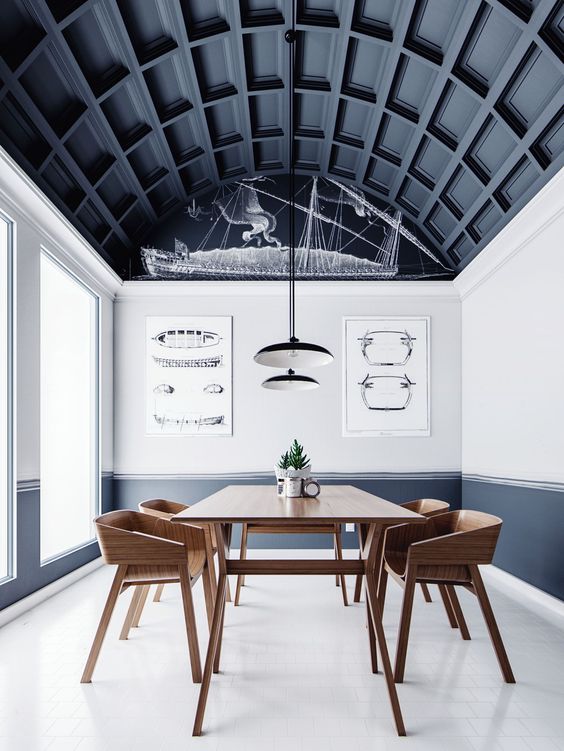
Still to be finalised is the ceiling – I would like to do something to suggest a bit of drama – nothing on the scale of these – but possibly some narrow cross beams, to add shadow and interest, a miniature of these above.

Further indecisions are whether there will be space for a small mezzanine level – a place for children to hide. Or will it eat too much into the space?

And whether to go for build in bench sofas with storage – or something else.
I suspect budget will be the dictator.
Laters, Kate x
Designed x

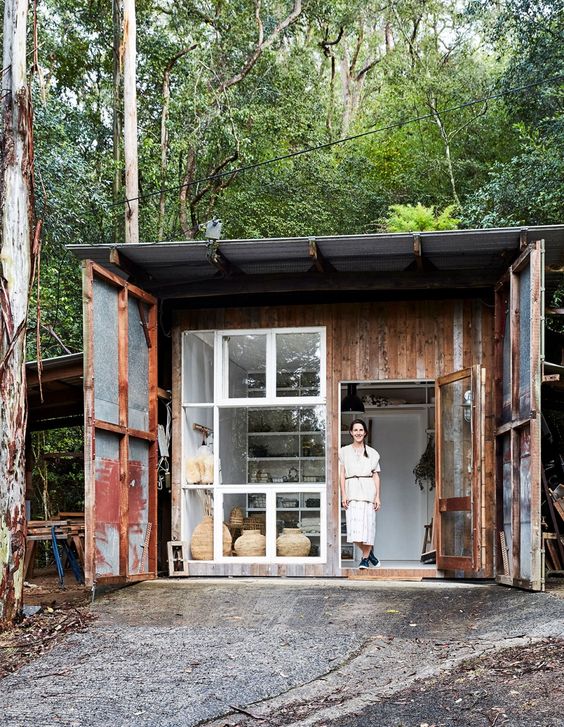
It’s taken longer than I ever anticipated, but I’ve finally finished the design for the pod; there’s such a freedom to be able to design something for yourself, but when, barring council restrictions and budget, the sky is the limit, choices can be overwhelming. But bit by bit, by concentrating on what is allowed and what would benefit the space available, I think I’ve got there. The main inspiration is this garden studio above – I love the simple shape, but there’s also beautiful and subtle detailing that suitably elevates and adds vital character.

I would love to have the more elongated, pagoda style roof, but the width of our garden won’t allow it. But there will be a hint. Unlike the inspiration, we will have a green roof and I hope to encourage plants both to grow up and hang down. The driving consideration behind the design is because we don’t have a panoramic view to frame, why not go with private, enclosed, quiet and chapel like? A secret, hidden space for gently moving light and contemplation. So the doors will be Georgian panels, the overhang shaded and the design understated.

The plan is for planting to cover and encroach, from the sides, from above, from below and even inside the overhang, to create a blur between garden and building.

The overhang will also protect from the sun and act as a privacy screen. In ours will be fitted the salvaged stained glass panels, to cast colours and patterns and draw people out.


The whole building will be painted a bronzey brown as a foil to the plants and to visually push it back into it’s environment.
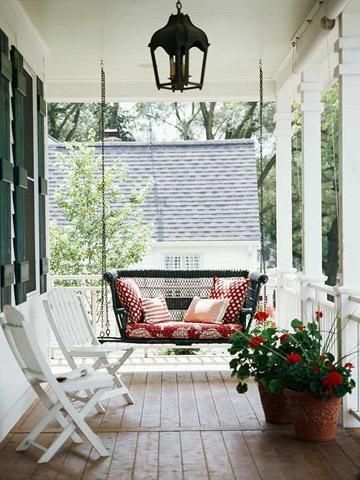
The overhang will be wide enough to contain a swing chair positioned to catch the last of the evening light. And if space allows, I would love a dramatic porch light.
Now for the inside….
Laters, Kate x
Light Up x

I’ve looked at all sorts for a focal light for the garden studio. The obvious choice was something large and rustic, like these amazing Moroccan shades.

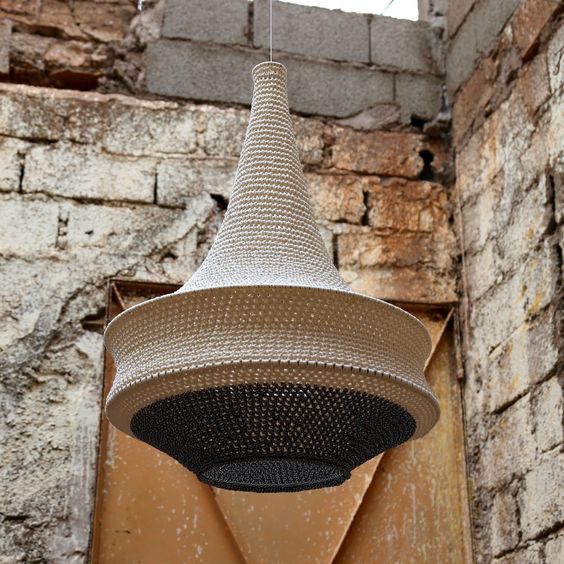

Or embrace the macrame.


This one from IKEA is lush.
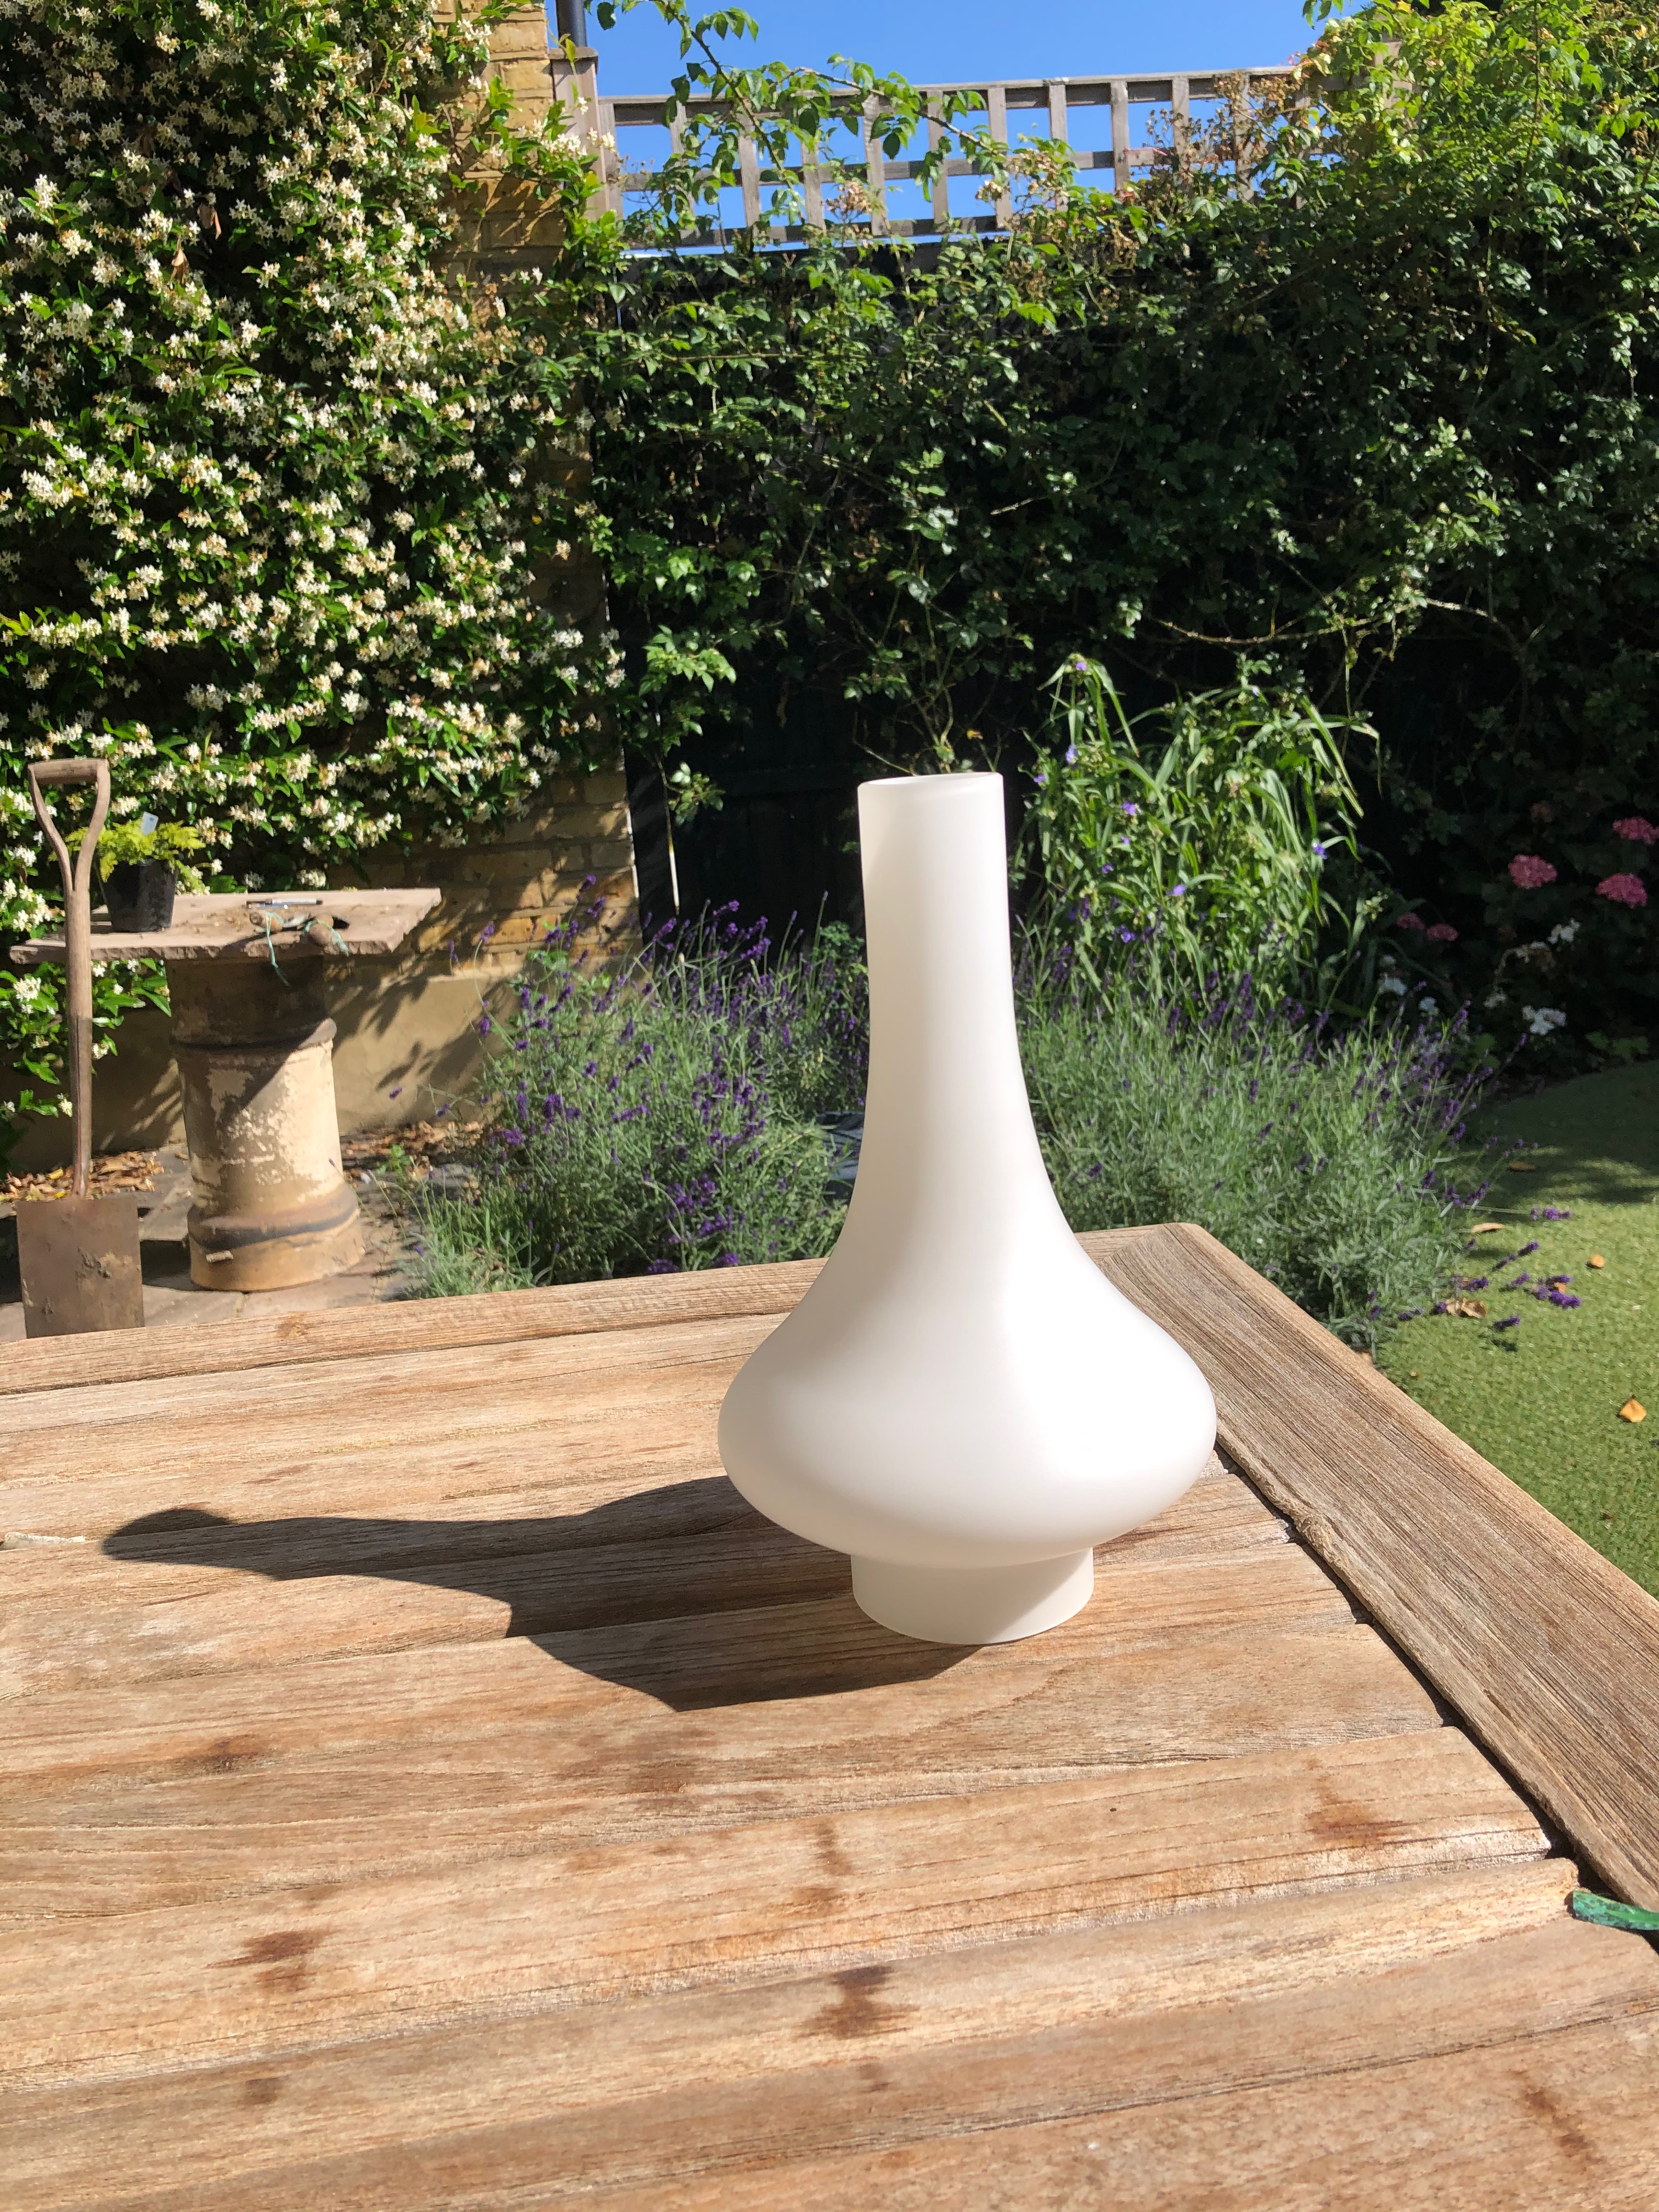
The final choice was a step away from obvious, a return to vintage and celebrates the clean lines of the fifties.

(Pics: moroccan lights, Ikea light, Pinterest)
Found on ebay, this understated beauty catches the eye without dominating the small space, and its age injects soul and timelessness.
Decision, tick. Next one…
Laters, Kate x
Windows x
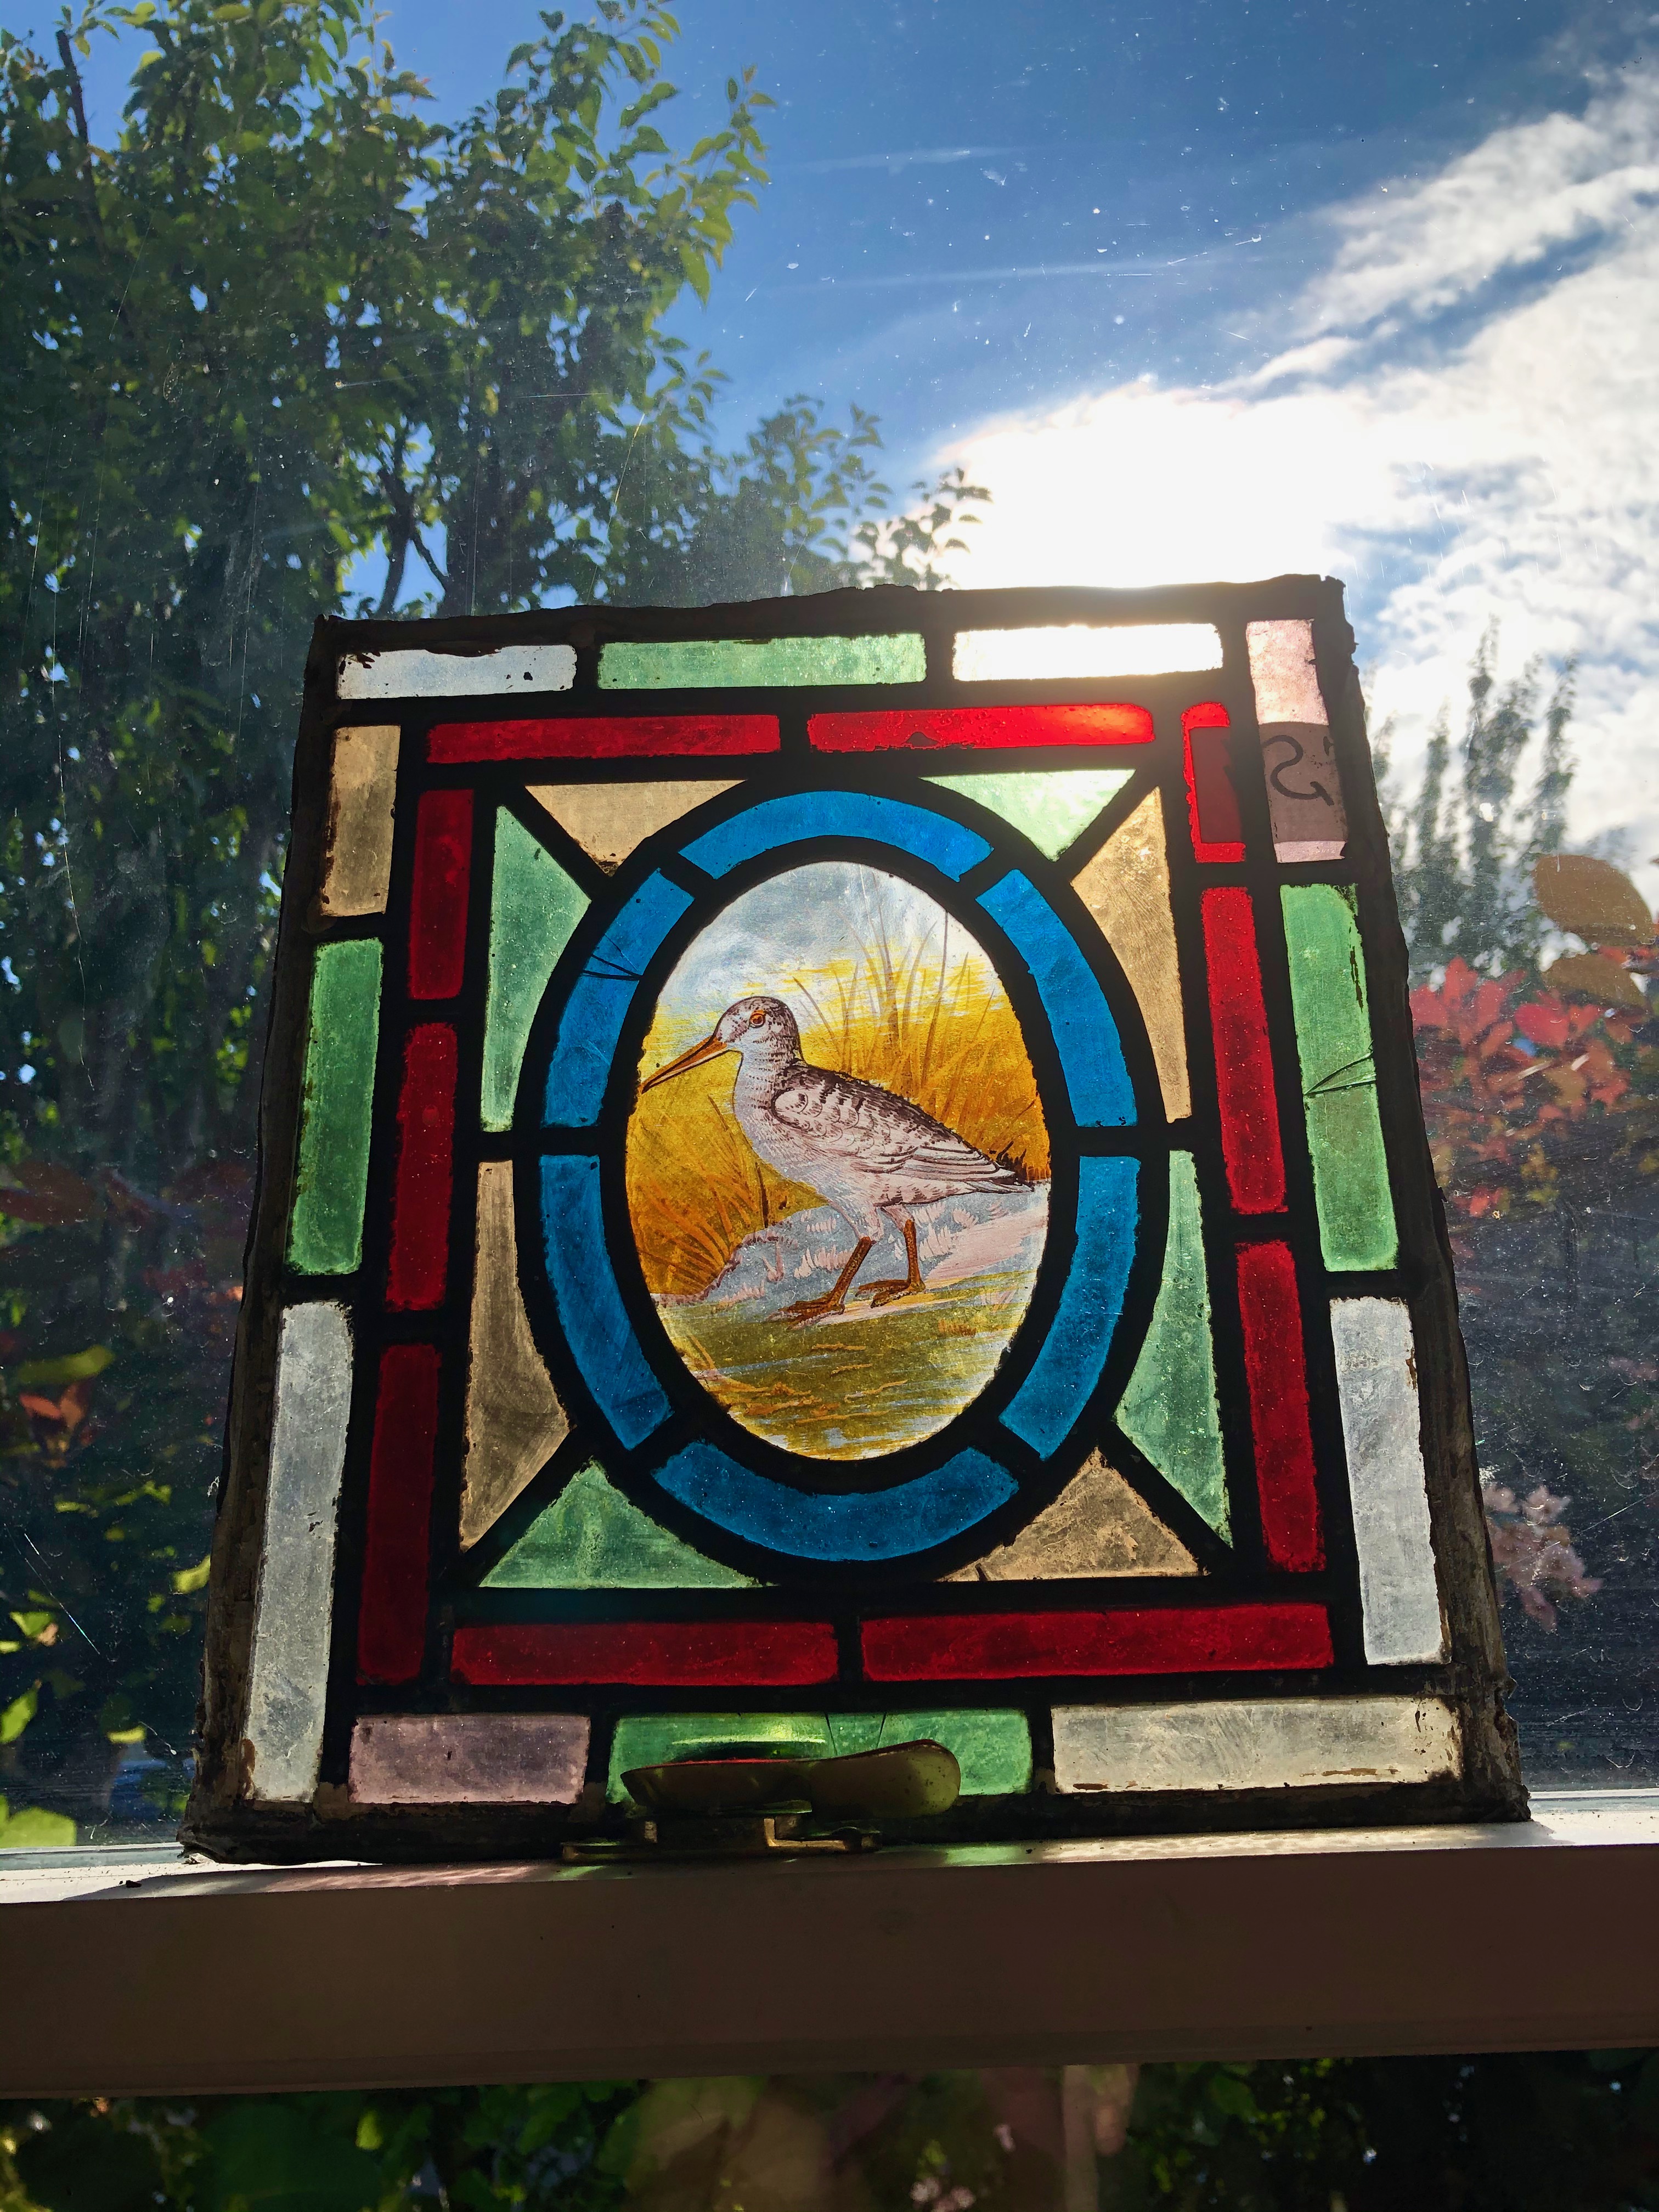
Ebay is not a safe place for me at the best of times, but now with an official project – let me write that again with capital, authoritative letters – Official Project – as my cover, it is very dangerous; our kitchen is beginning to look like a reclamation yard. But oh, the pleasure! These are the stained glass panels I have snaffled – genuine Victorian, everything between £50 – £60 (which I think is good value, though they do need work). I have visions of them over the doors, at the back of the pod, even in the apex space between the roof. Who knows where their final resting place/places will be, but I am loving the colours – the pale pinks, the greens and then the contrast of the strong blues and reds. I can imagine sitting on something comfy with a cup of tea, looking at the garden, with the late afternoon light sliding through making patterns on the floor. The real bonus was finding painted centres as well – look! A duck!!
(little cough..I have three of these…all slightly different. All insanely gorgeous)
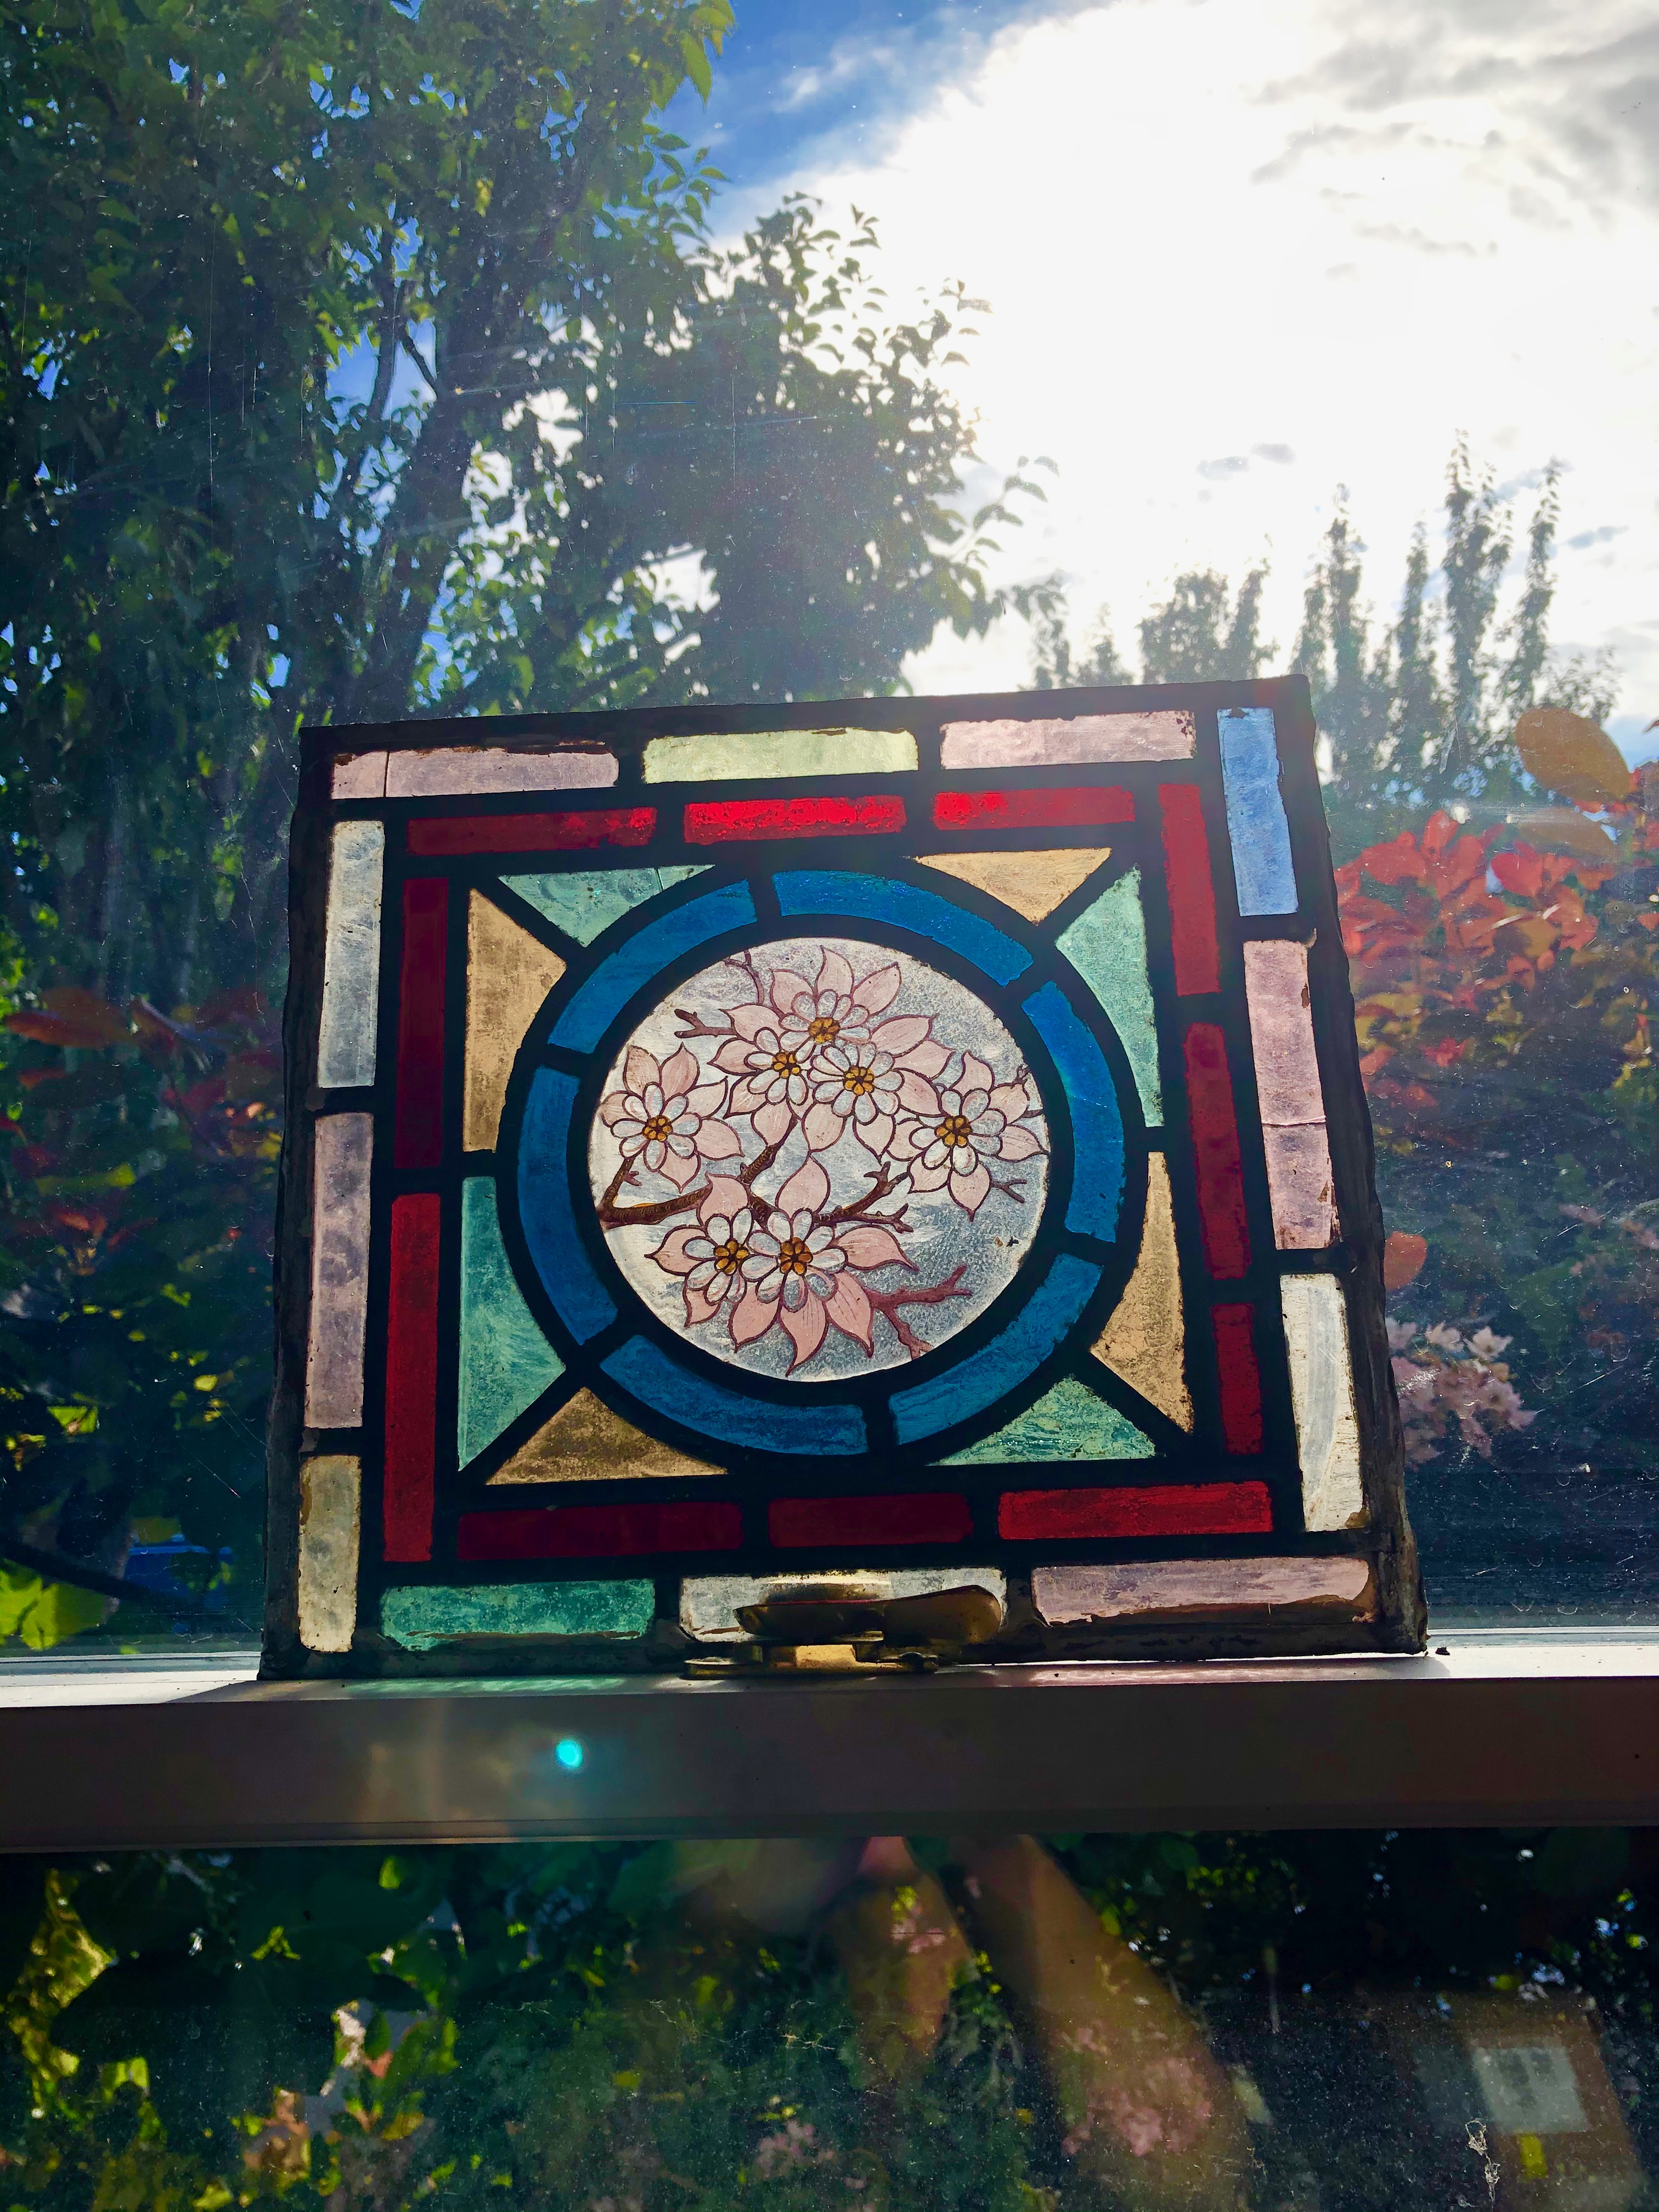

This is possibly my favourite – a caterpillar! Such a great metaphor for life, the universe and everything…


Little glowing bits of handmade, re-cycled, re-loved heaven.
Now for the lights…..hehe
Laters, Kate x
Decision x
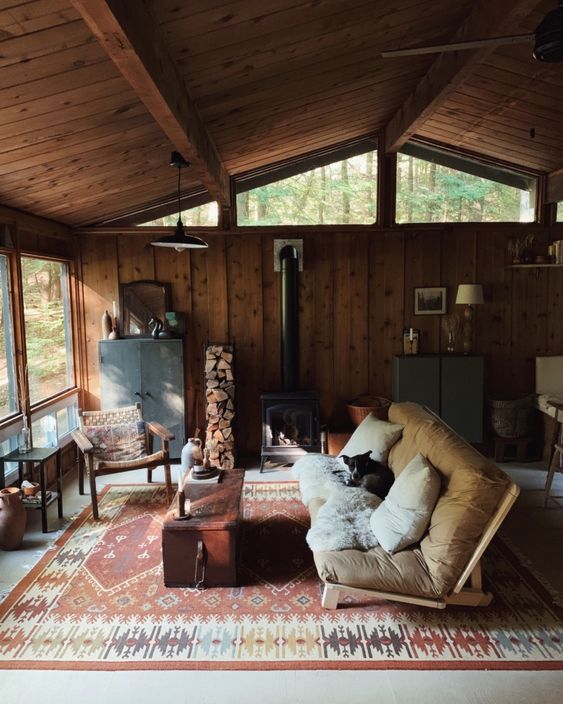
The Pod will be a 5m x 3m structure at the bottom of a South London garden. But that doesn’t stop the dreaming. And whilst the pull to modern is strong, stronger is the call of the old, timeless, batty and slightly battered, which is possibly best encapsulated in these pictures, a cedar cabin in Wyong Creek, Australia, from The design files.net, the home of Natalie Watson, because pictures always speak.
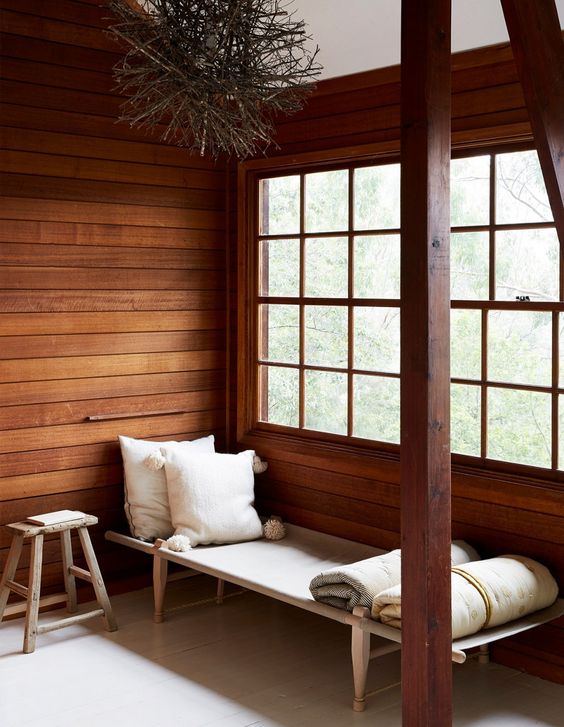
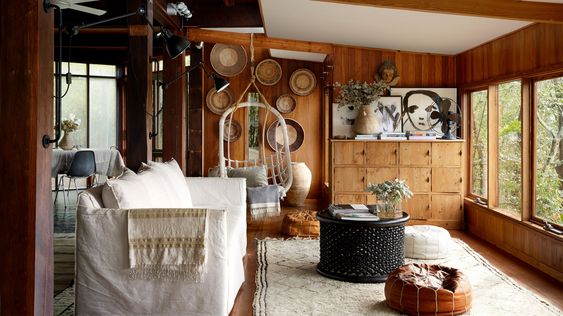


(All pics The Designfiles.net and Pinterest)
Strength and gentleness. Gentleness and strength. Age and ageing. Peace and quiet.
Simple and honest.
Laters, Kate x
Light my way x

I’m not here. I’m in a car, driving to Bristol, genuinely quite excited about experiencing a motorway again and moving wider than a 2 mile circle from the house. We’re emptying The Husband’s work flat as he’s going to be in London till at least Christmas; Every cloud. The plan is to make a round trip in a day – normally a ticket to hell, but all of that has been subtly reframed by the thought of travelling at speed, the prospect of a horizon and the promise of new vistas. Aren’t I the lucky one? These pictures were taken today – Sunday afternoon has become a potter time for me – projects to plan, things to do. And this represents the first time I’ve tried to re-make candles.
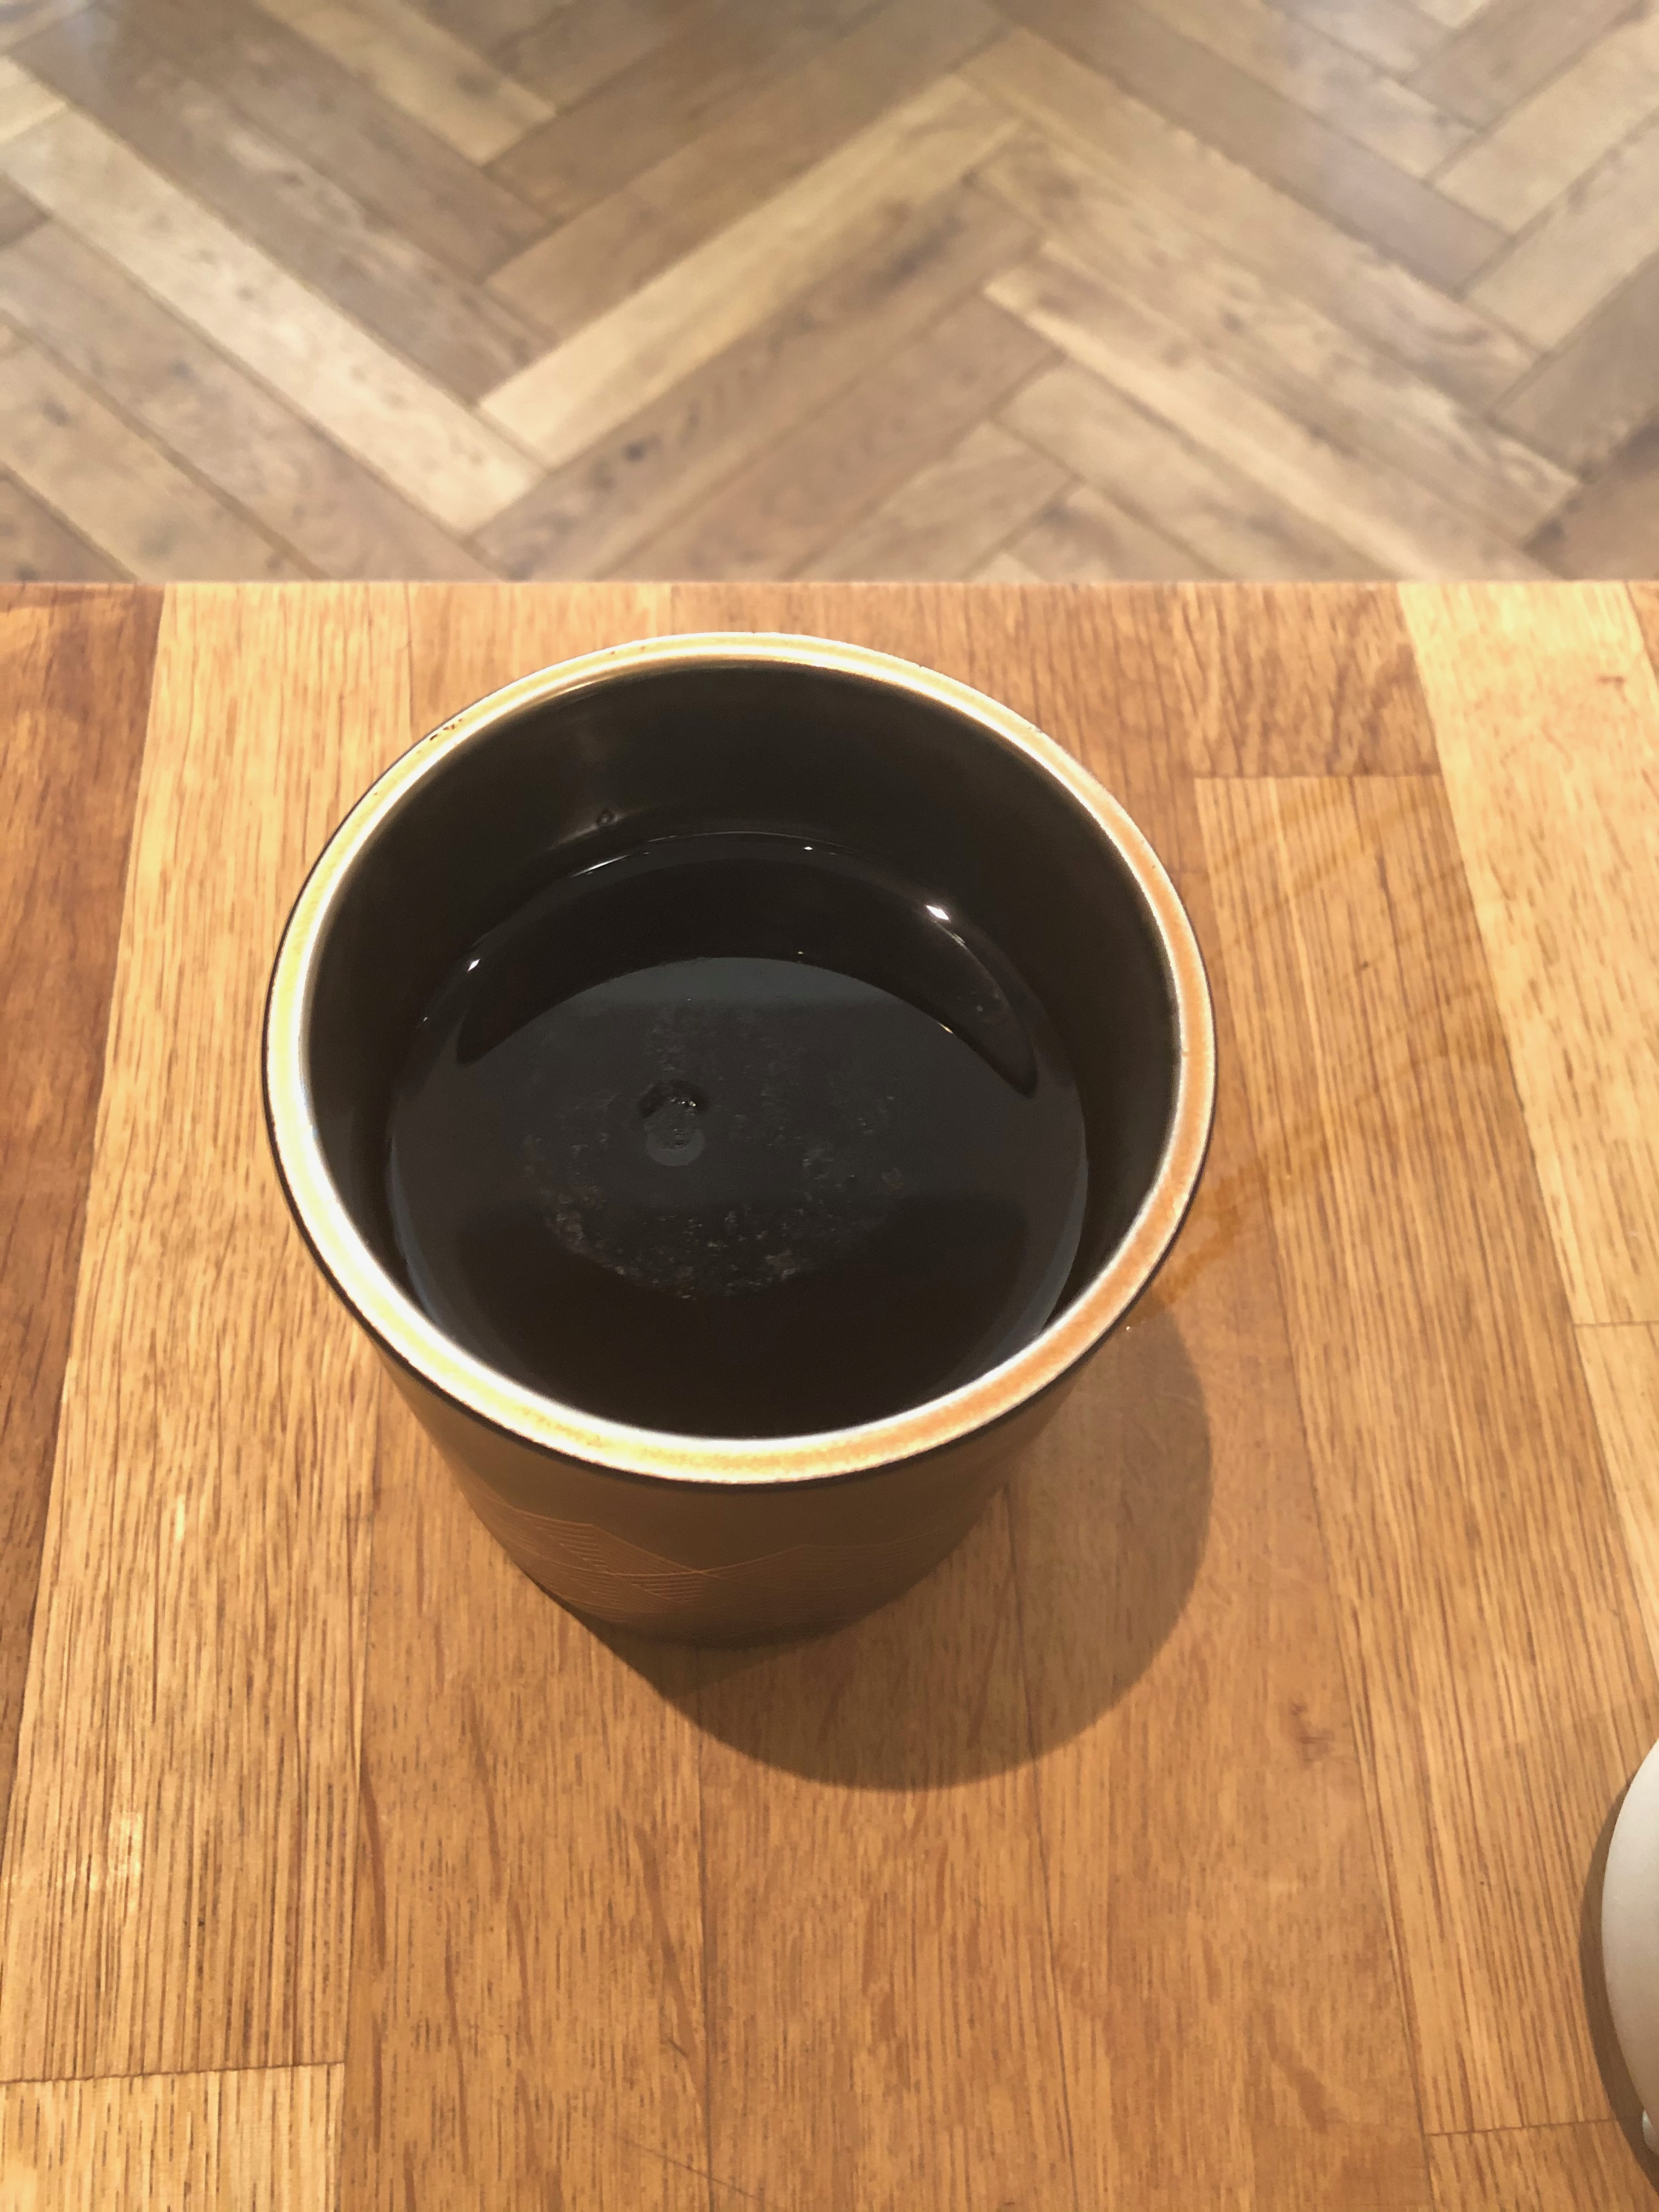
The first thing was to get rid of the bits of wax left at the end of all the finished candles. I found the best way was to pour in boiling water, which melted the wax, making it rise to the surface to create a wax plug that was then easy to remove.


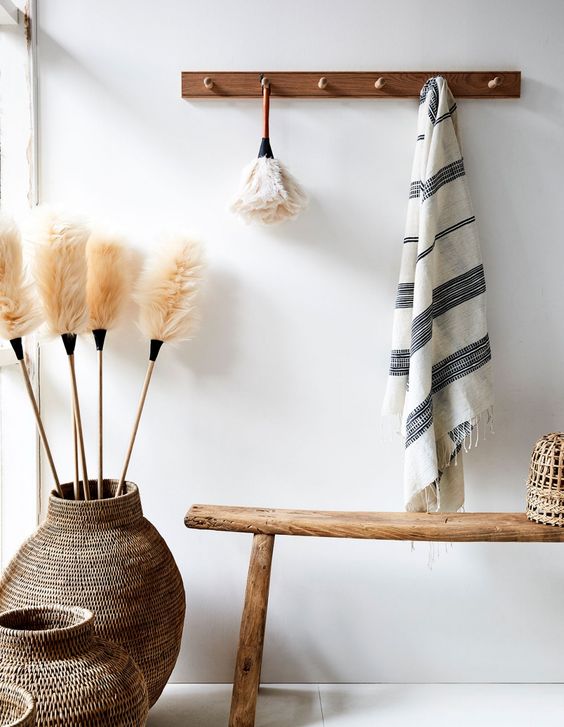
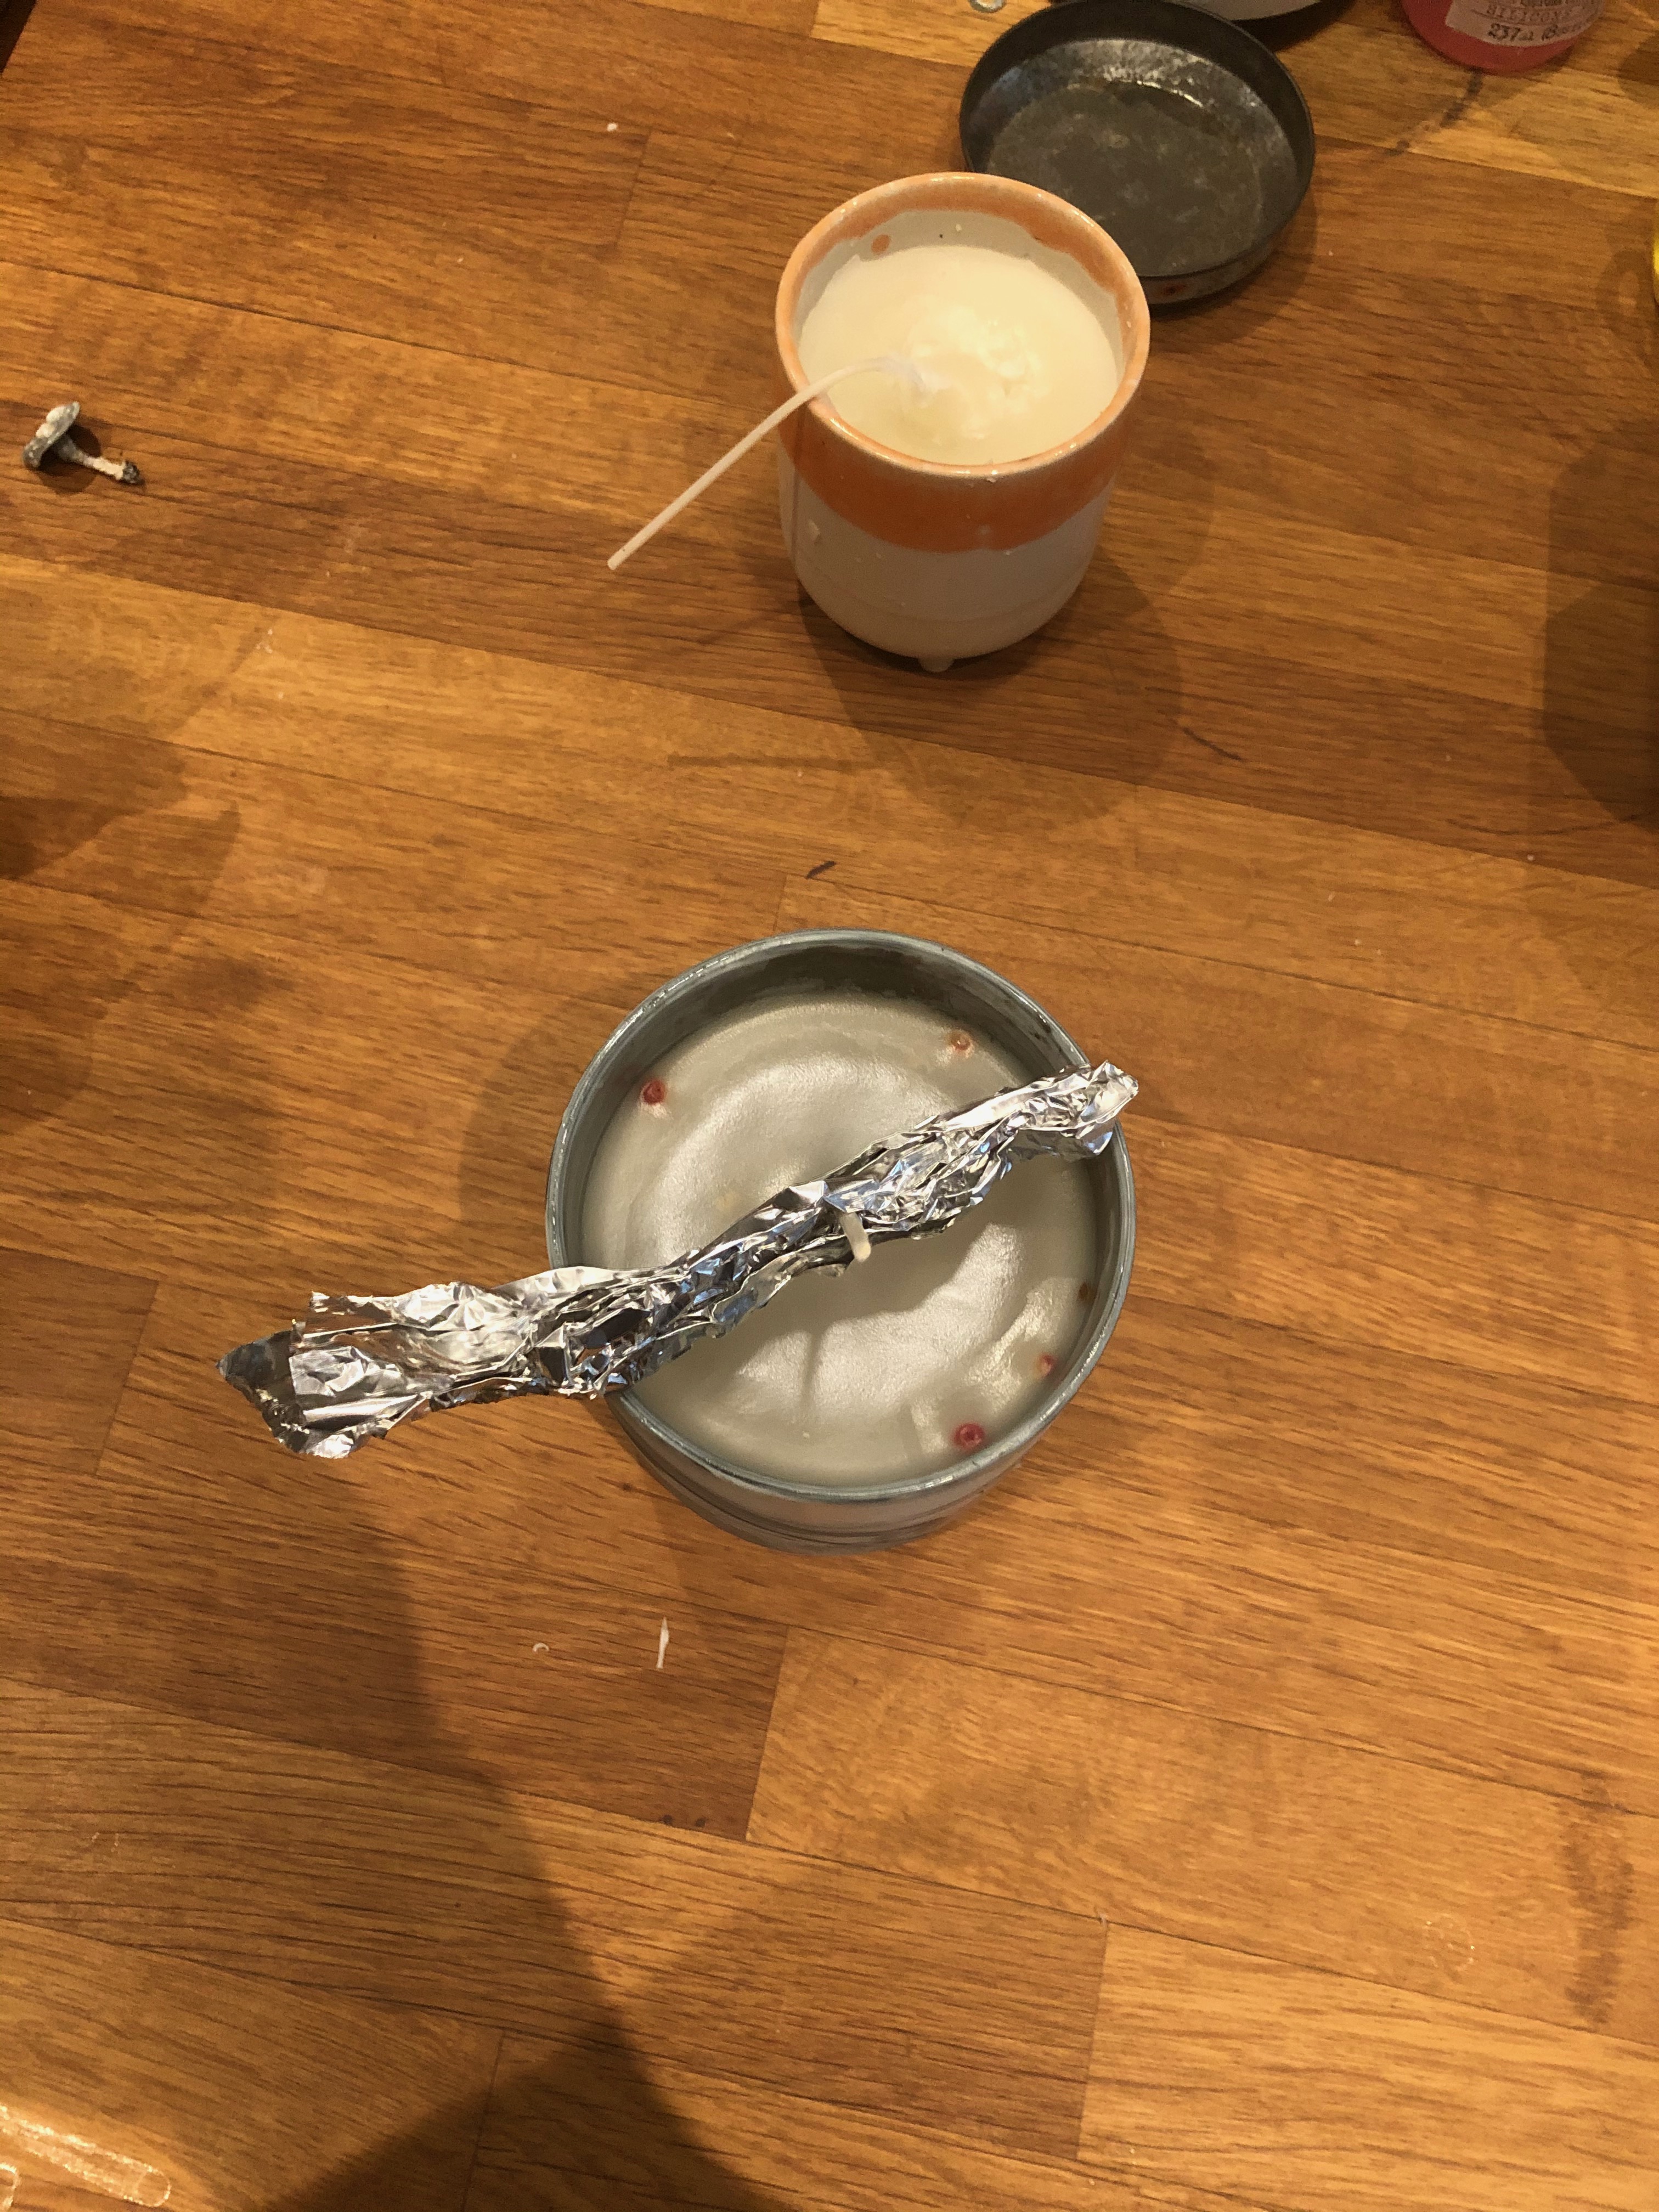
My eclectic collection of containers, from tins to pots to old candle jars.

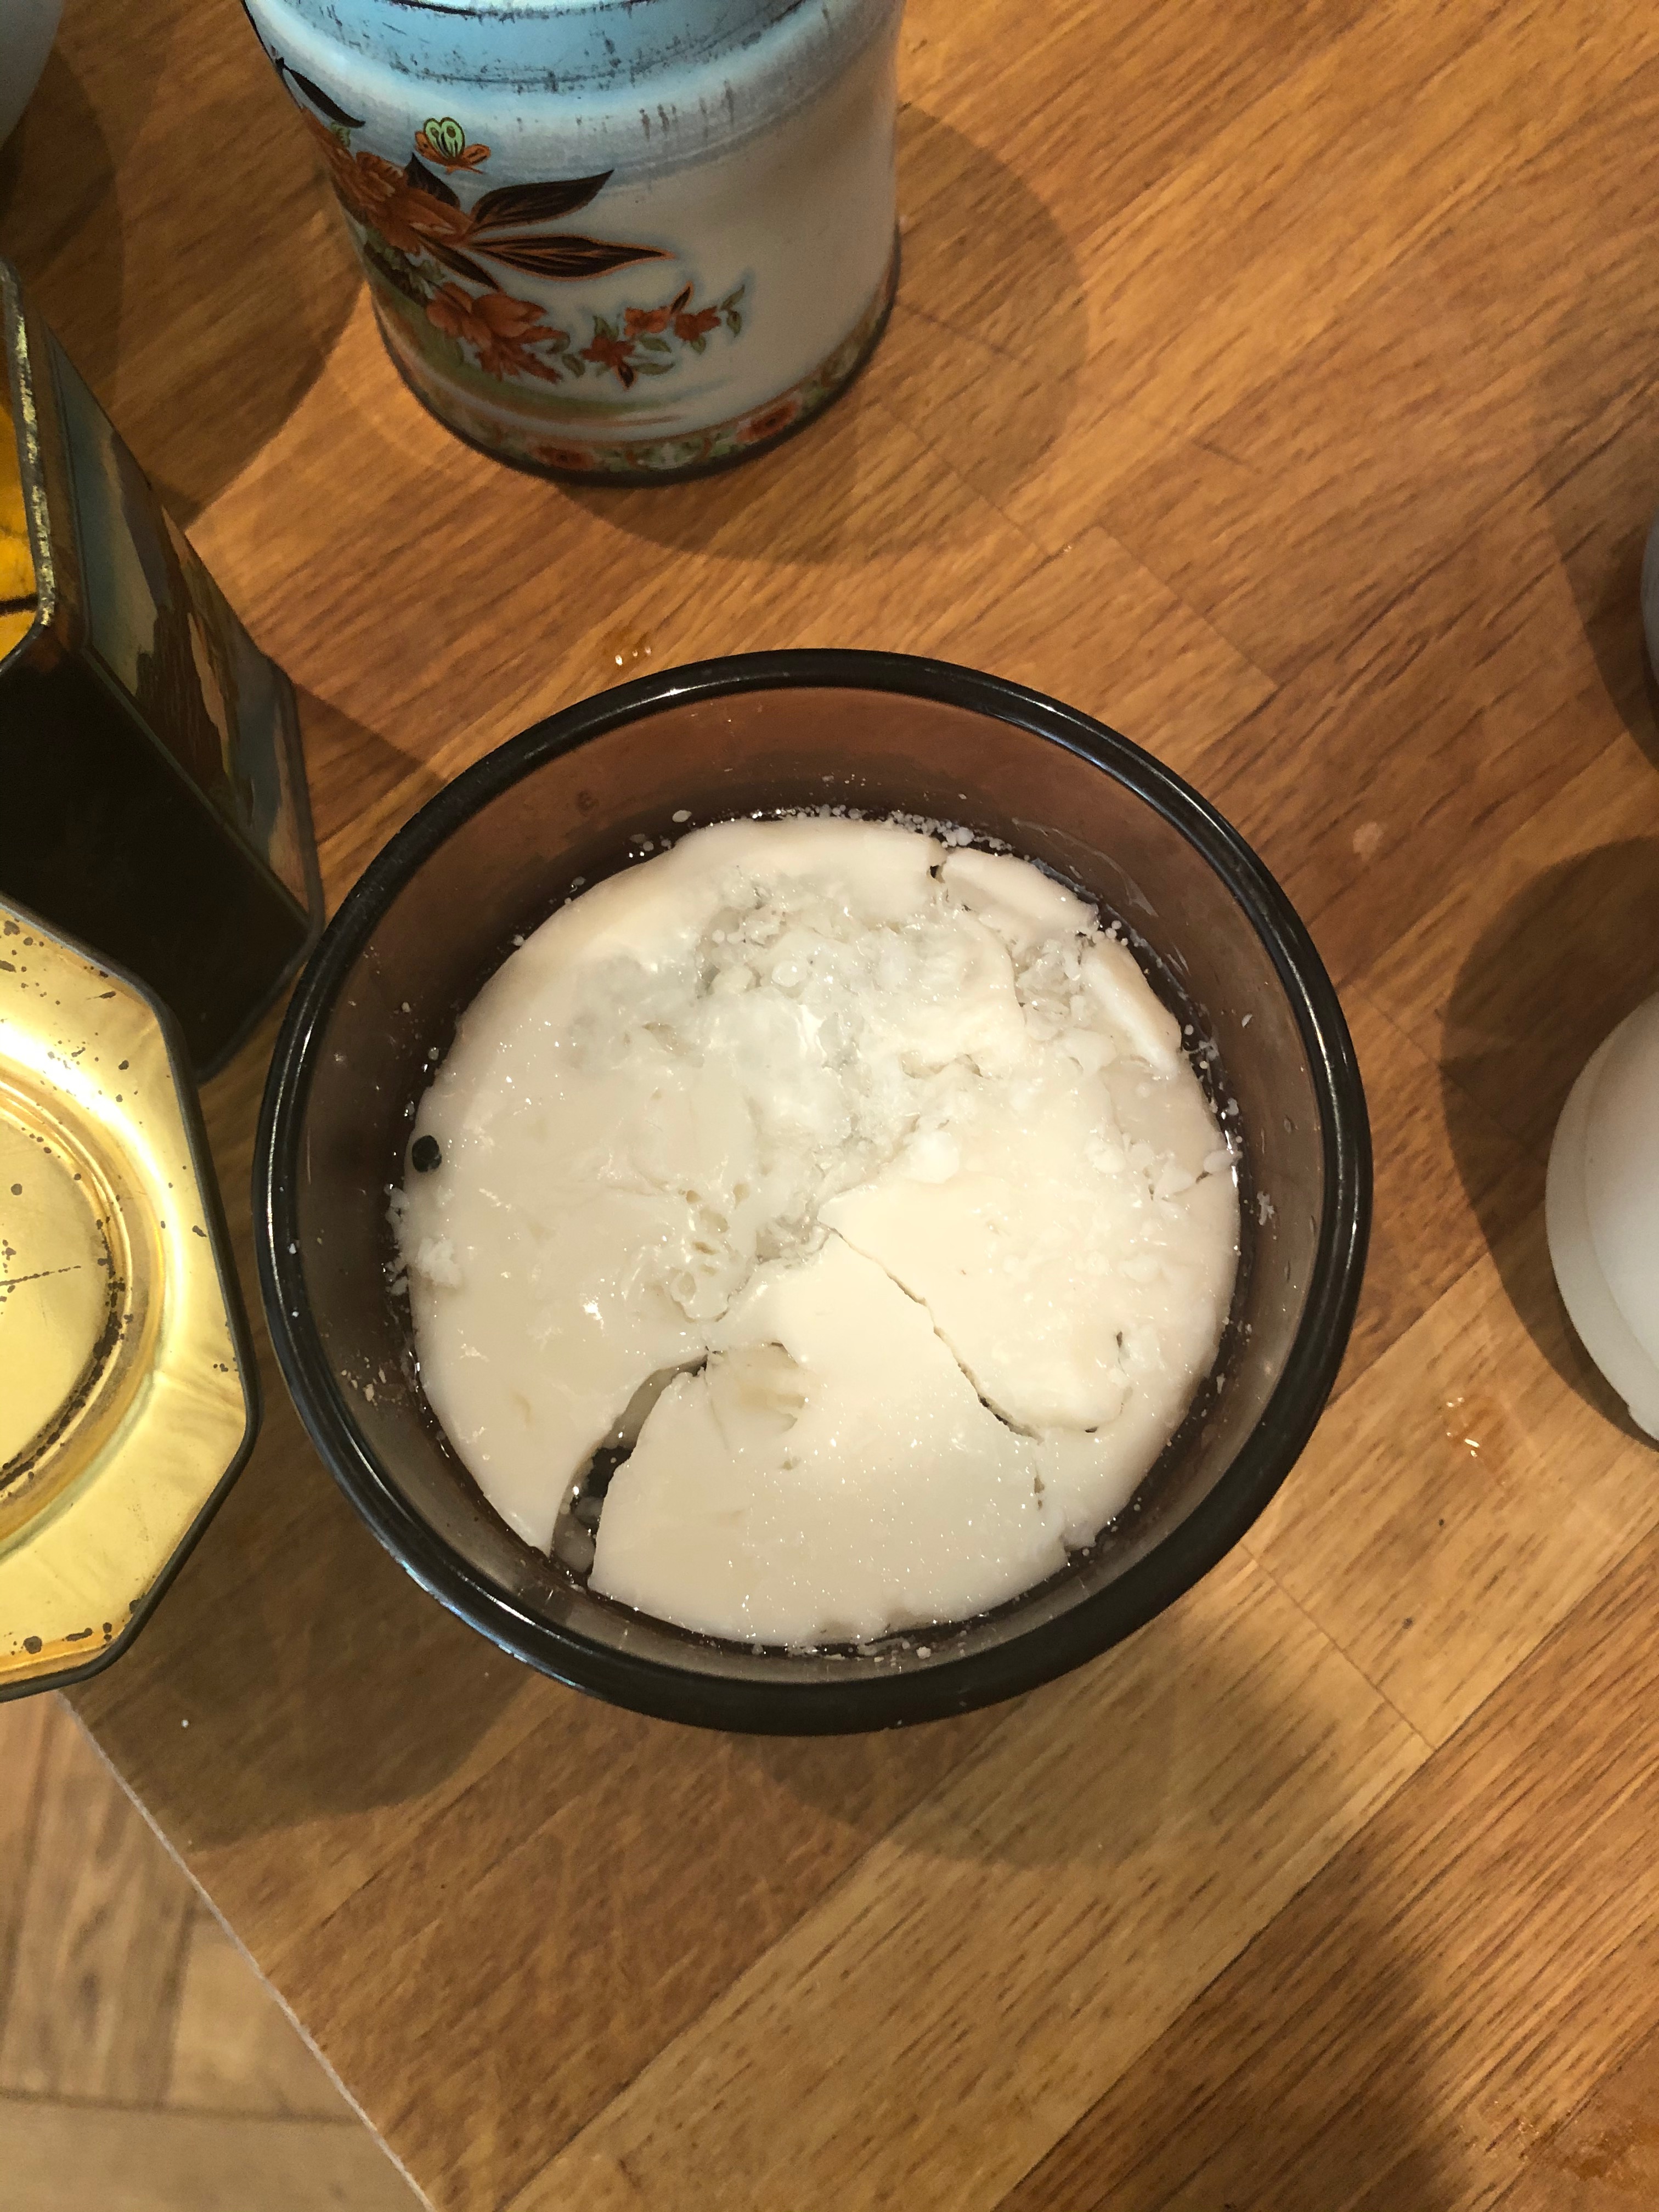
The wicks I ordered very cheaply from Ebay.
And stuck down with a dab of glue from a handy glue gun.

This was the super candle that inspired the re-make – a winter candle from the White Company with it’s gorgeous smell that died leaving lots of wax. I melted down in a pyrex bowl over a saucepan of boiling water. Once the lump of it became soft, I cut it up into smaller bits to speed up the melt. I also added all the remnants of the other candles, because why not? Once everythings melted it’s possible to add various essential oils. As the kitchen already smelt like a tart’s boudoir, I refrained.

Pouring in the liquid wax is not the easiest thing. I recommend a funnel. Then I improvised with tin foil to keep the wicks upright and central.
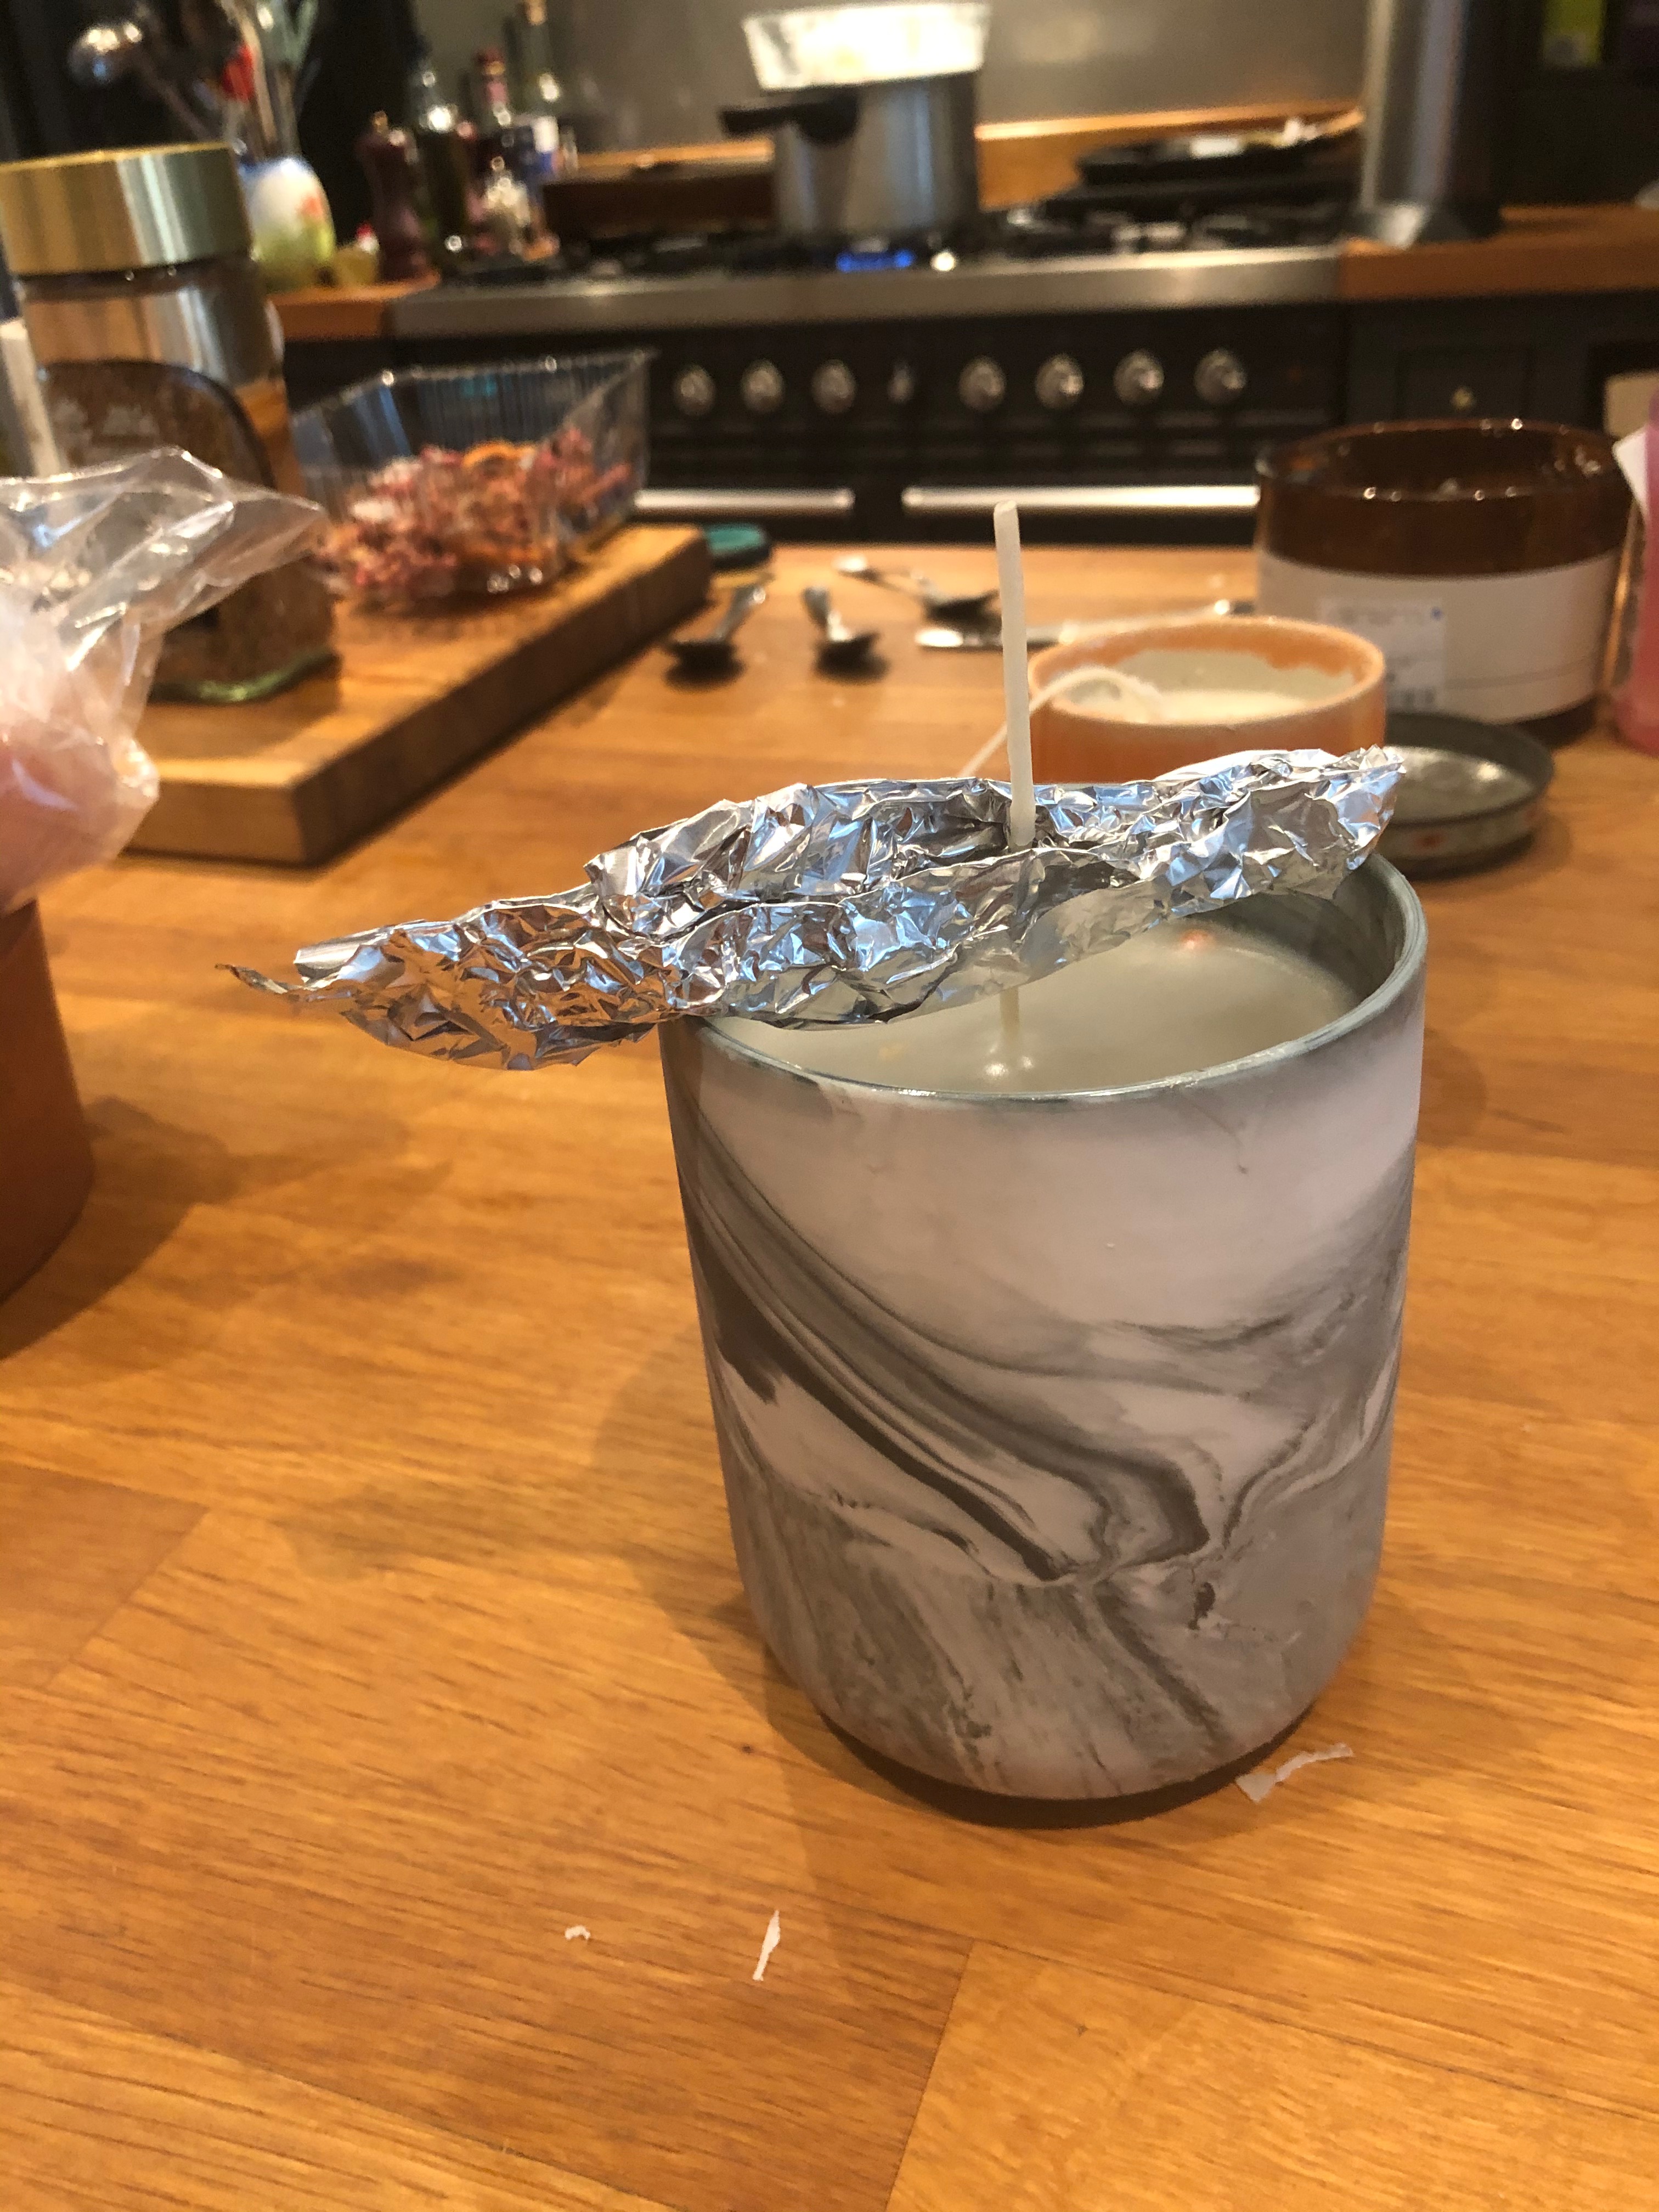
Highly satisfying and highly recommended.
Laters, Kate x
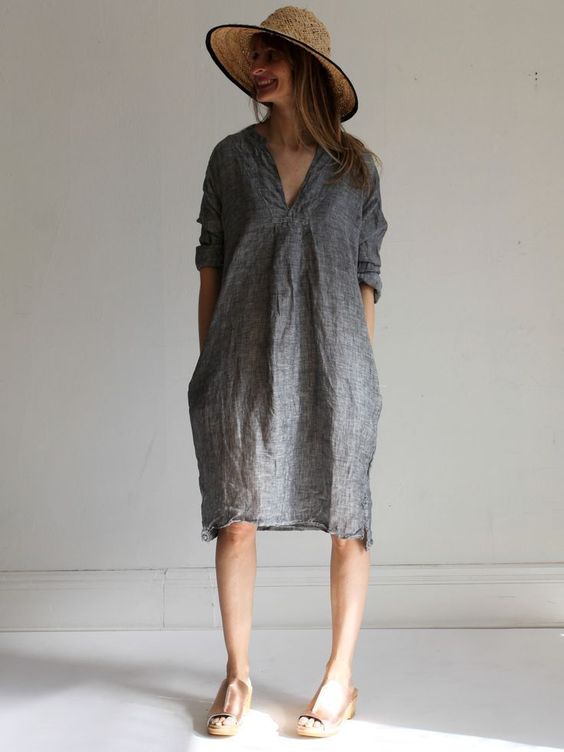
The dress x

According to one blog post, the voluminous dress is the new quarantine. And who am I to disagree? So far, my basic wardrobe has consisted of cropped trousers and long buttoned shirts, double layered when the temperature dipped, as loose coats over t-shirts when the sun shined. But temperatures due to hit 27 degrees this week, I think it’s time to transition to dresses. My favourite summer dress is a dark green, cotton vintage dress made with a deep v in a batik print. I love it. I love the colour, the ease and the print. In fact, I would like more of the same, but I can’t find and….so I’ve been trawling patterns on the web to come up with something similar.

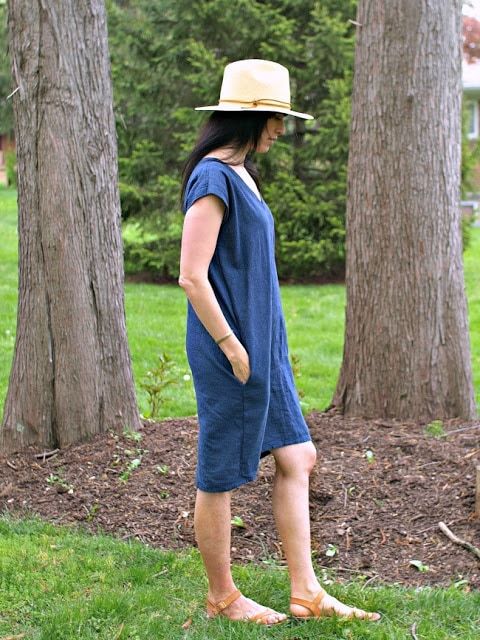
And I’ve found three, and two of them, including the one above, need no pattern at all…and this one even comes with pockets!
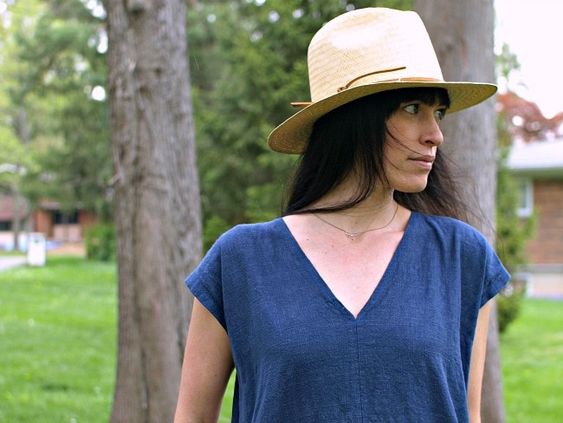
This pattern comes This Little Miggy, a fab website with great ideas and a wonderful vibe, I would recommend a virtual tour. The instructions are brilliant; clear, precise and everything you could need.


If you feel comfortable sewing, you may want to move onto this pattern from So Sew Easy – or rather, instructions, because again, this is simple, only measurements, no-pattern sewing.
(All pics Pinterest, This Little Miggy, so sew easy, oliverands)
A finally, if you want to tackle a simple pattern to add sleeves, there’s this beauty from OliverandS
High summer dressing sorted.
Laters, Kate x
