Tagged: Craft
Brainstop..

So the husband asked me what sort of doorstop I’d like for the new crittall doors – I said a round one of course!
He looked at me like I’d suddenly grown donkey ears but it’s not such a stupid idea…the inspiration came from cannon ball doorstop at my parent’s house in Greece: heavy enough for purpose but round enough for cheeky aesthetic pleasure. So he searched the internet and found this, a cannonball doorstop handmade in Dorset by Sam at Millin Metalcraft and I couldn’t be more delighted!
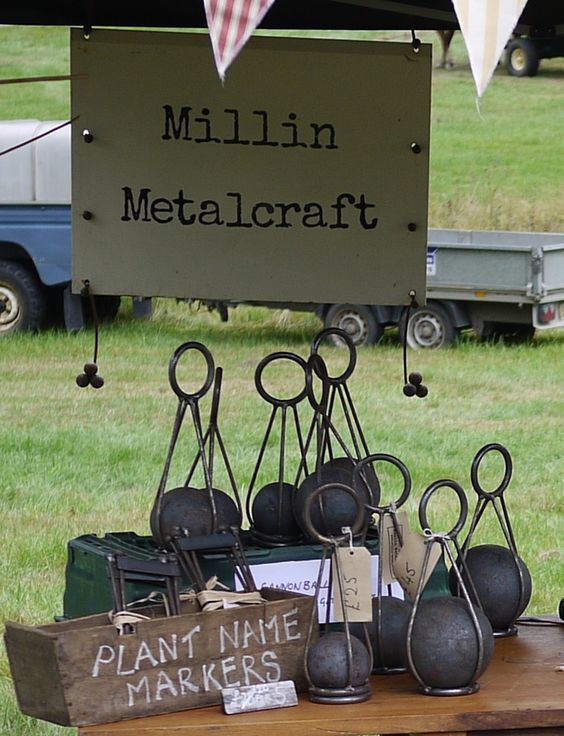
Sam makes them in three sizes – from heavy (£25), to even heavier (£35)…to very heavy (£45) (which is strong enough to hold back a barn door..)

And they are all that you could want: resonance, authenticity and practicality.

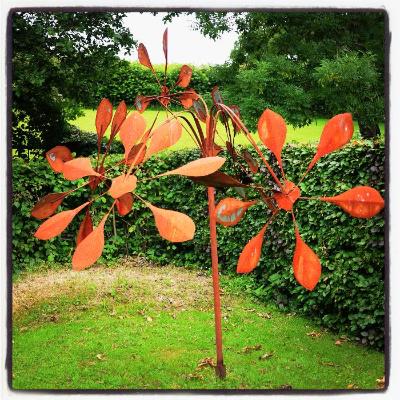
But Sam’s talents don’t stop there – he does a beautiful line in metal sculptures like these alliums…

And is up to be challenged for anything metal related. Minion stove anyone?

Ours in situ. Made by hand by a proper, loving, skilled craftsman – it’s simple, effective joy.
Laters, Kate x
Lavenders Blue x

Strange things flit through my head – take today – lavender bags? Maybe because a kilo of dried lavender has arrived through the post..an impulsive purchase made with thoughts of a tidy, old fashioned style utility room with crisp white linens adorning the shelves.


But it would be a lovely project to do with the kids..and a great way to use up dying but much loved scraps of vintage fabric.
Shame it’s only Monday.
Laters, Kate x
Dog Wool..
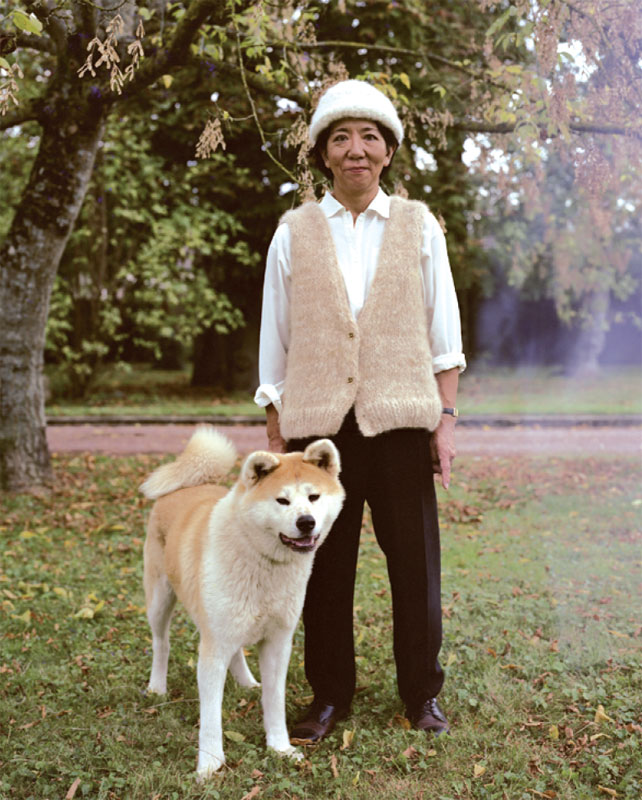
Can love ever be too much or am I just too westernised? I spotted an article on DogWool on the plane on the way back from Greece – apparently there’s a little place in Brittany between Abercerac’h and the Virgin Island lighthouse that will use a traditional spinning wheel, to spin your dogs unwanted hair into balls of wool ready to knit.

Which is nothing if not honest recycling: It’s something Eskimos have done for centuries using Husky hair as the perfect property against the cold. In northern Russia they knit socks of dog wool to prevent rheumatism…

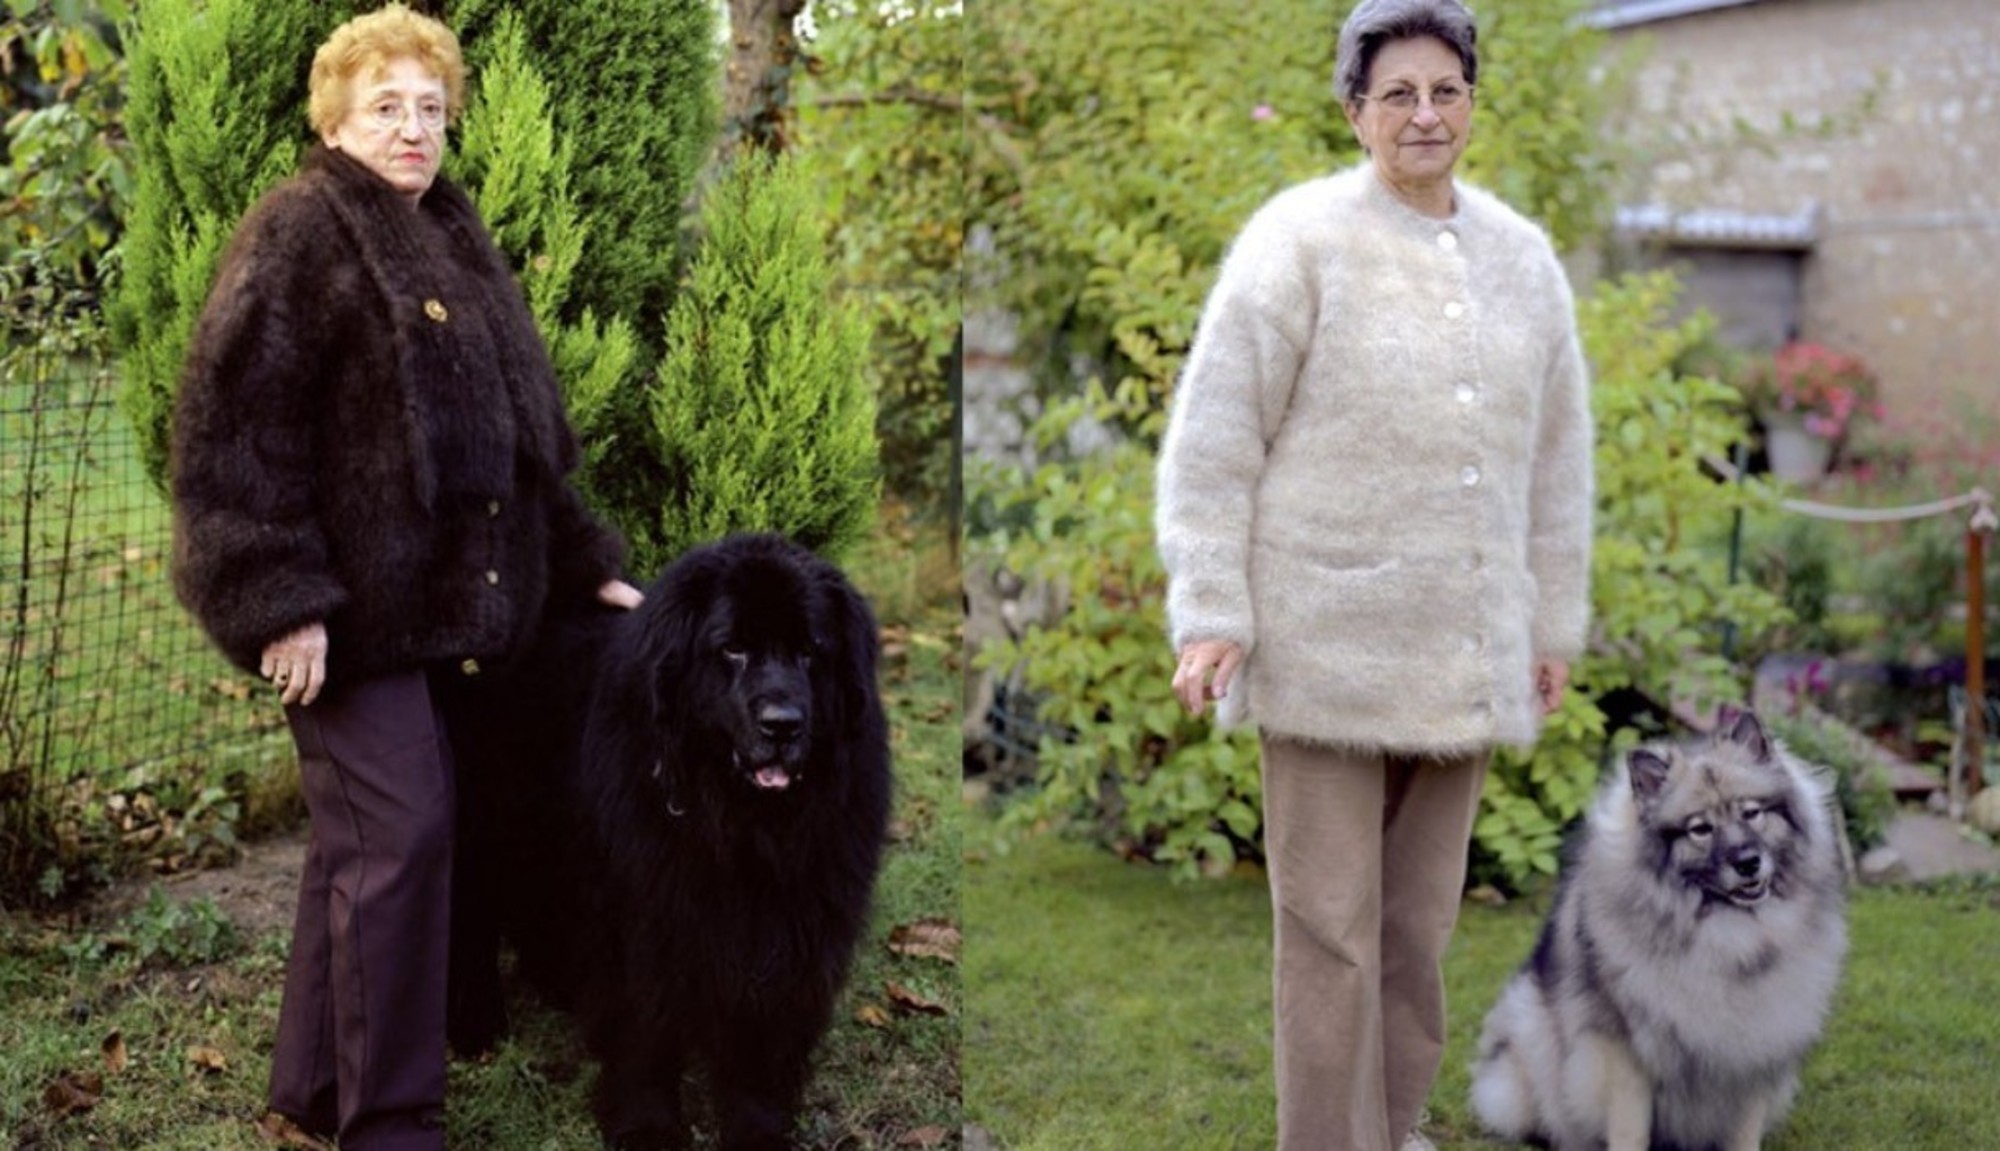
But here? Now?? Maybe my worry is that we don’t live in an extreme cold environment where fingers drop off if they’re not covered appropriately and – lets be honest – this further blurs the line between dog and owner – we already know how many morph to look like each other and now, through this they can genuinely can be a human in dogs clothing.
And what happens when your dog dies??
If this is your thing, then by all means go for it – there’s certainly a high level of skill involved…personally, I’ve never met a dog I didn’t like…sadly I can’t say the same for knitwear..Molly, you’re safe.
Laters, Kate x
Creative Coffee x
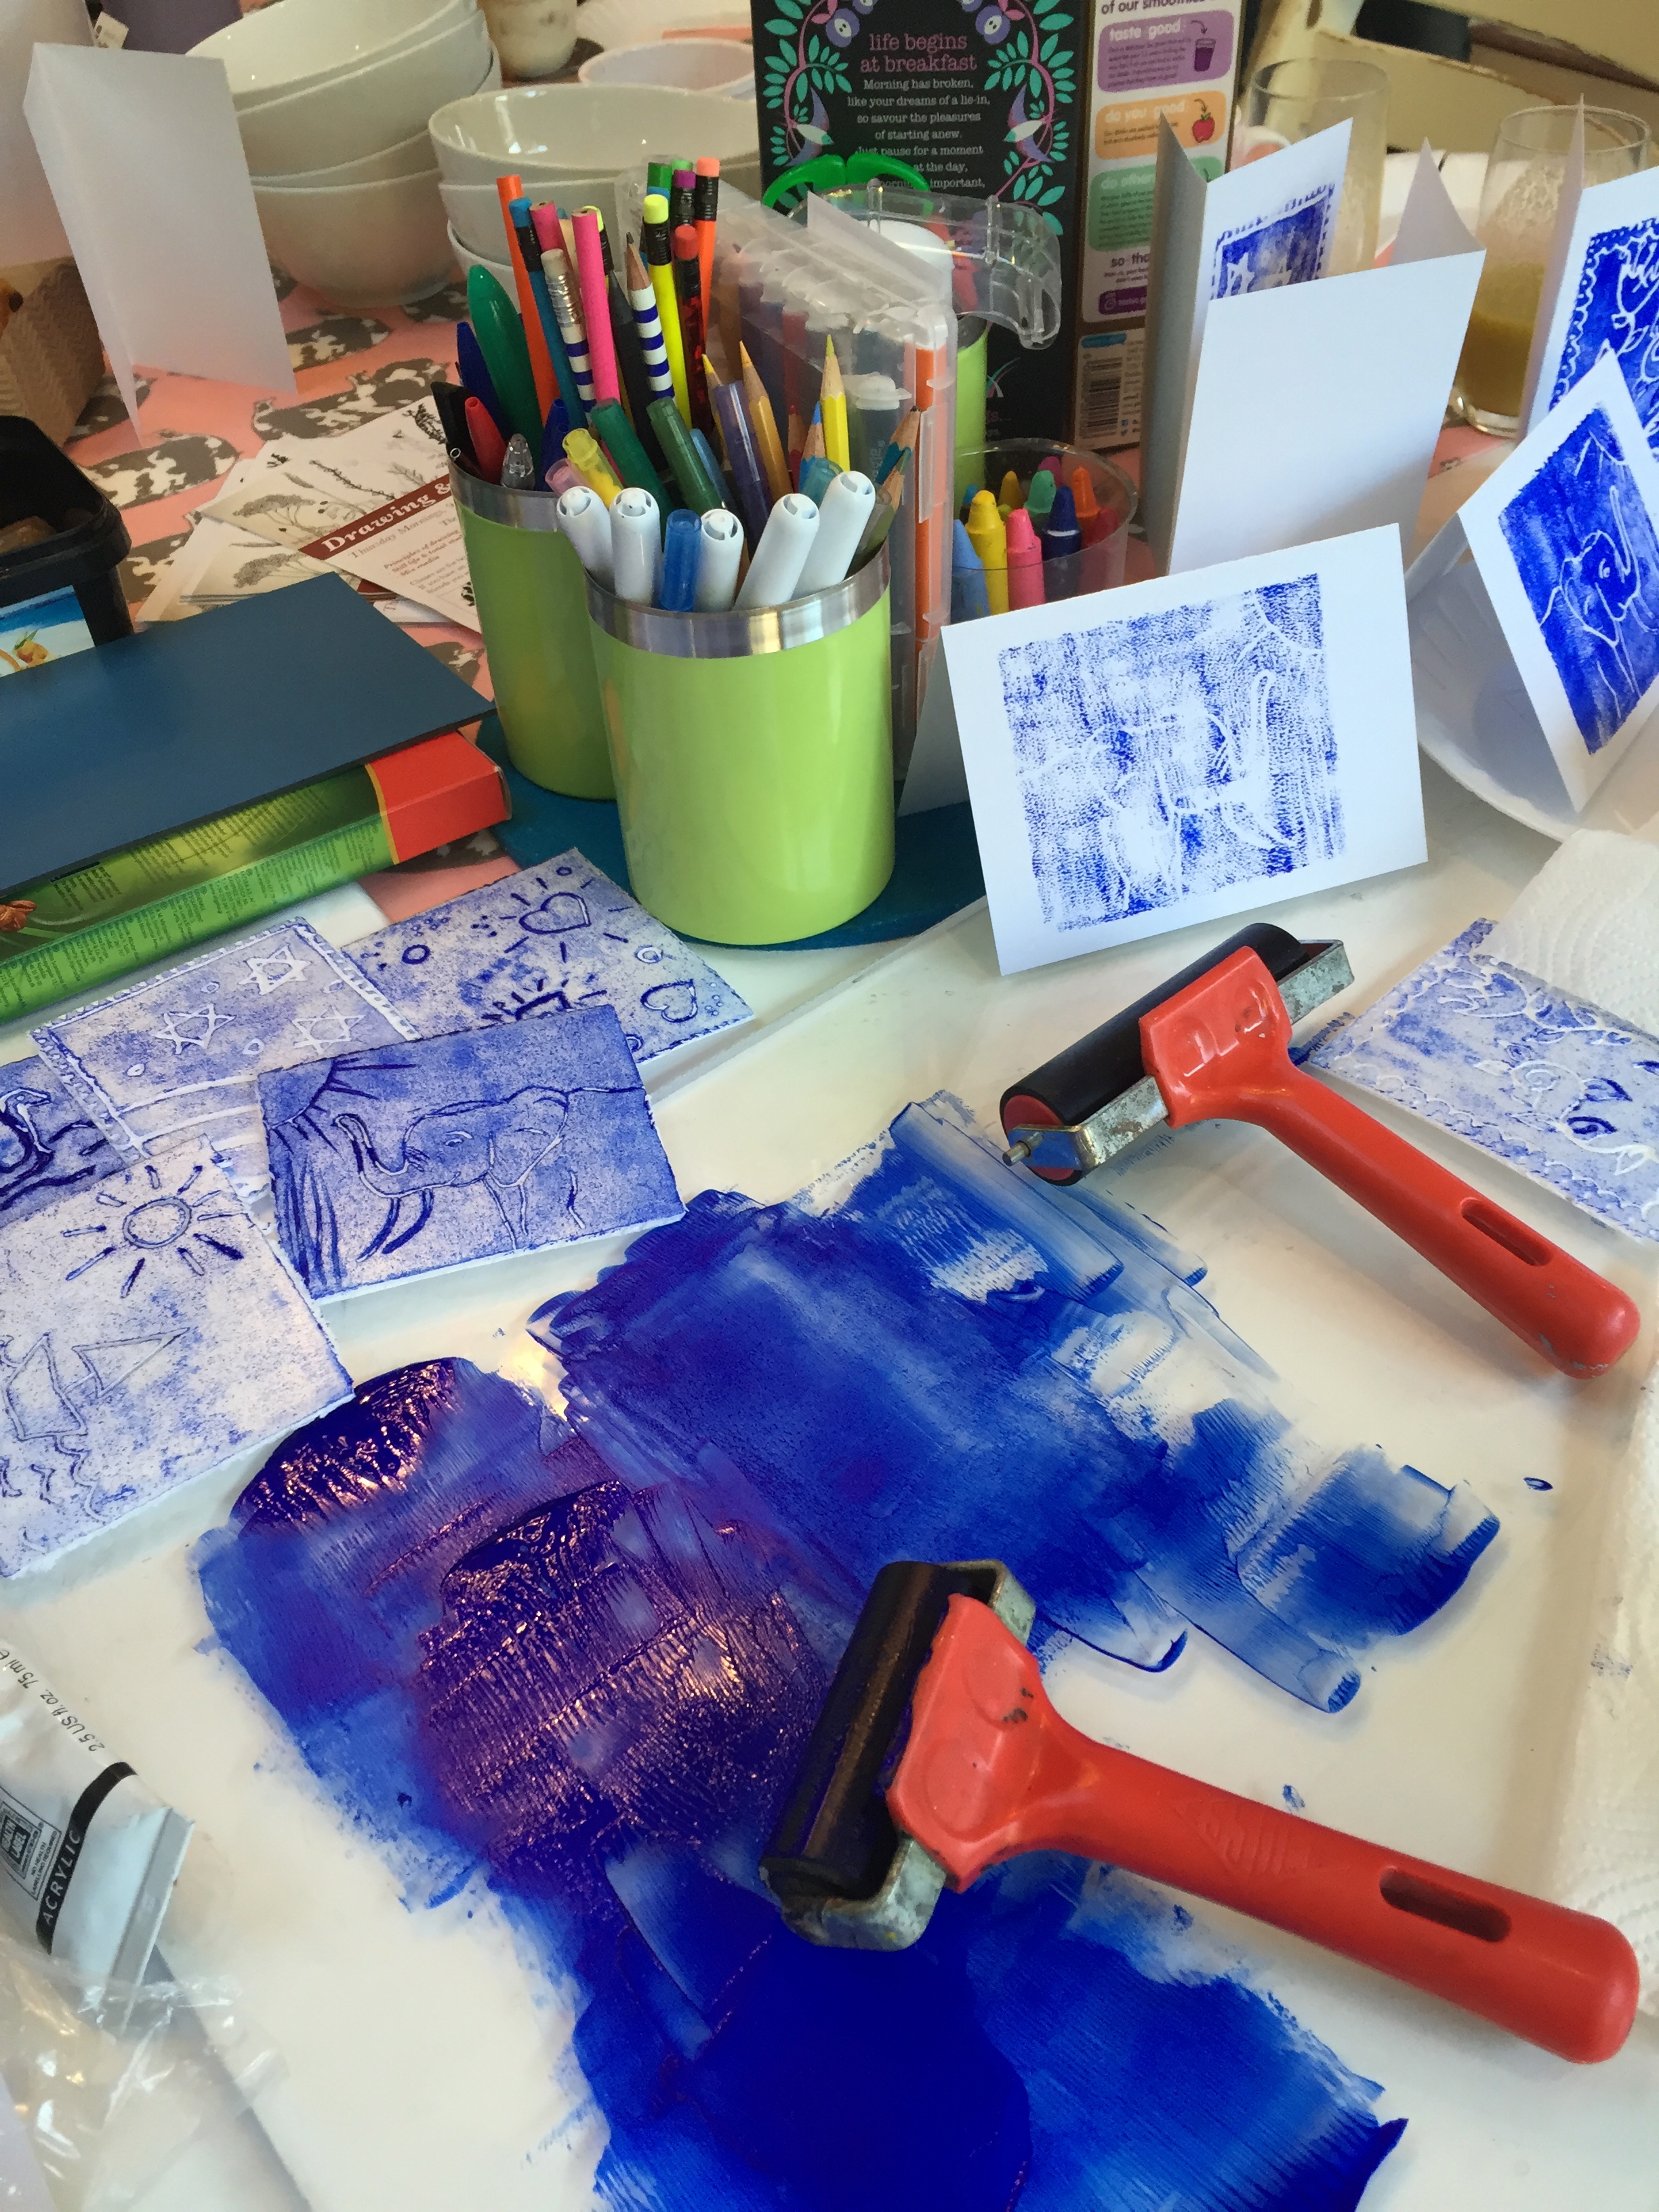
Despite the official Creative Coffee classes finishing, the joy it created has continued – I’m now (for my sins) a class rep for Charlie’s class with my awesome rep partner, Jenny. Last Friday was our first coffee morning of the year. So we thought, why not add more ingredients to the coffee beans and milk? Borrowing extra equipment from my lovely art teacher, Amanda we set up simple lino cut card station using just pencils and foam plates (the rollers make all the difference for a professional finish).

Yay!

We had another station to make nail varnish marbled luggage labels.
Fun, different and brain calming but the brucie bonus? We raised £160 for Macmillan in donations!
Laters, Kate x
Espie Inspo..

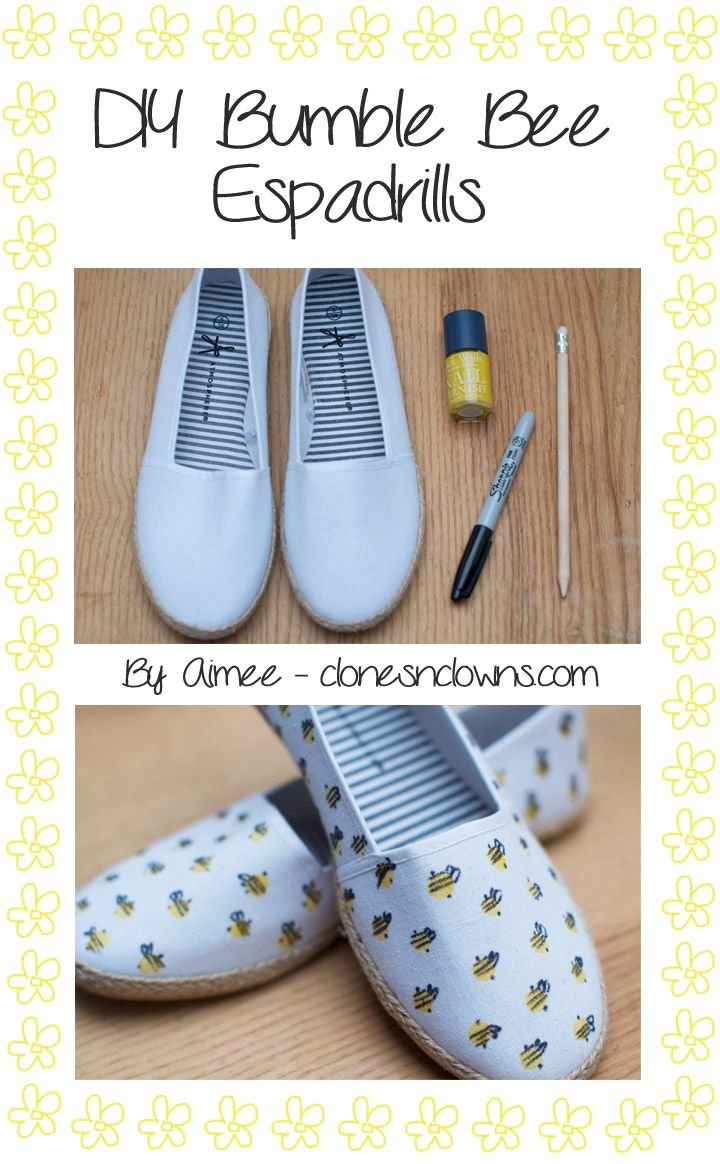
Update on Espadrille Competition: Due to various requests I’ve extended the deadline – Photos of creations to be submitted by Friday 23 May, winner announced Monday 26 May!

Mine have arrived – I ordered a white and a navy pair. the white were a bit grey and disappointing – like six month old sports socks – so I took the plunge and sat them upside down in a bowl of bleach..worked perfectly! They are now a glow in the dark white. In fact, if the above pictures float your boat, then check out ‘Bleach fashion’ on Pintrest – has some incredible offerings like how to make a bleach pen by leaving a yellow felt tip pen soaking in bleach for a day…….just think of the possibilities!
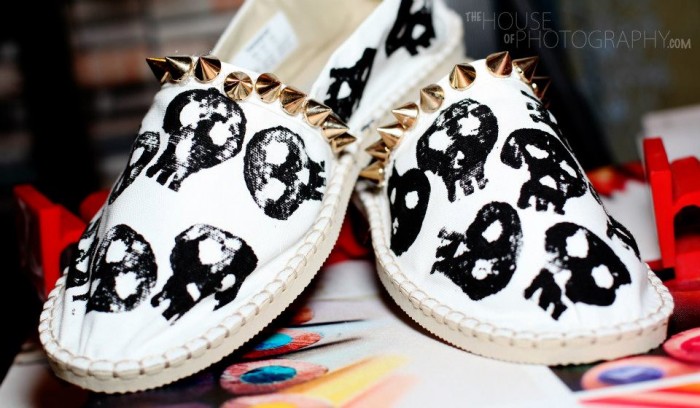
This pair were made with the a basic potato print!
Or there’s always the humble permanent marker…
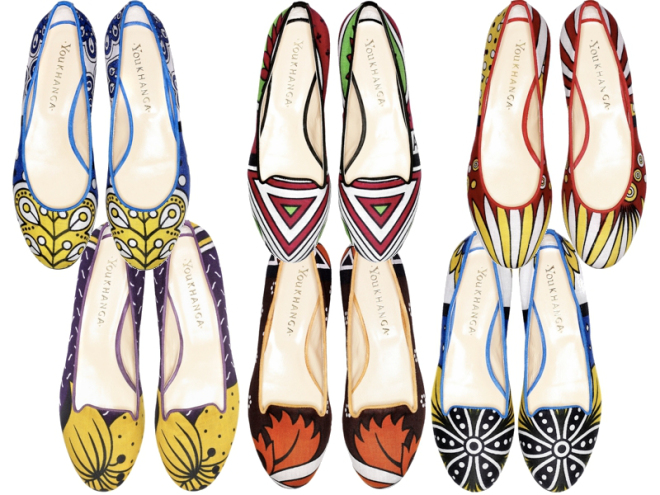
Taking these YouKhanga shoes as inspiration, the options are deliciously infinite…
Laters, Kate x
(All pictures Pintrest)
Just a Little Obsessed..
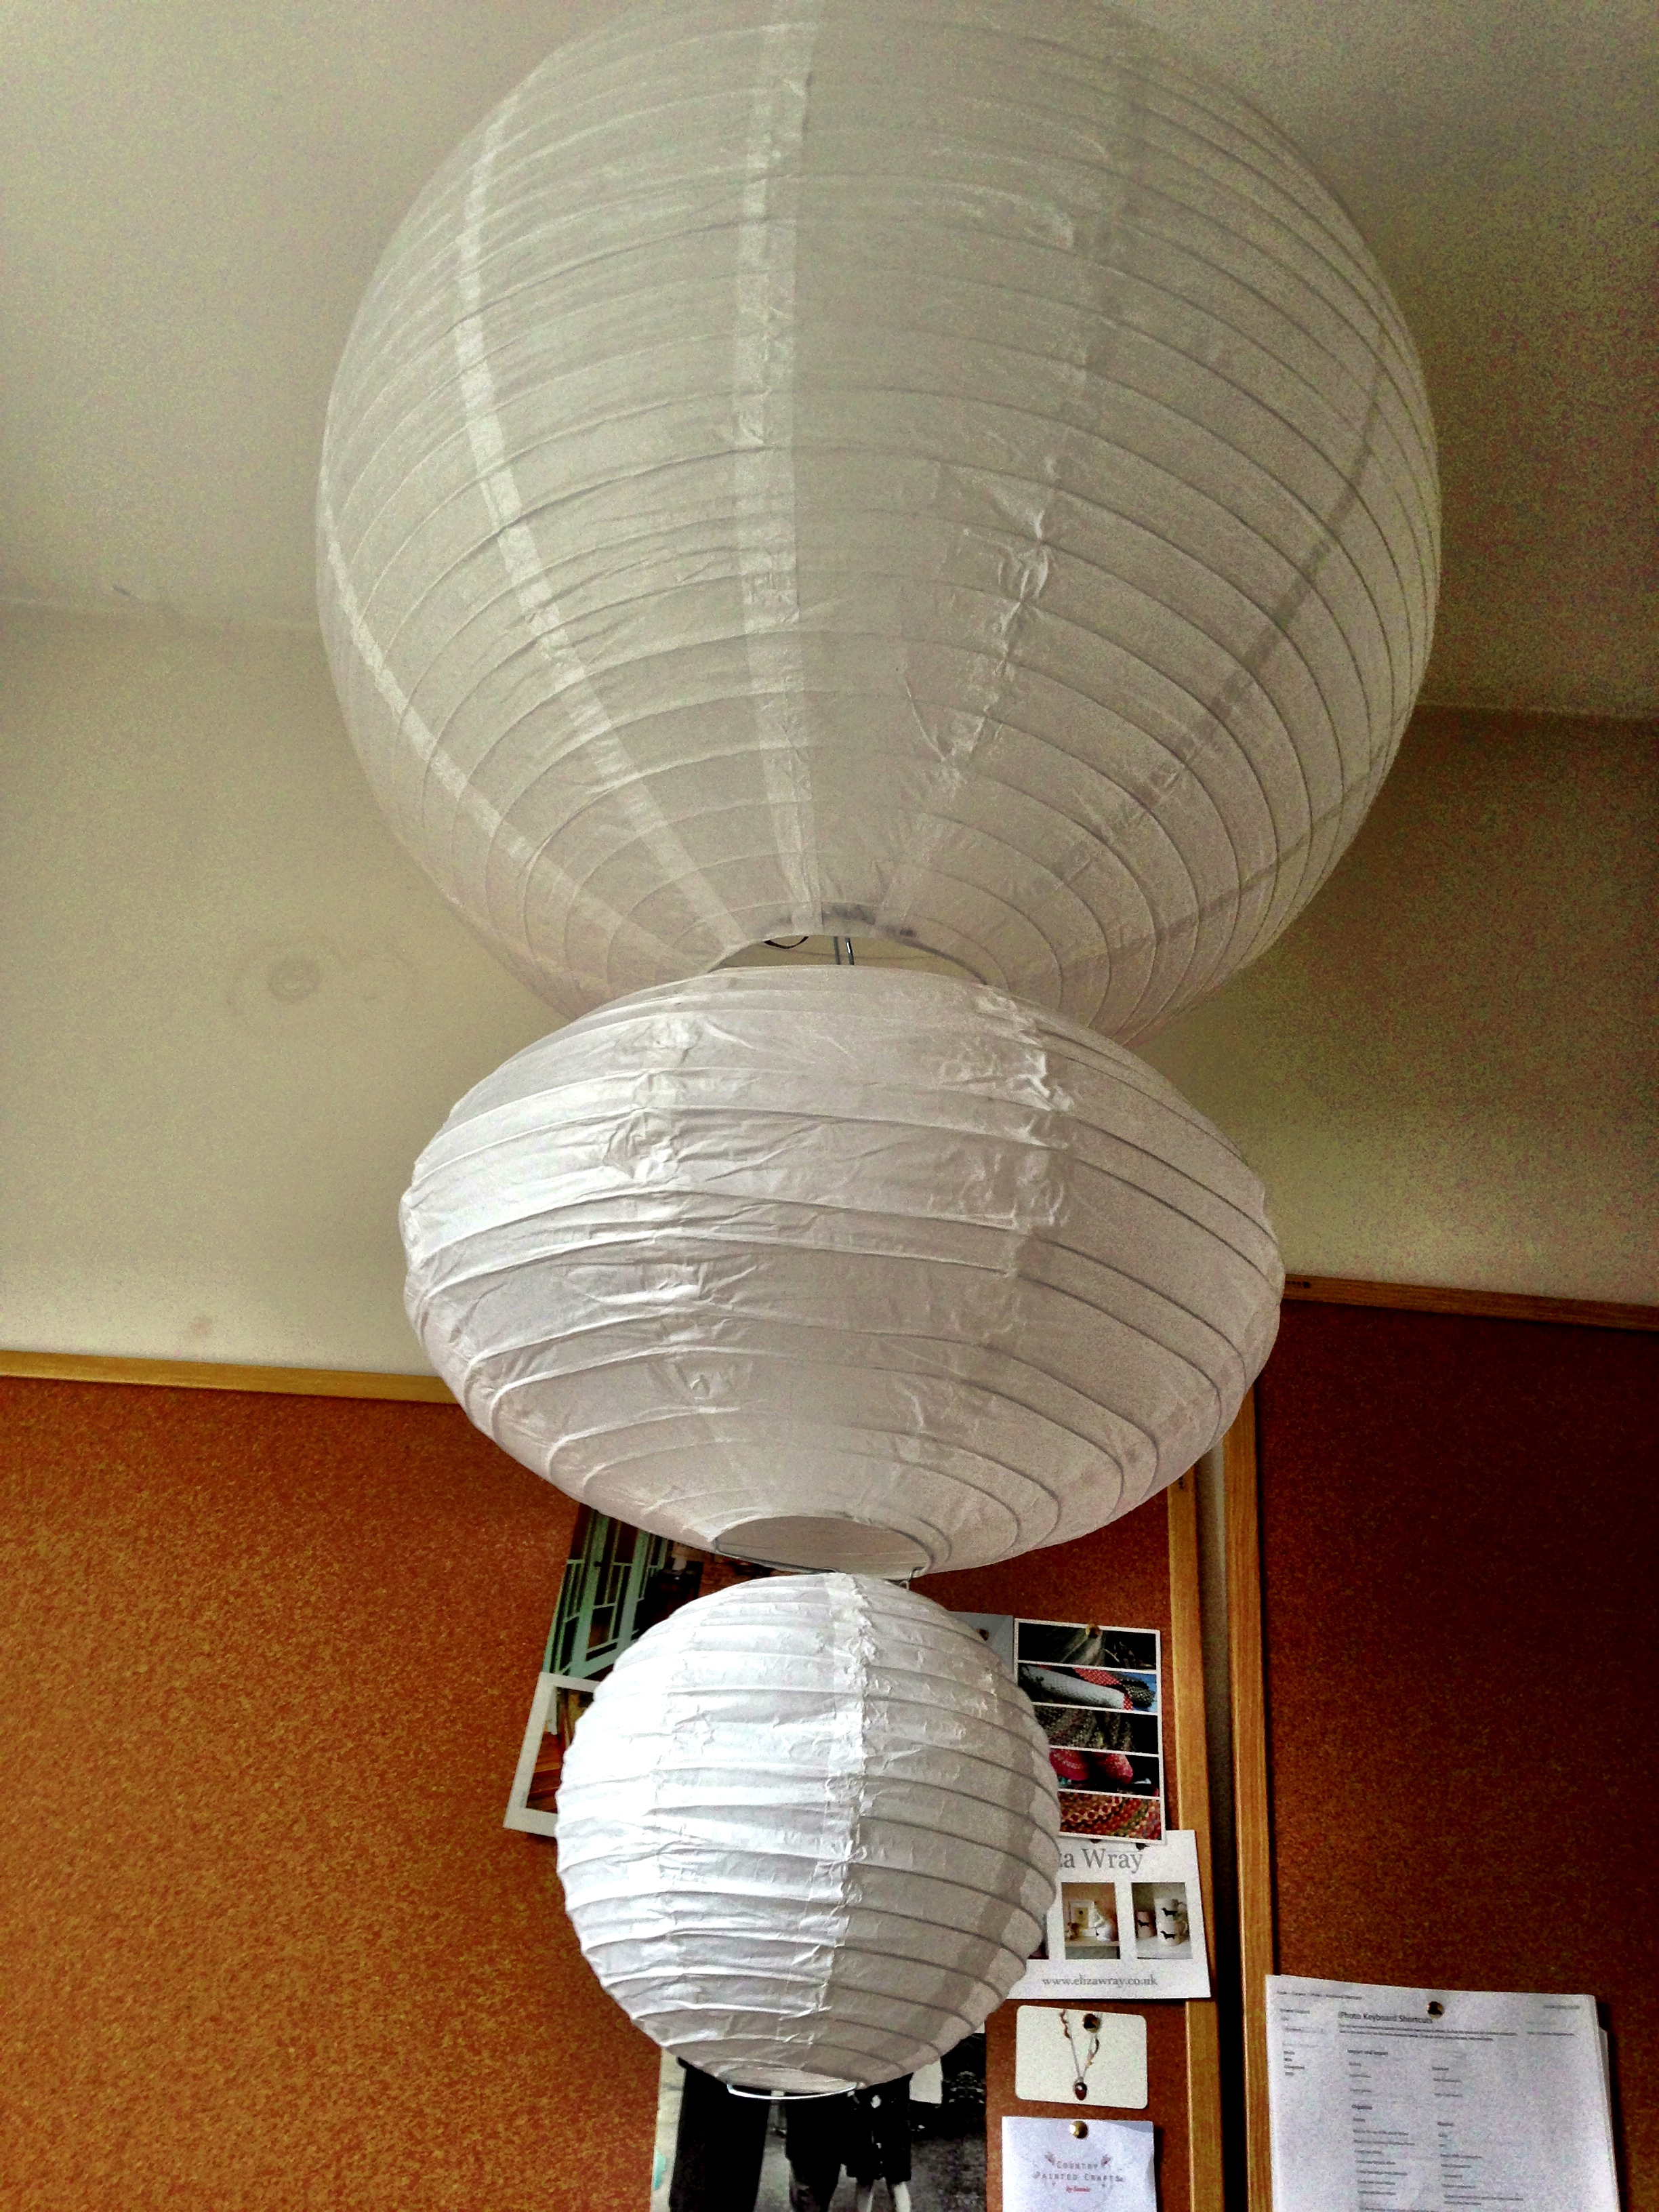
The light is underway. I took a punt on the size of lanterns without seeing them in the flesh..and as a prototype I don’t think I did too badly. Still not sure how I’m going to finally link them all together – on the one hand, when they’re loosely linked they catch the breeze and spin gently – I can imagine them above candles, moving on the warm air. But then I think the shape is better when they’re tighter together. Going to see what they look like with their scales before I made a decision.
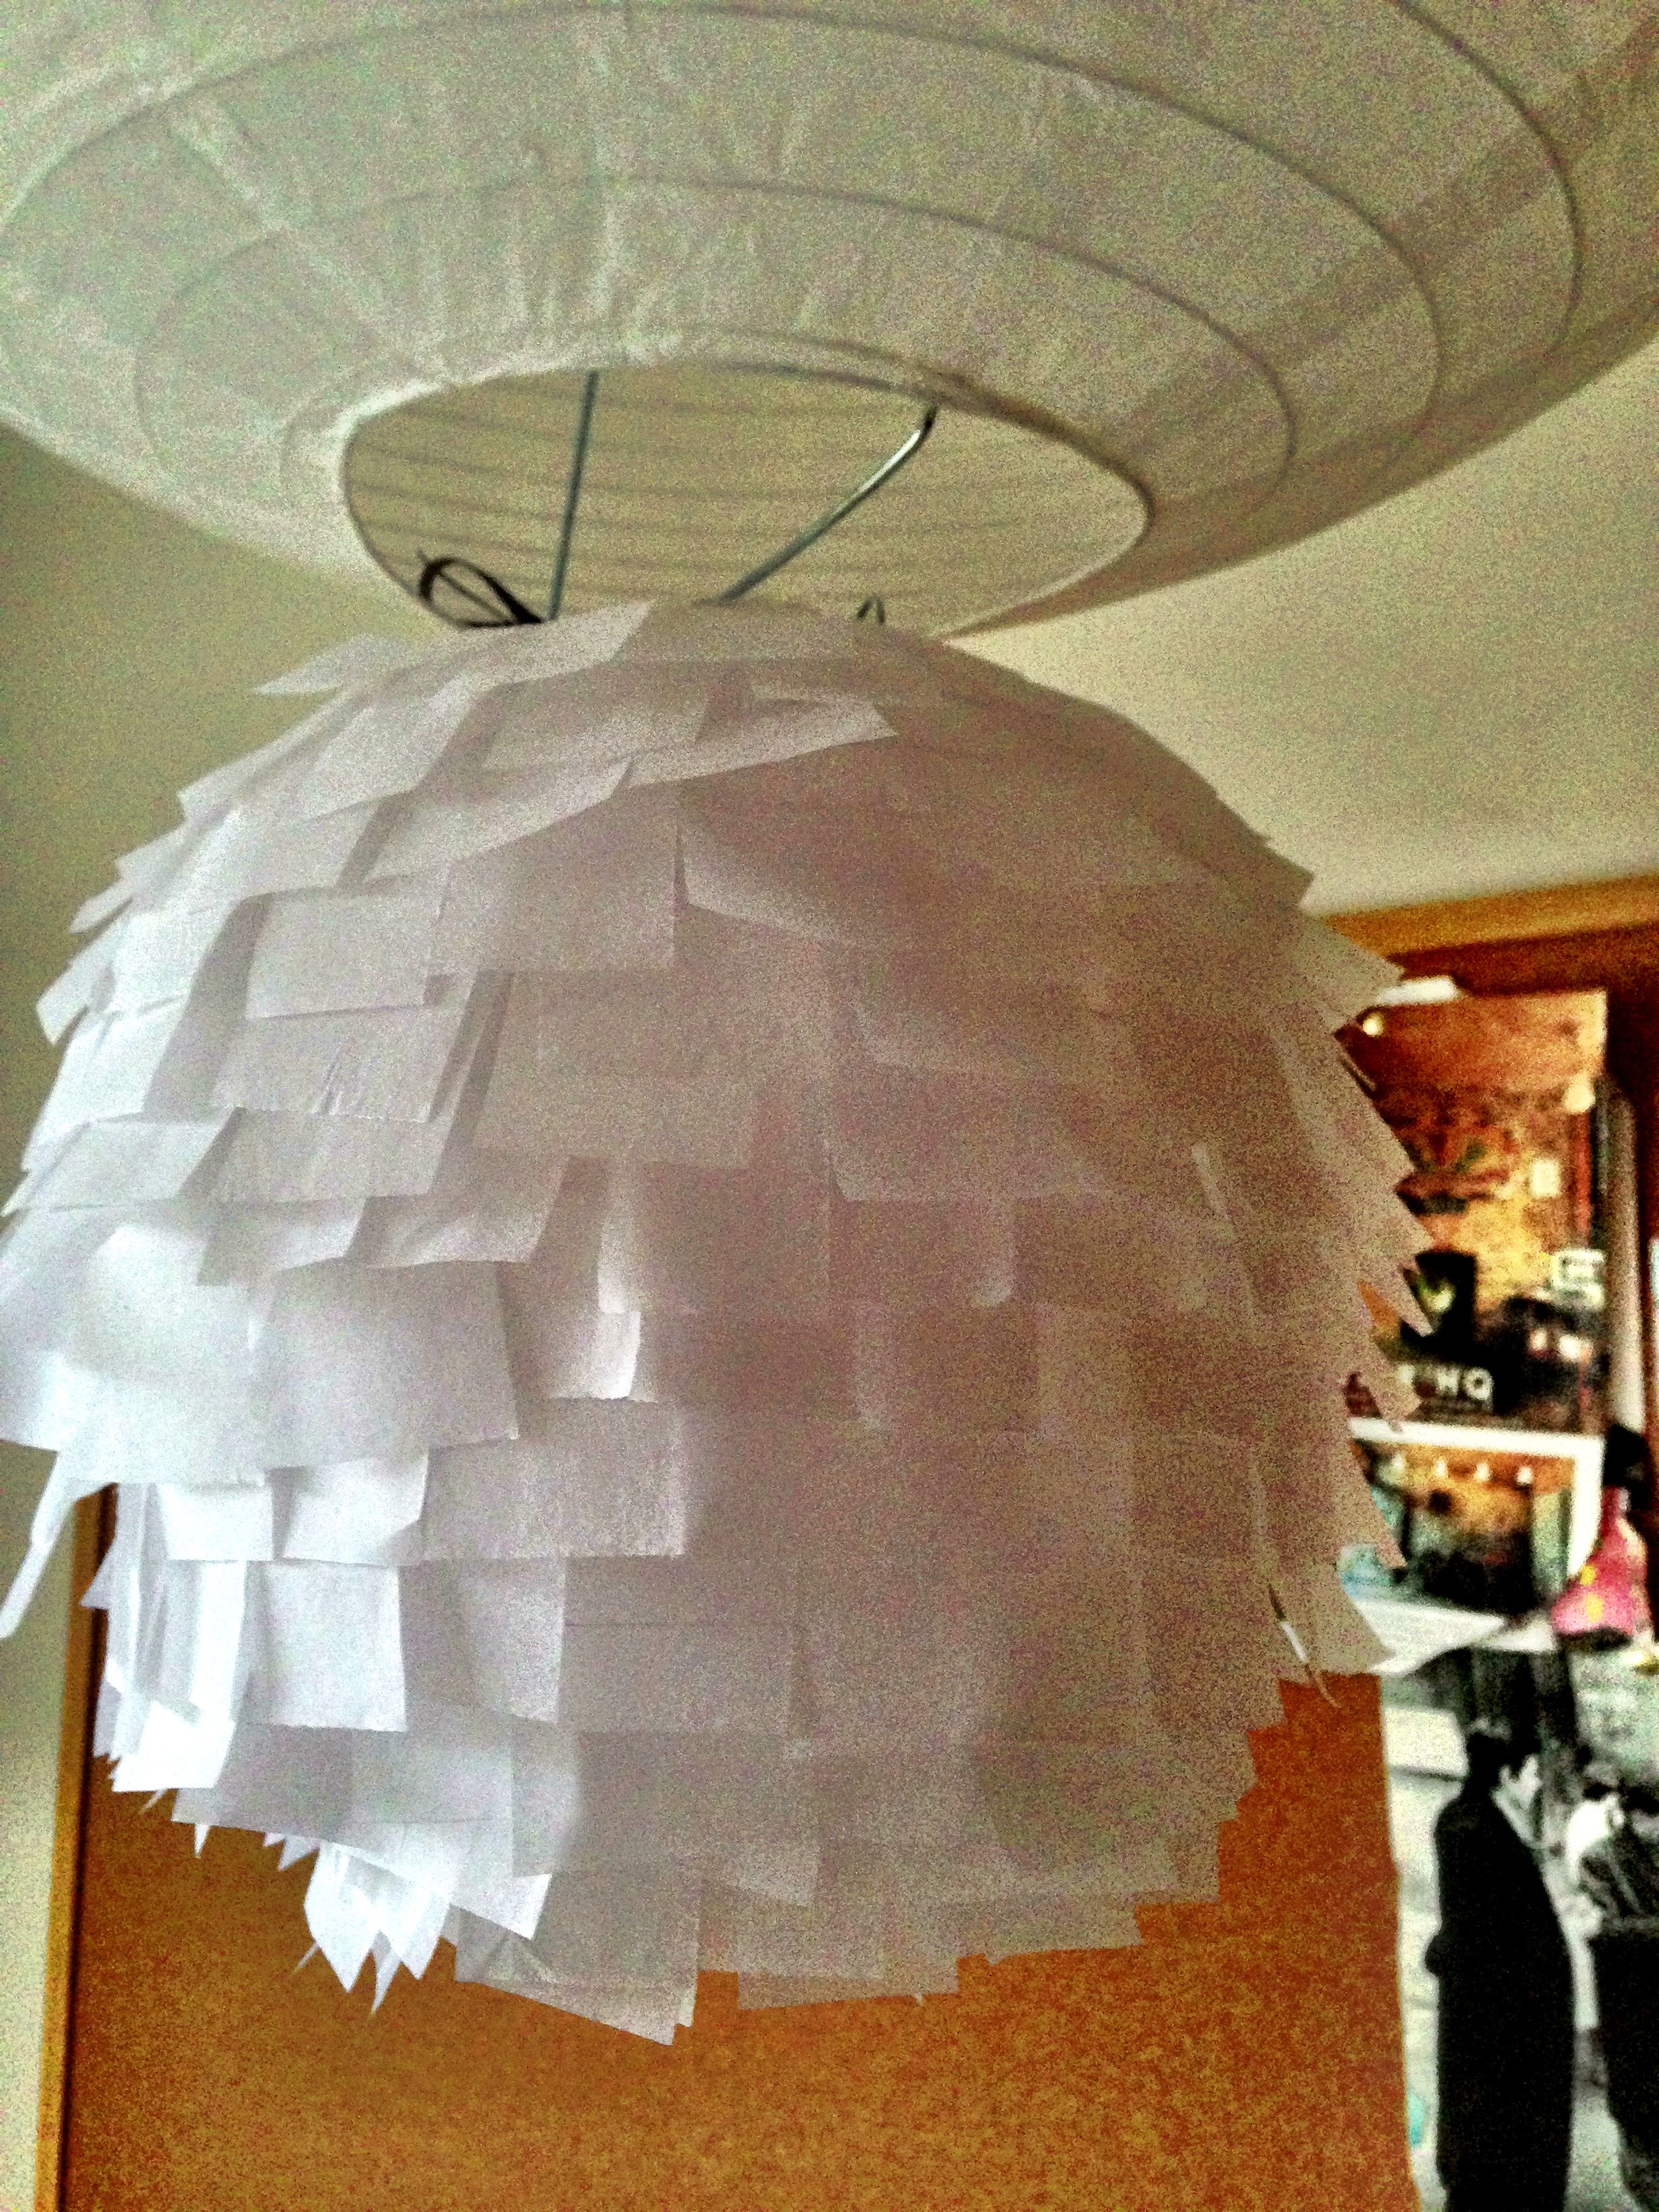
The bottom ball is already covered..the temptation was just too great! It’s incredibly therapeutic work…
Laters, Kate x
It started with a spring clean…
I’ve had gremlins..or little fingers…logged on this morning to find no post. Gone like the dew in the morn except for the first paragraph in draft form and 2 comments! Great. So here it is again, sort of – and I apologise to anyone who got this ditty twice due to the re-publishing…
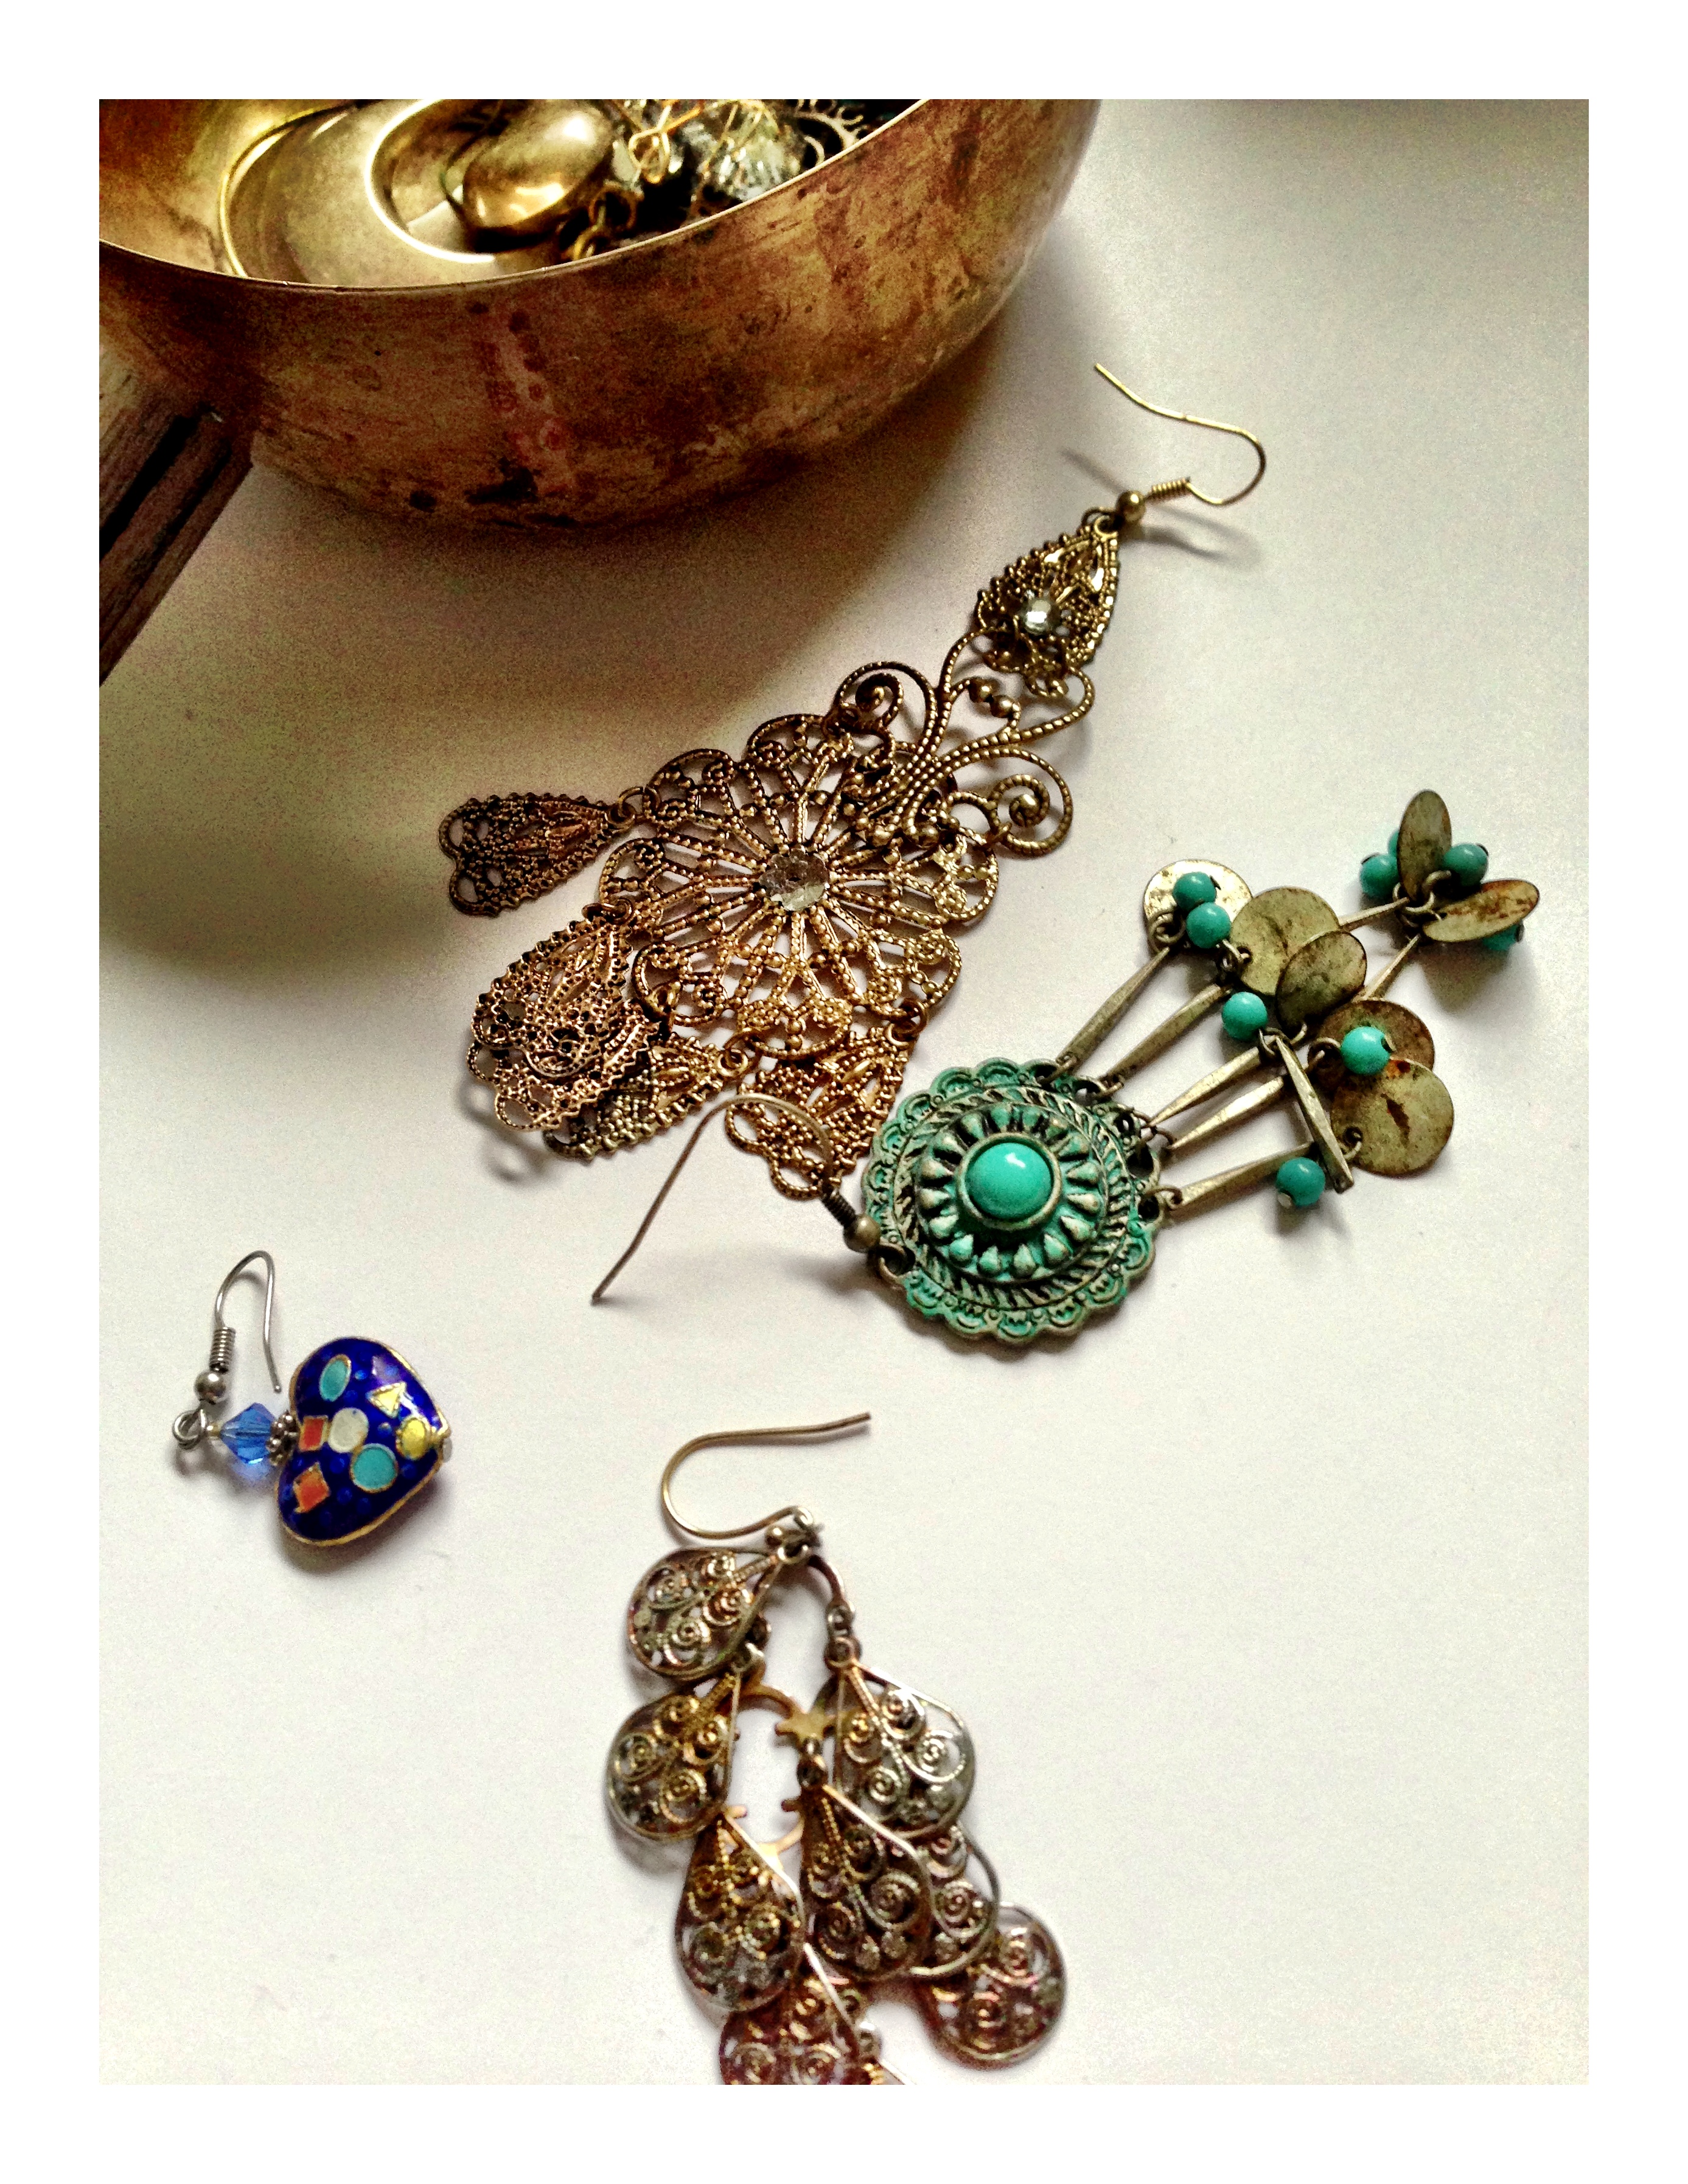
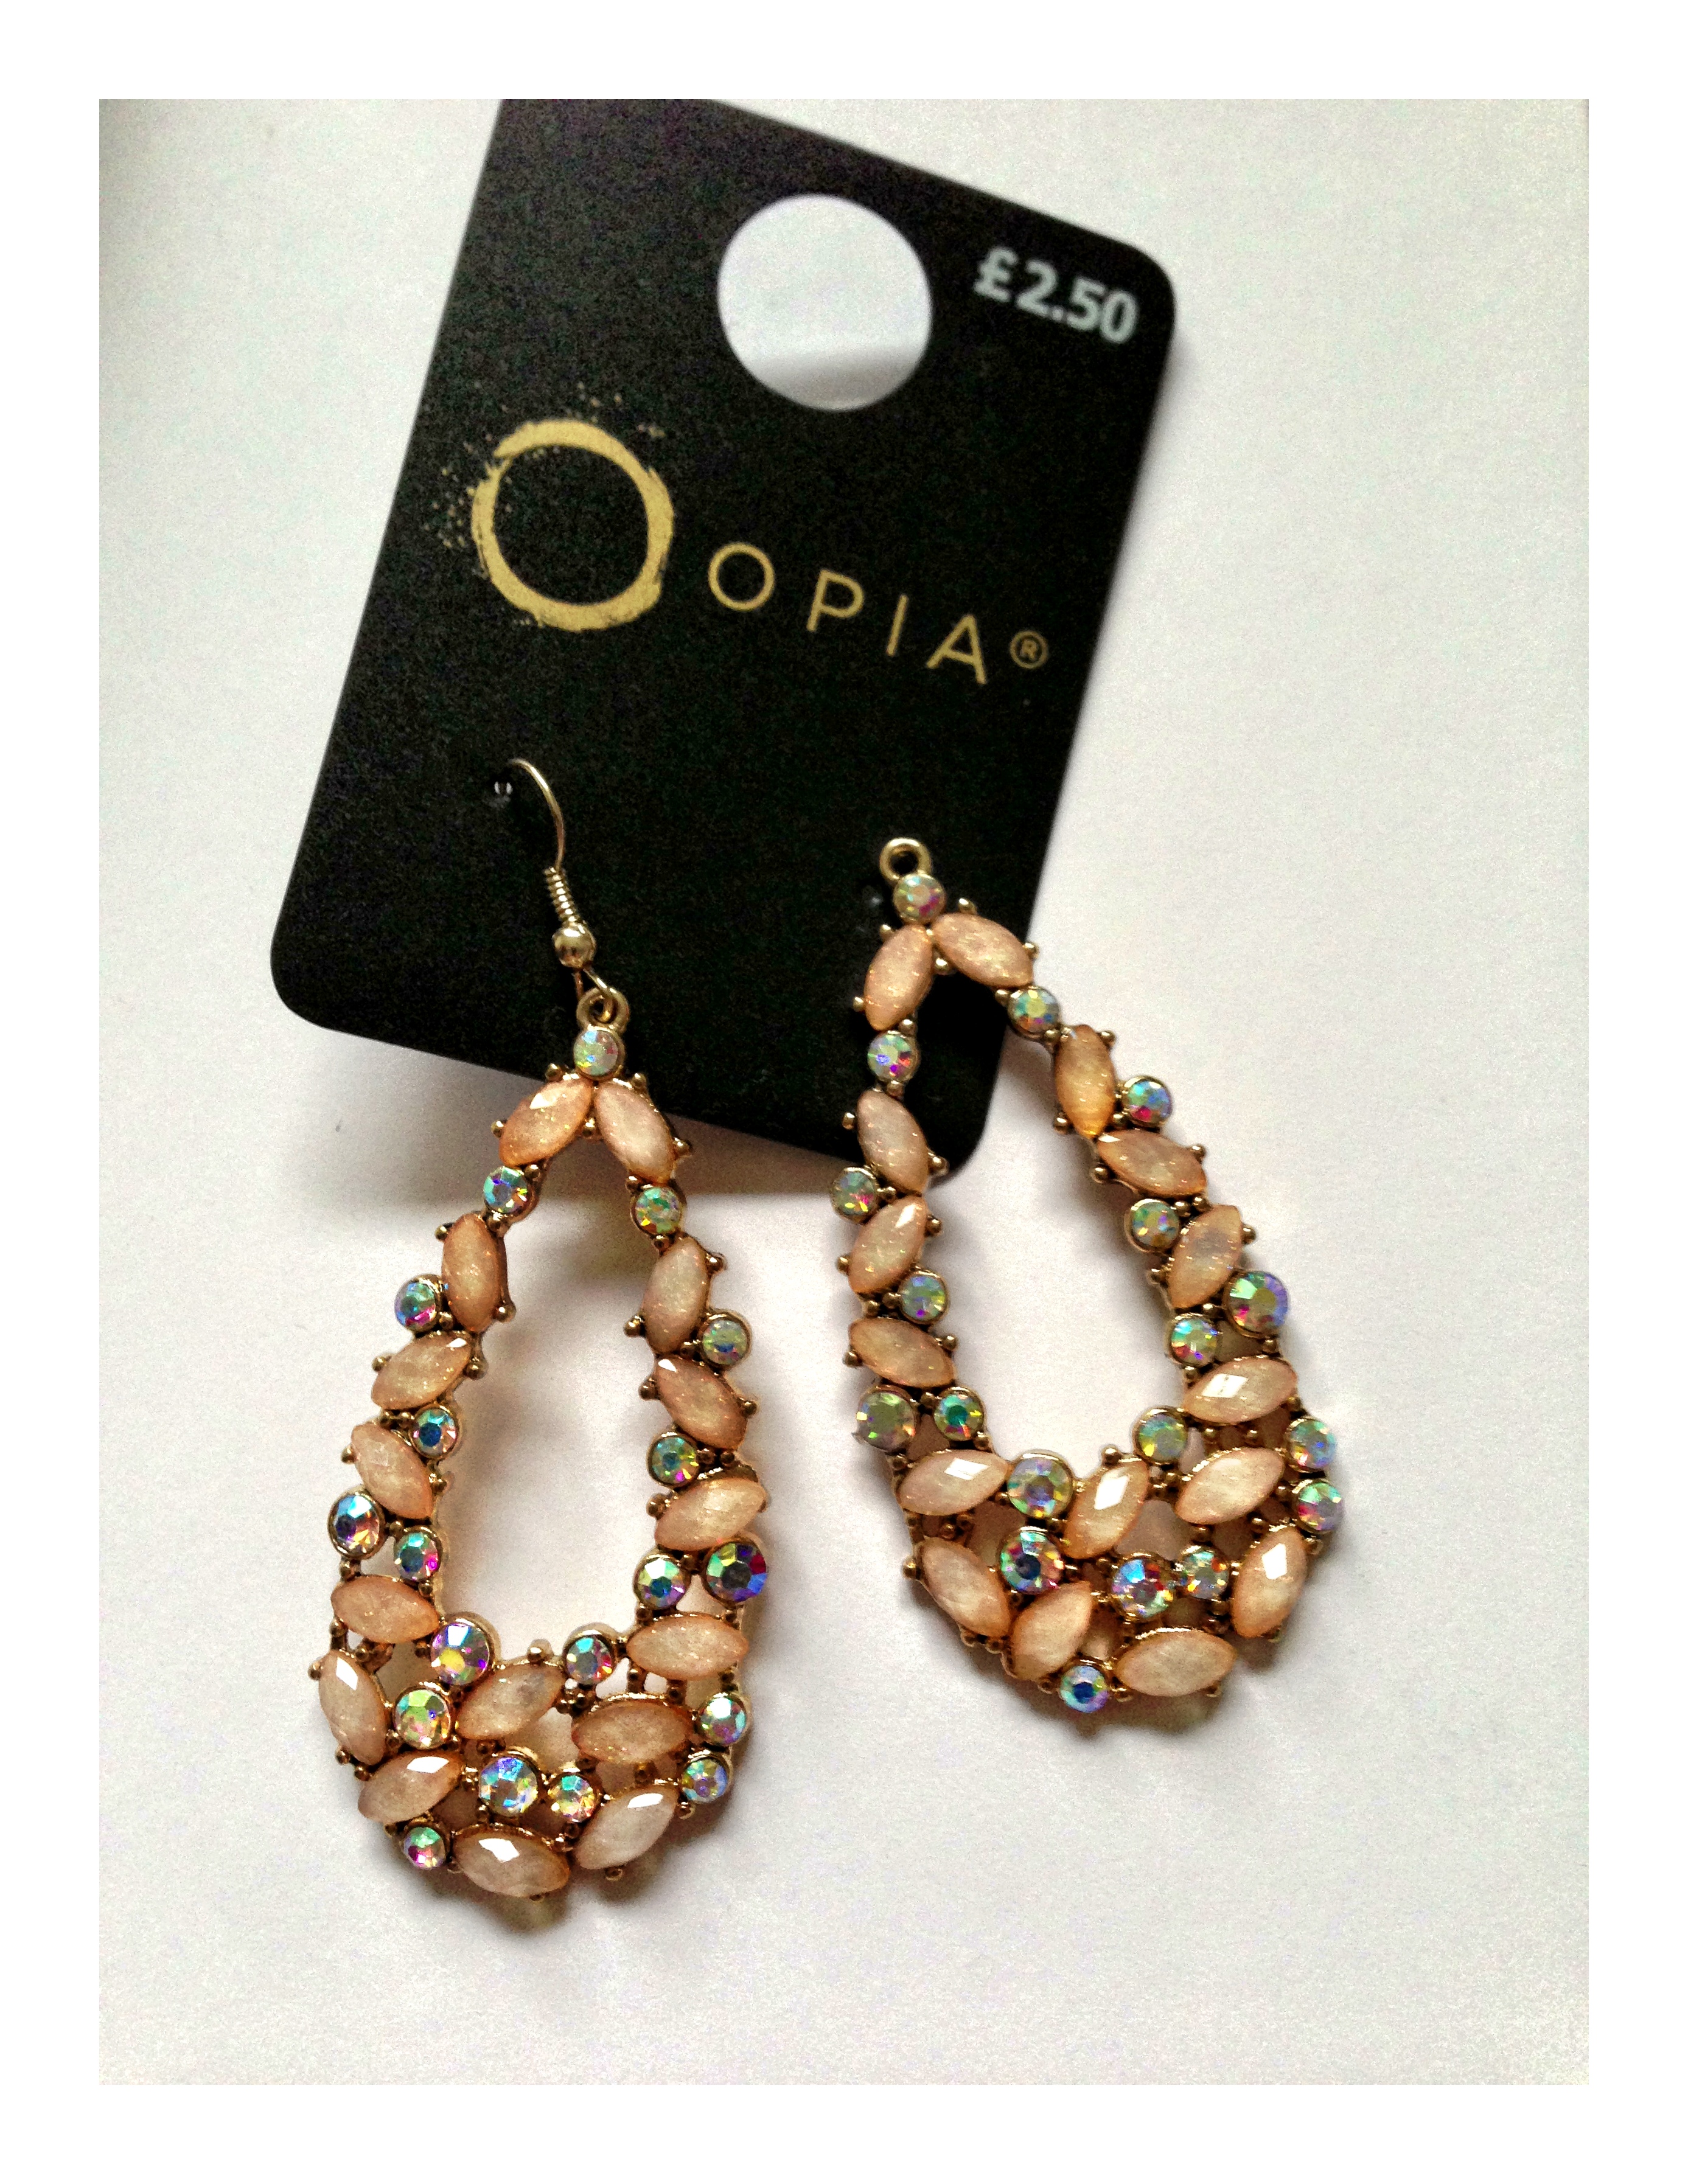
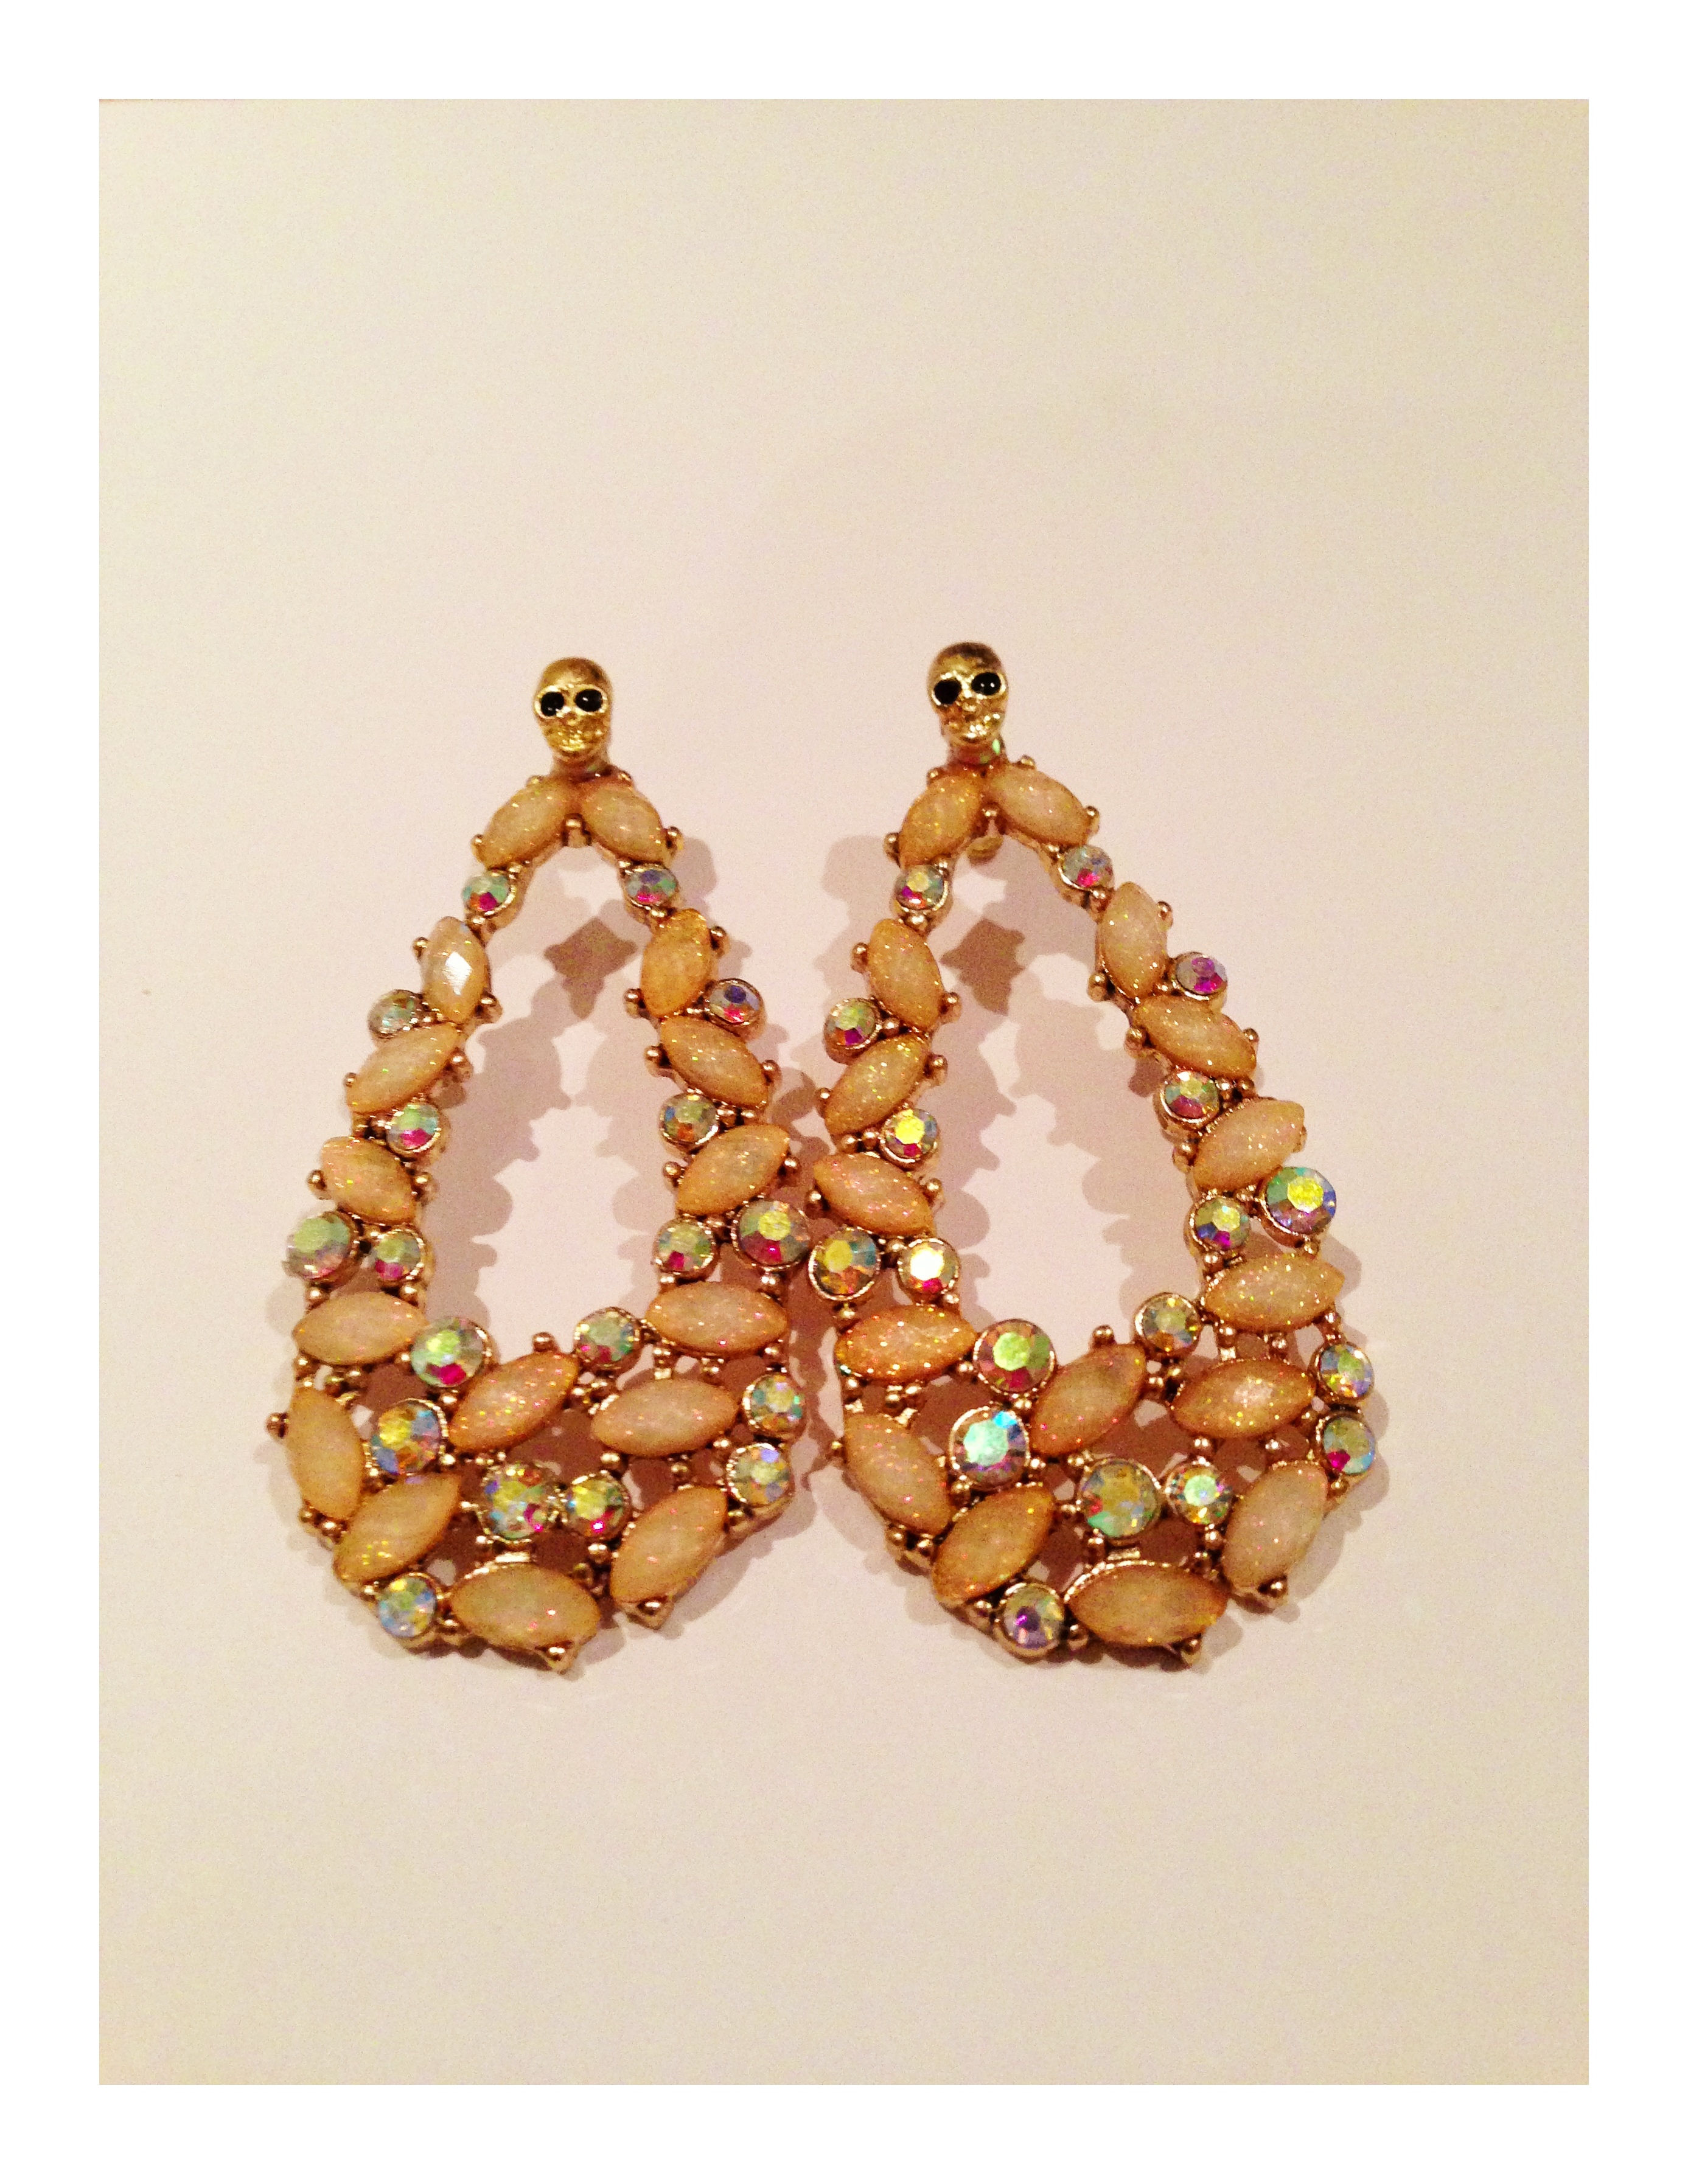
It started snowing again today…snowing. In London. In March April. It’s pathetic. But somewhere deep inside there is a feeling of spring coming – because I don’t know what else is making me want to clear out cupboards and fill up dustbin bags. Which would be rip roaringly good except I have come to the conclusion that I am probably the worst de-clutterer ever…take this morning..I attacked our ensuite with the firm intention of getting jewellery sorted into piles, old make up thrown out (read ‘give to daughter’) and detritus removed. I got as far as the jewellery…I have this pile of old earrings in a brass bowl..
 They’ve become part of the furniture. I keep them for some sentimental reason or other because the majority are dangly earrings and I never wear dangly earrings..
 Then I had this thought – what if I could change them? turn them into stud earrings? Surely worth a try..so I set off to the shops…
 These caught my eye.
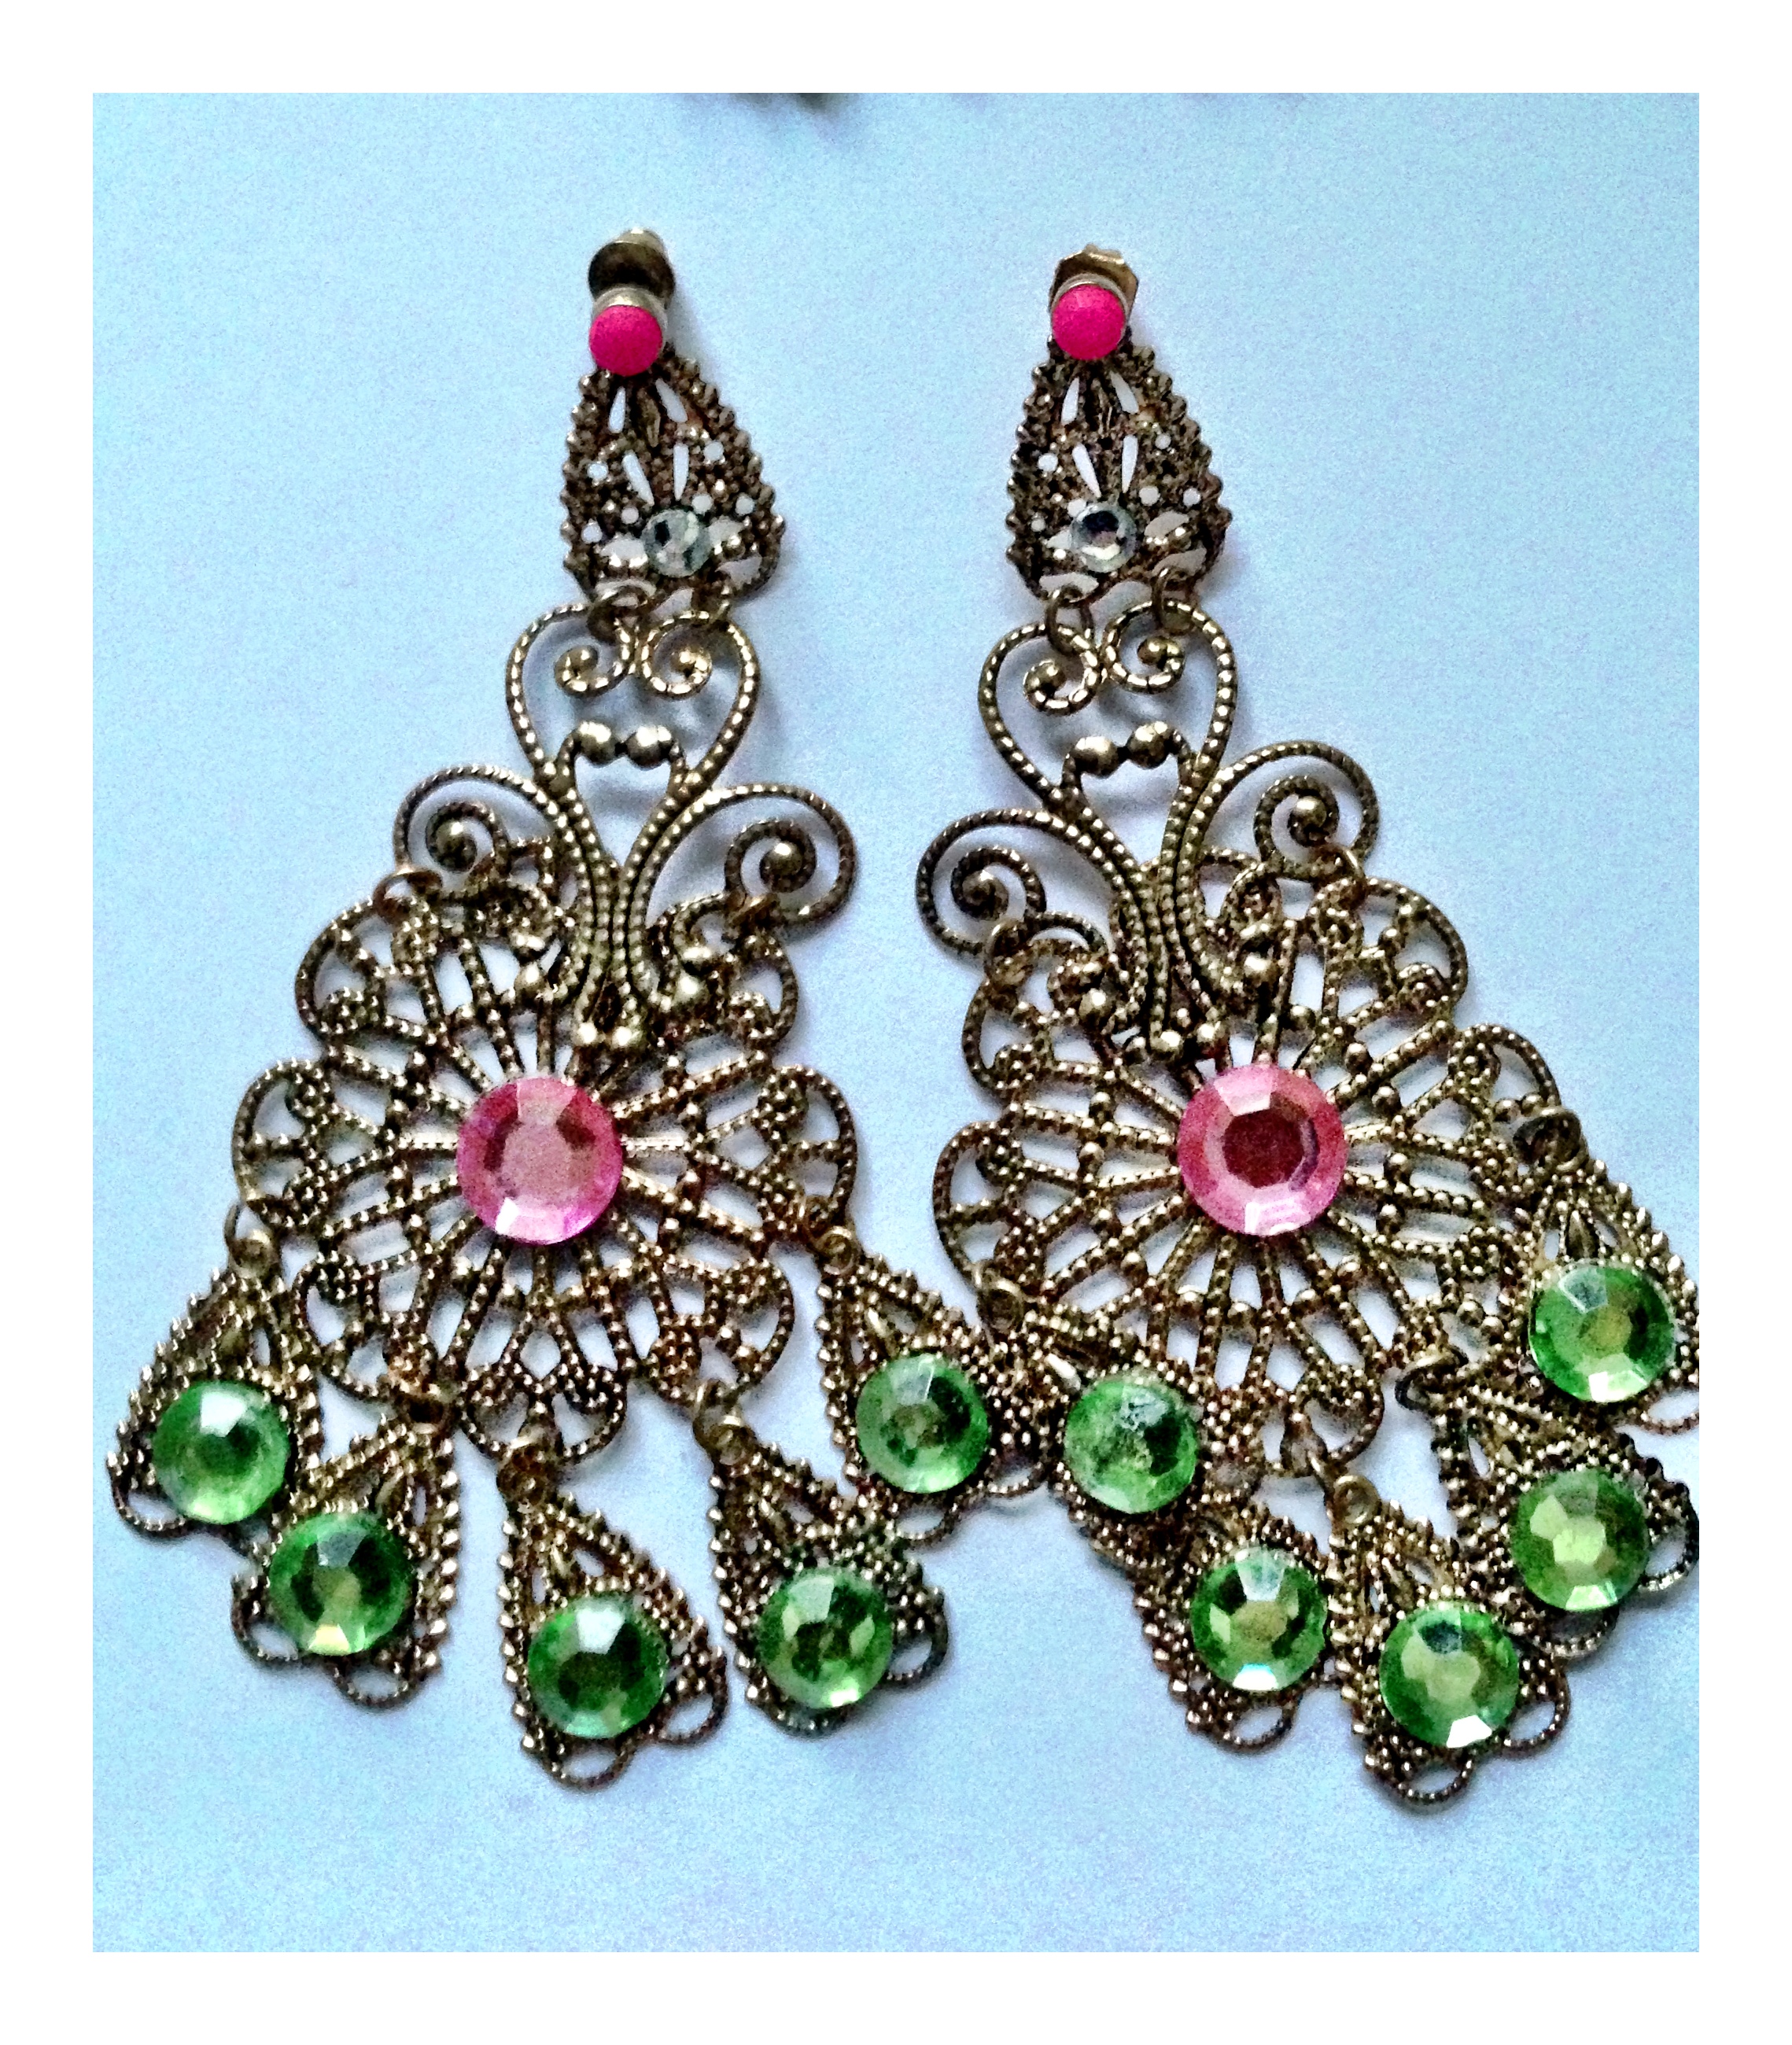
 And then I couldn’t resist these.
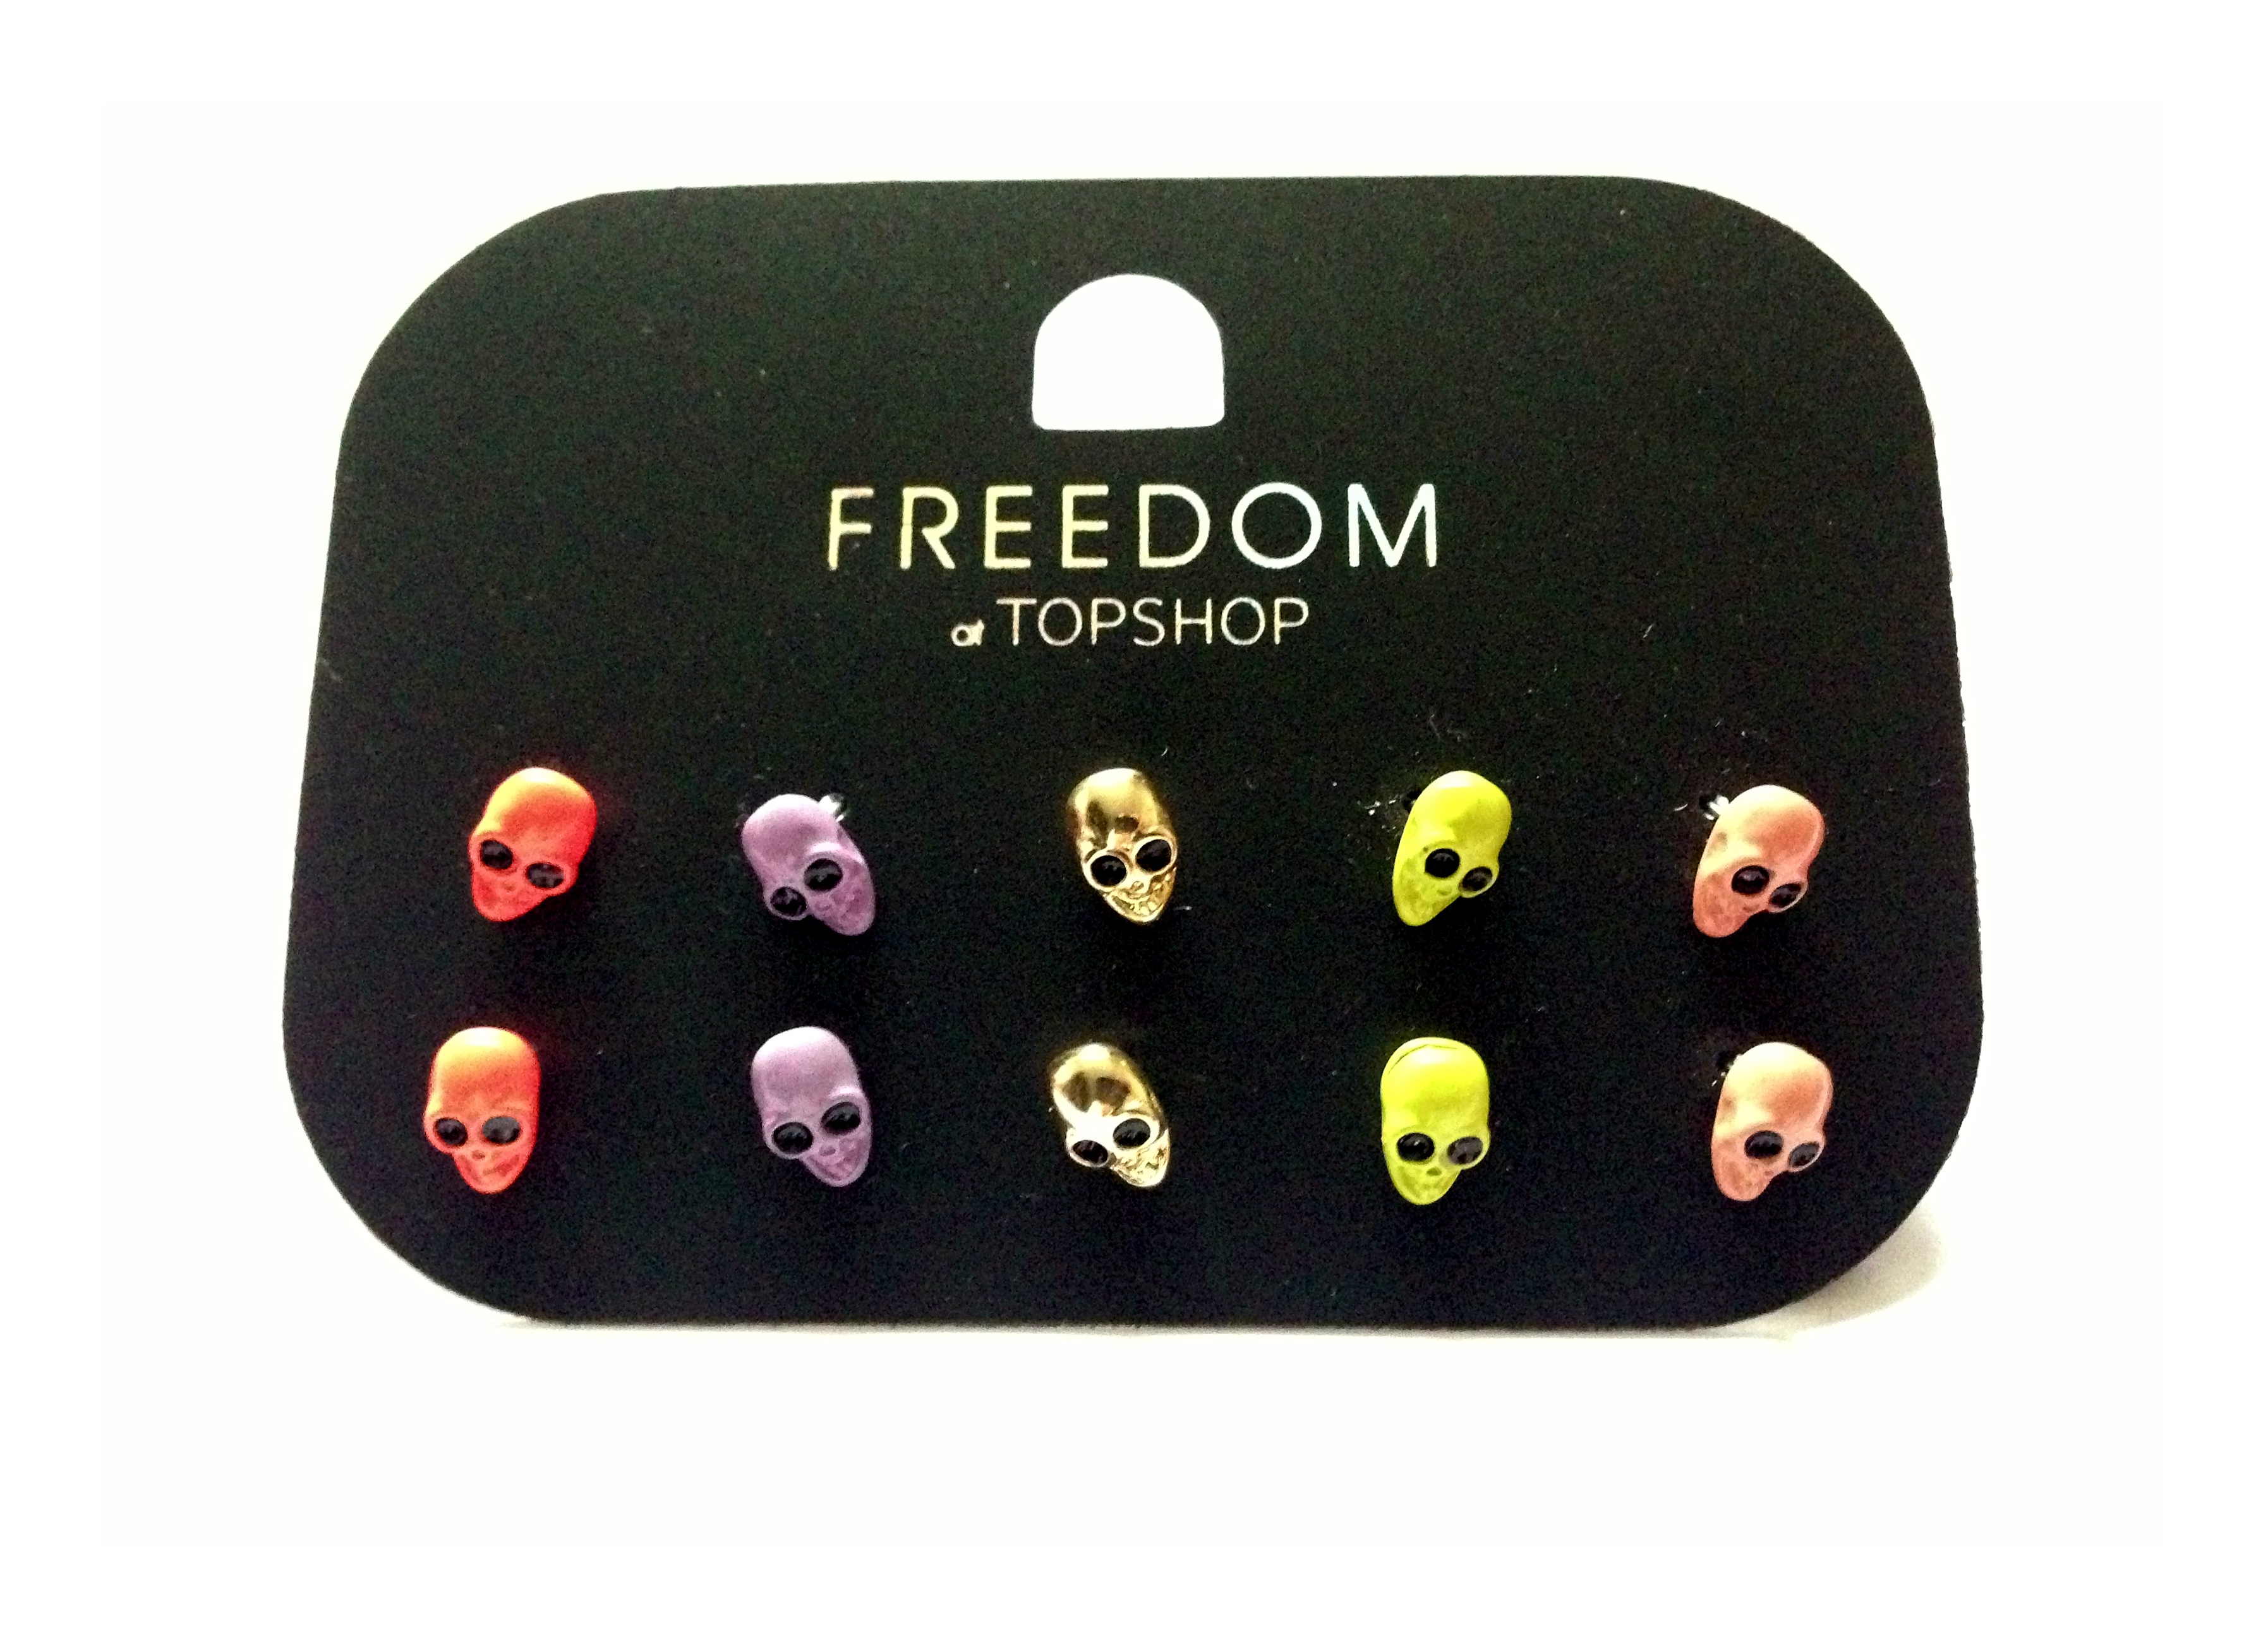
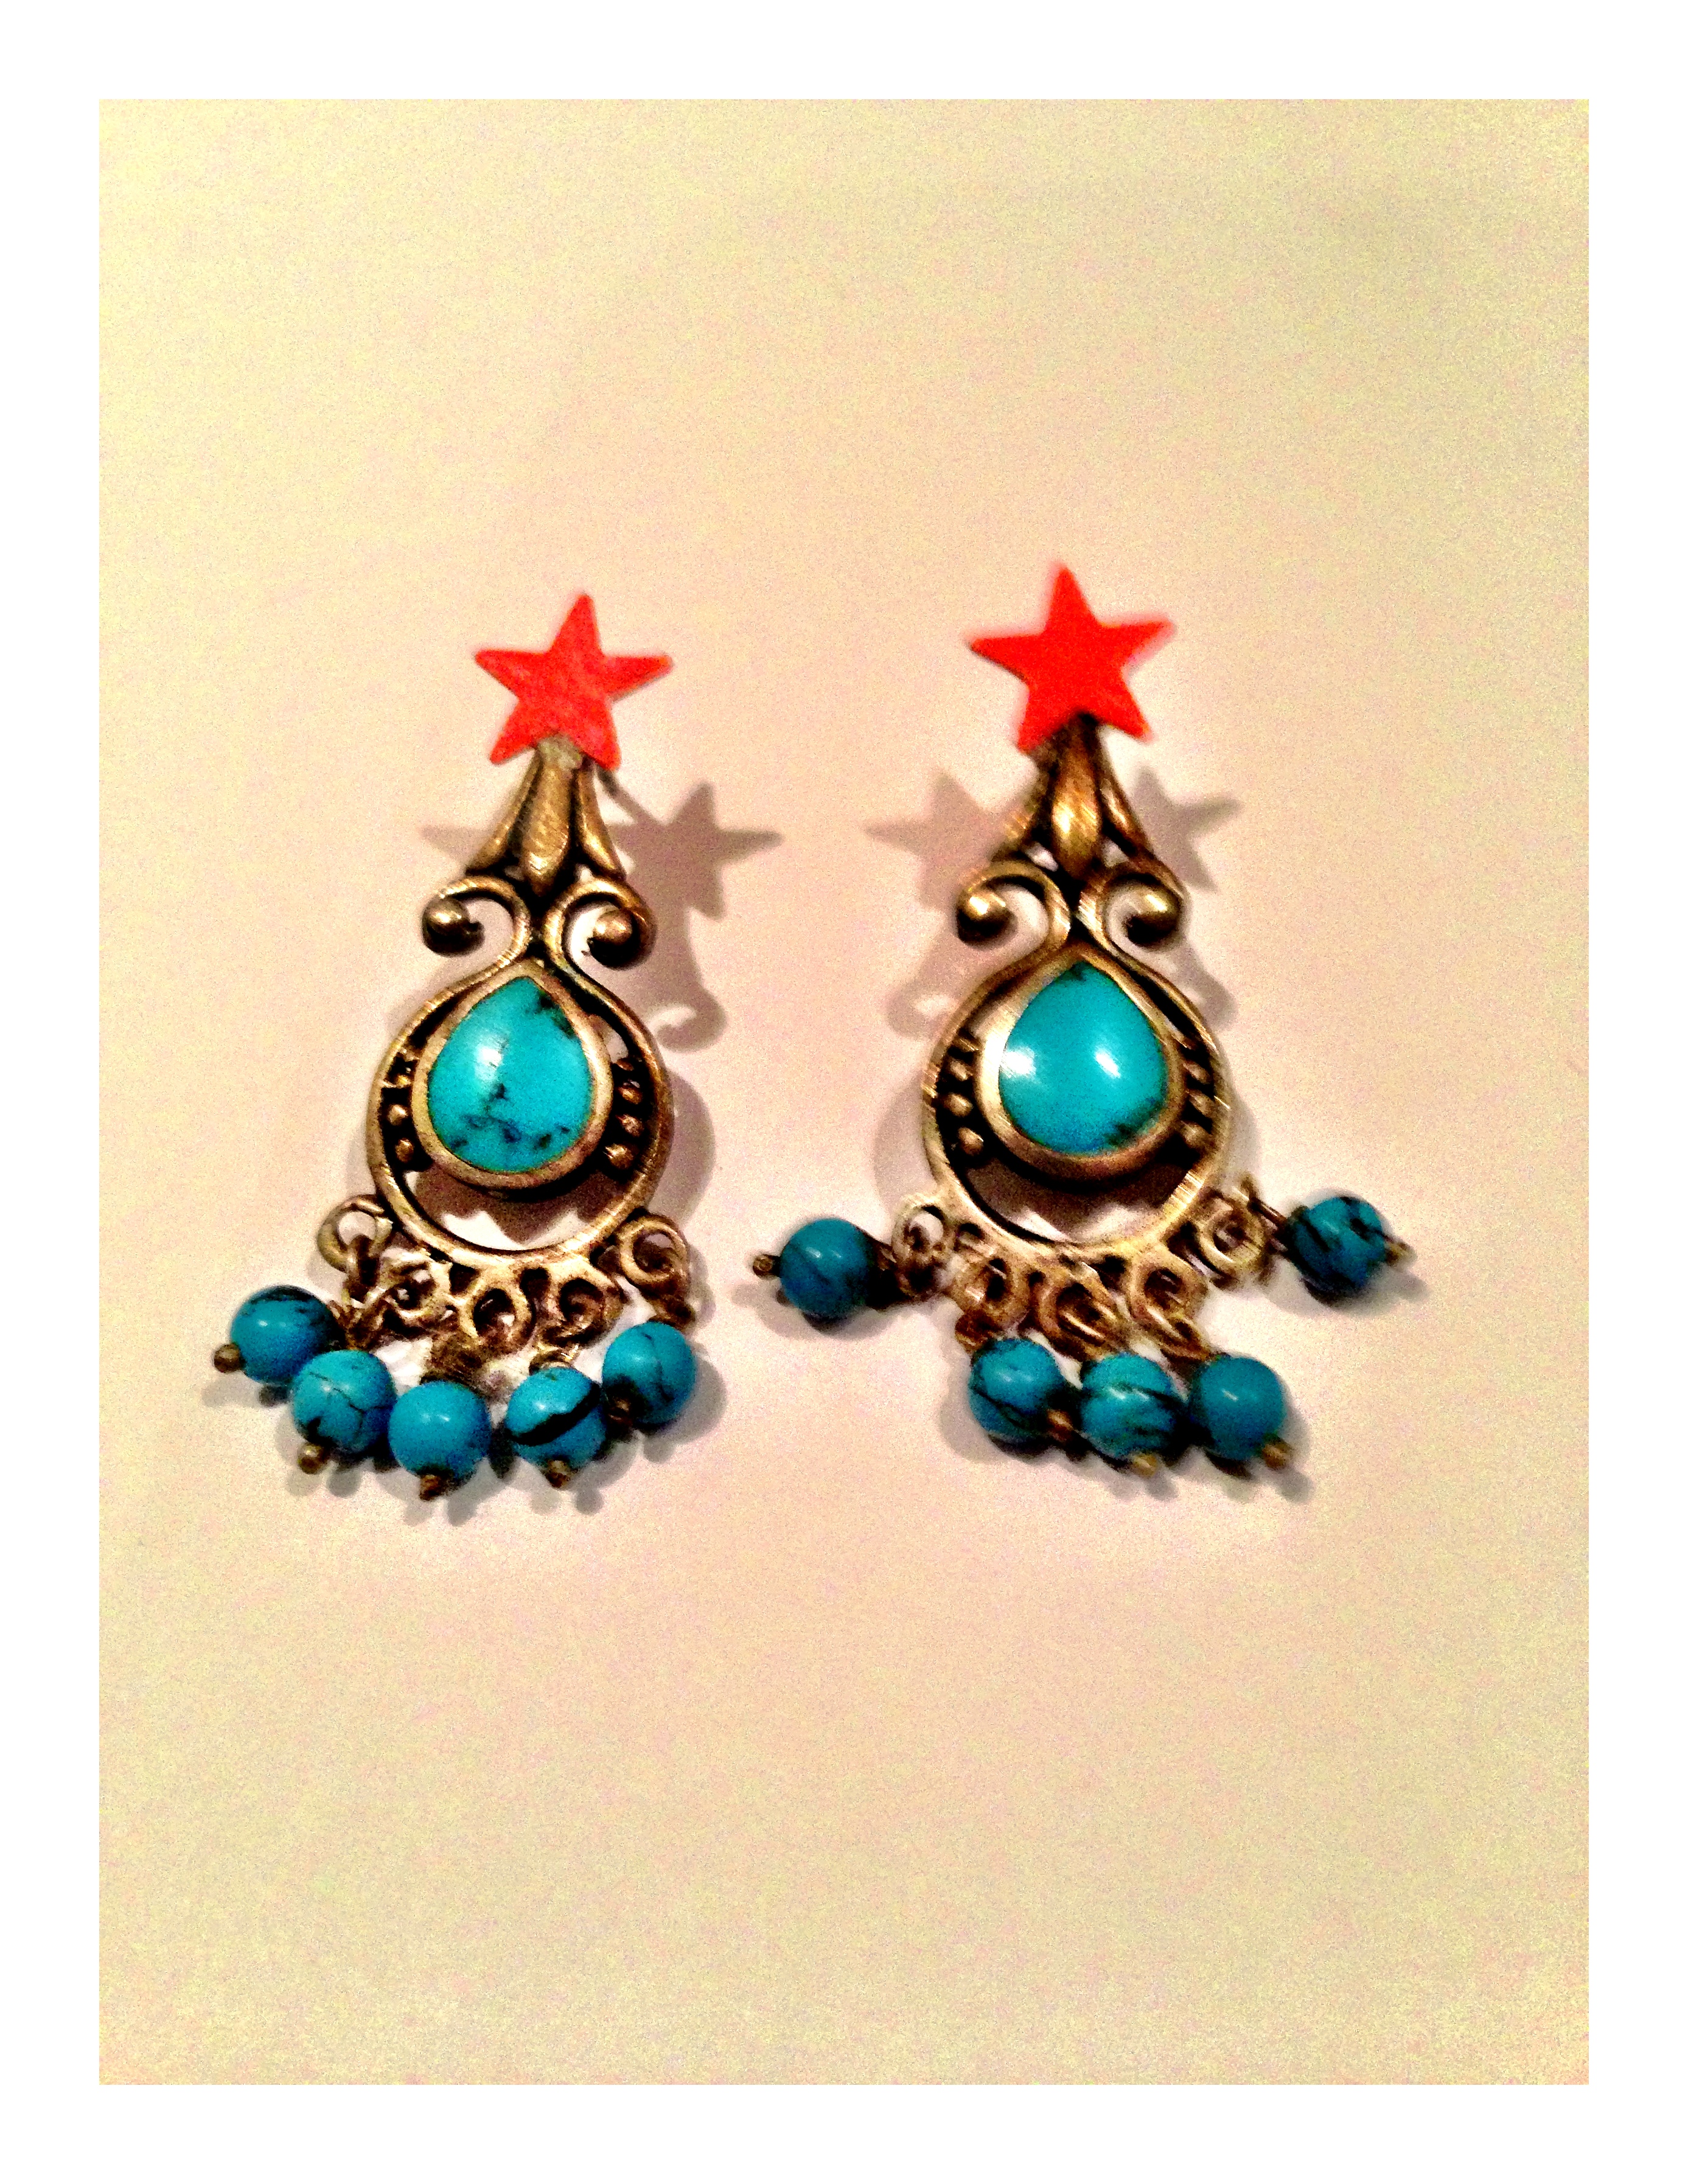
 And these just had my name written all over them…
 Removed the dangly hook thing, added copious amounts of this..
E Voila!
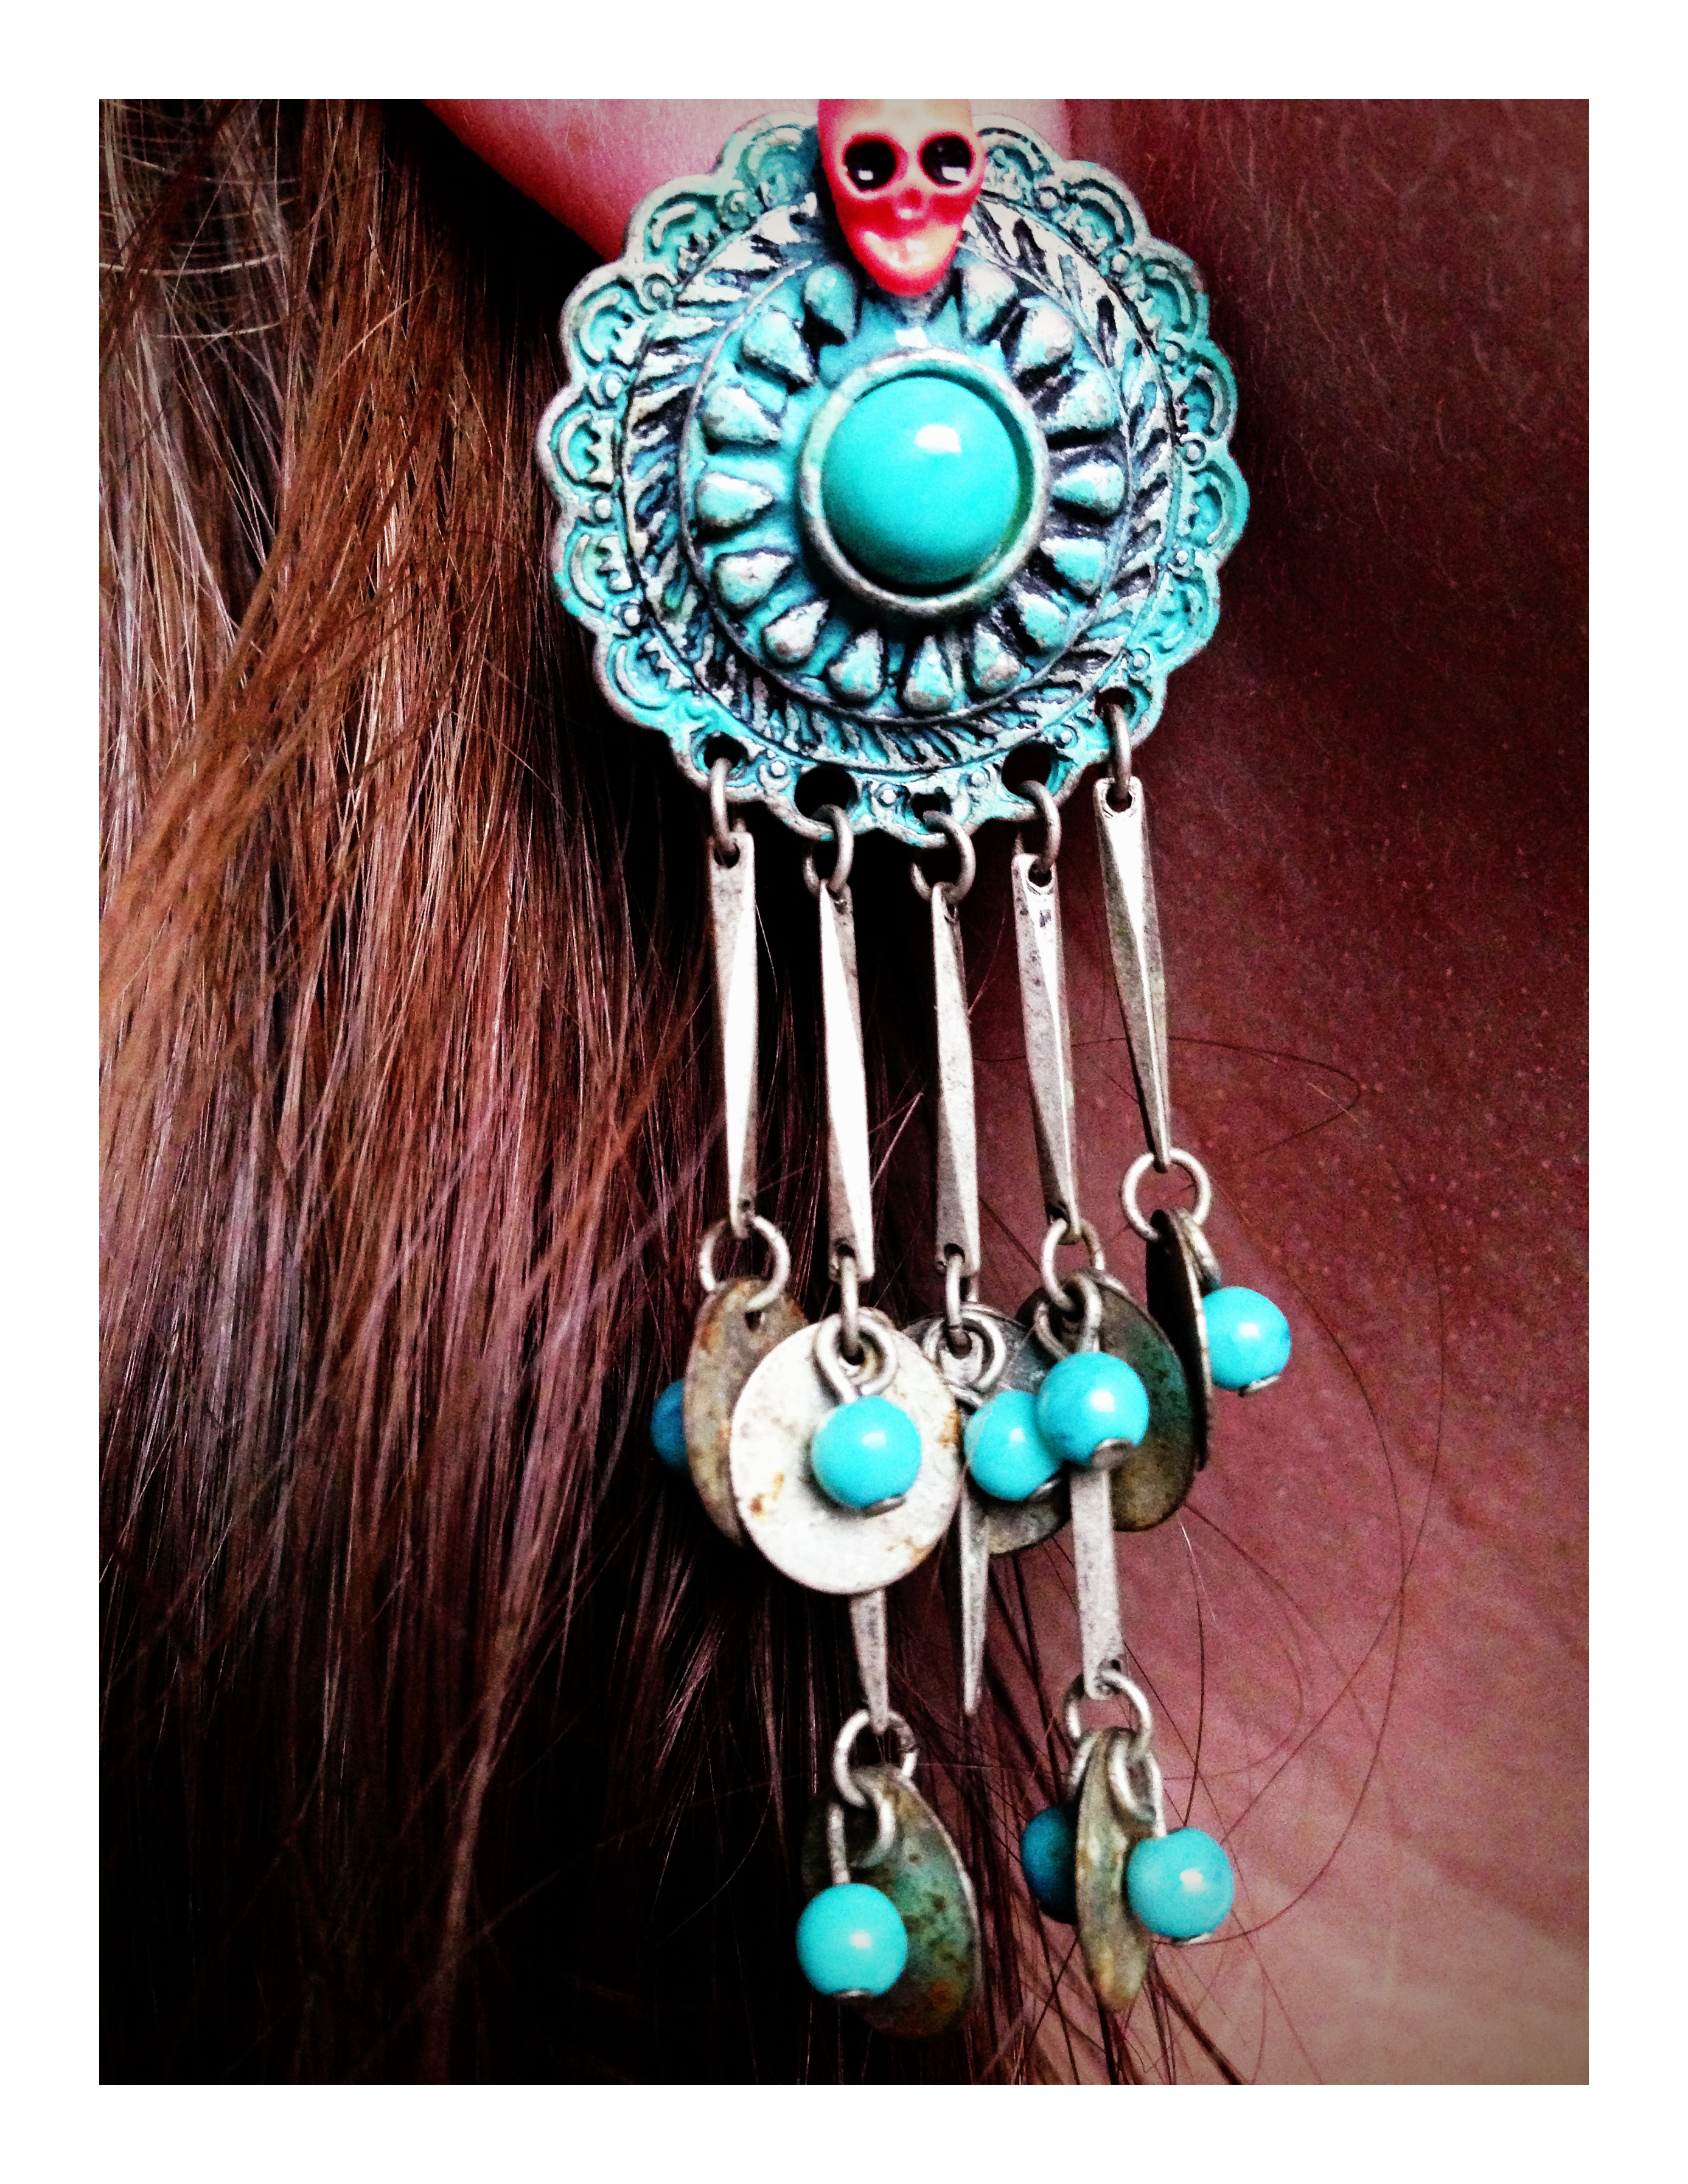
 Macabre jellyfish skeleton men on juju juice! Why do I love these so much?!
 Got utterly carried away and added additional gemming – but these I WILL WEAR with a white shirt dress and wedges in the summer…which admittedly could be never..
 The additional shape, the little pop of colour..makes all the difference.
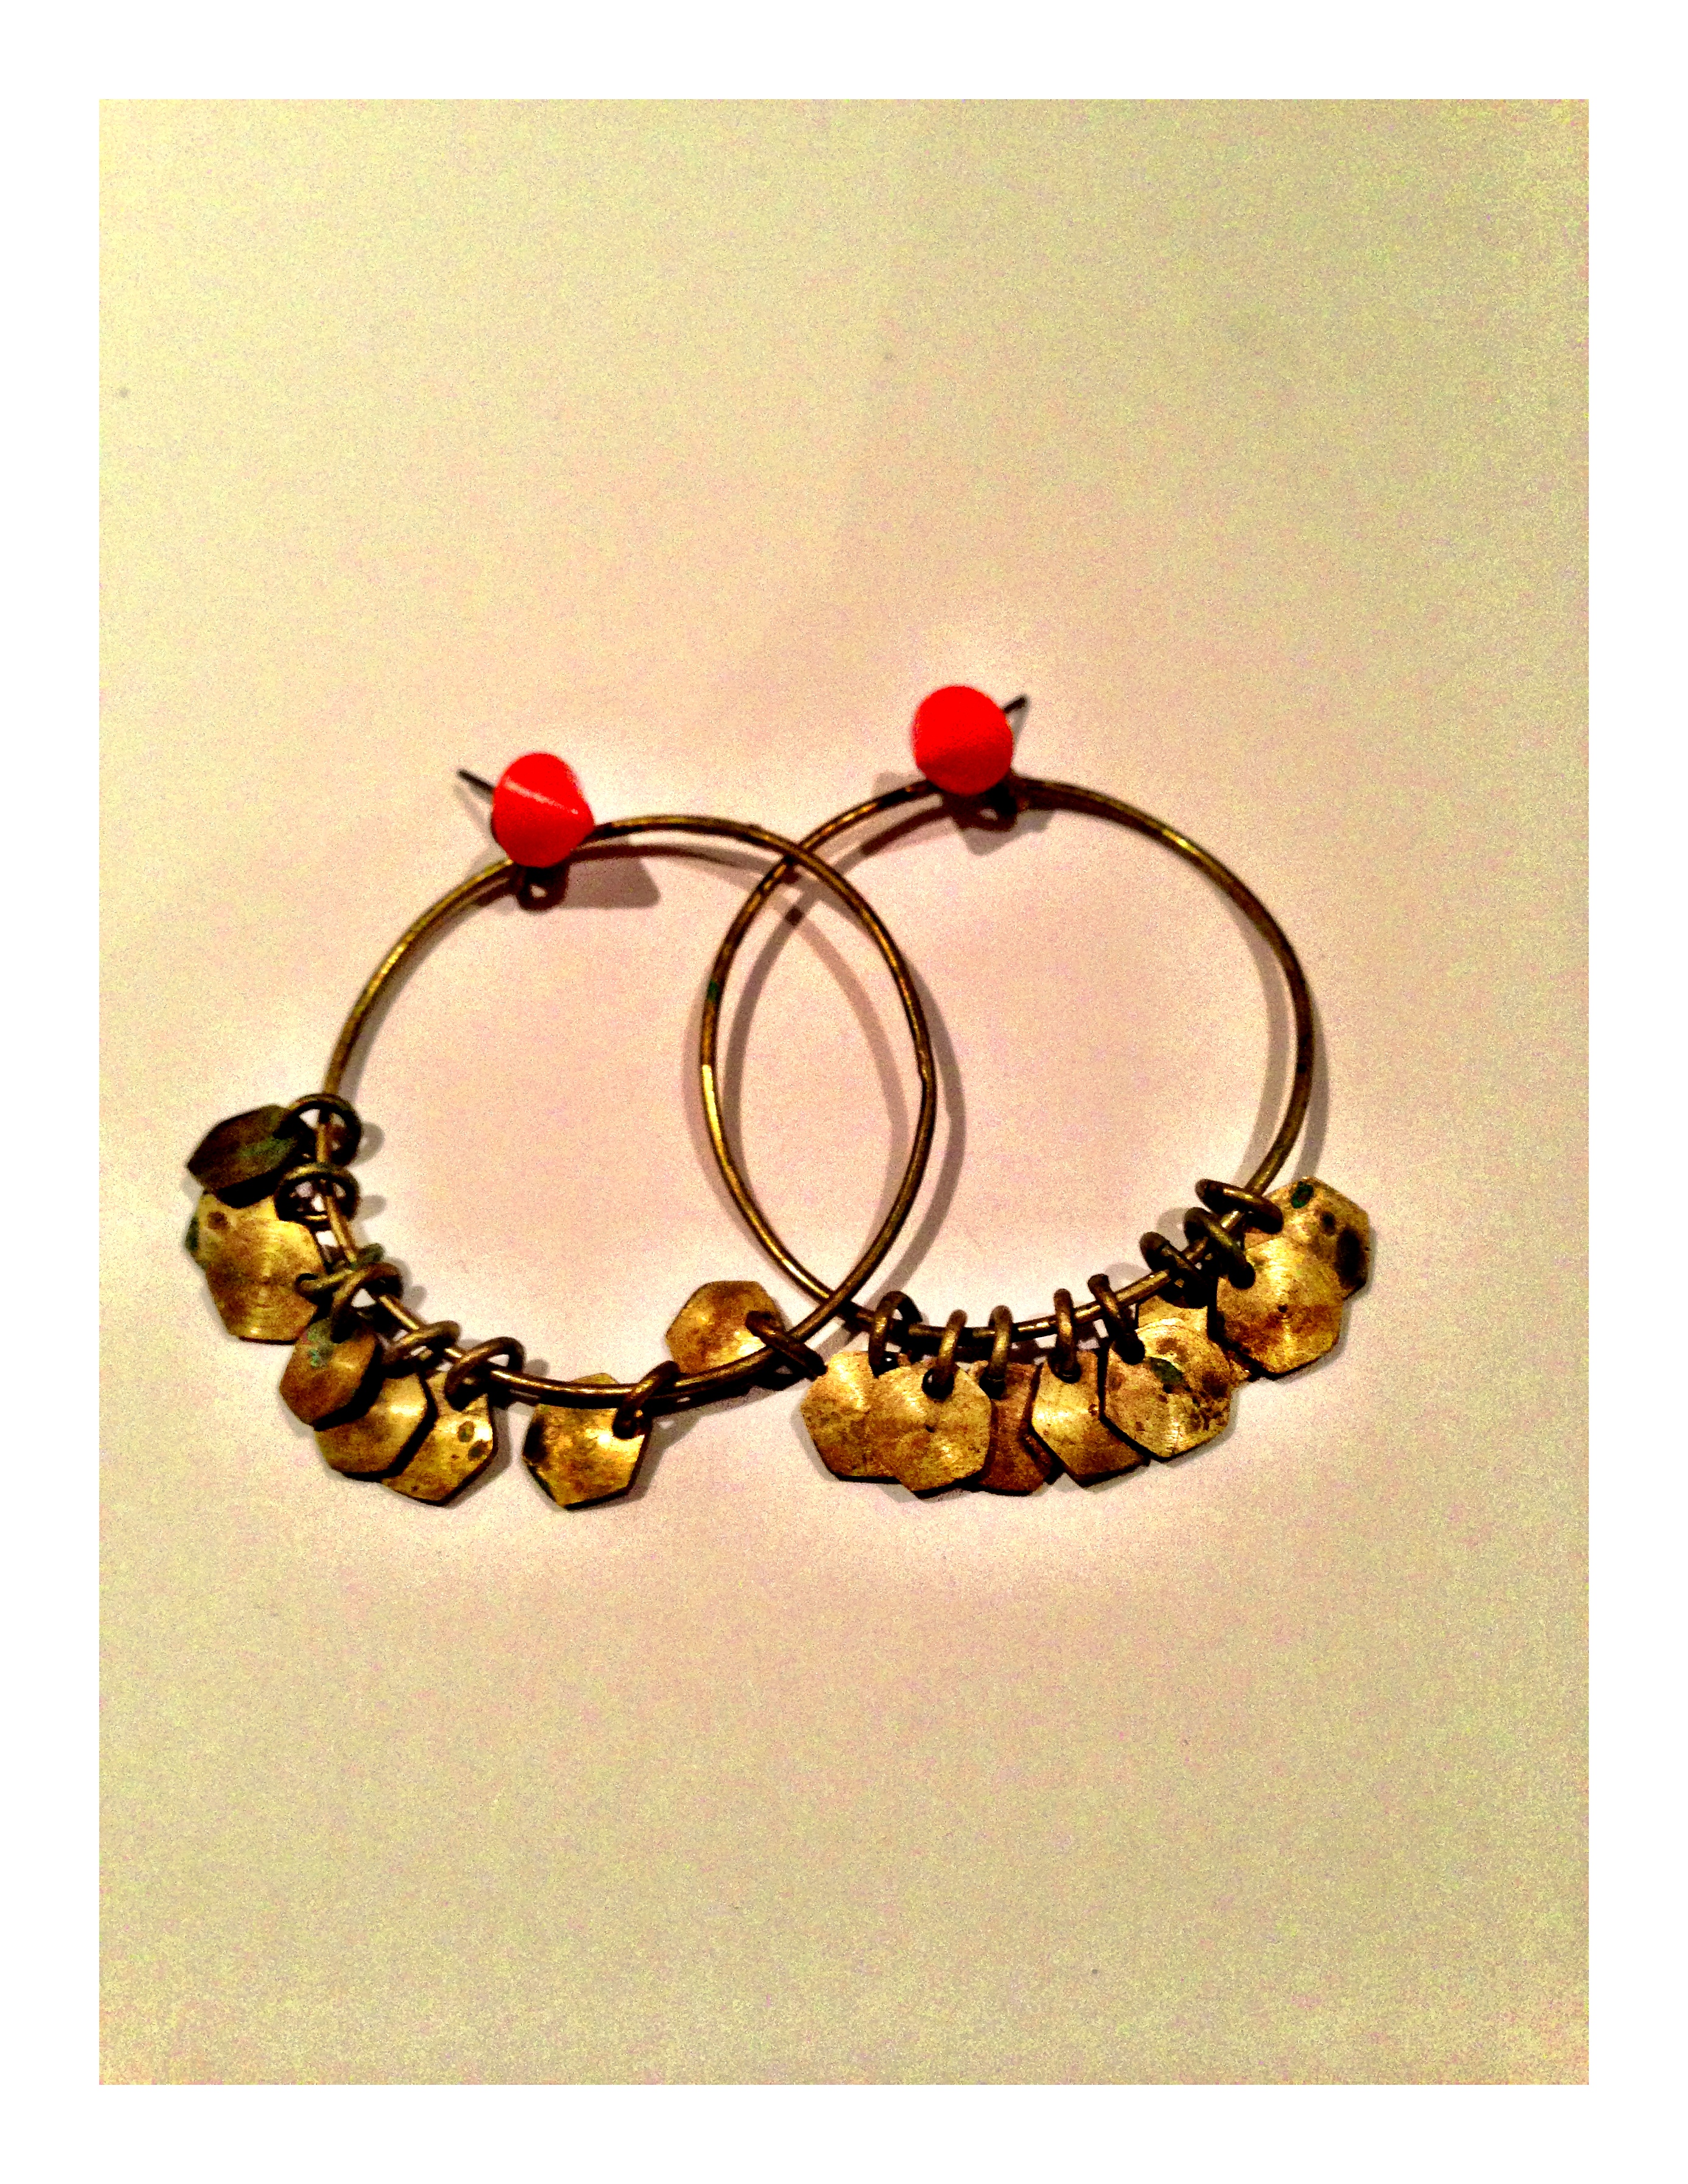 Neon orange stud hoops! J’adore!
 I LOVE this combo.
 Pretty non?
 My alien babies! You look at them…and then look again..
 Moral of the story? – Mess is obviously inspirational.
My tip of the day? – make sure the buggers are completely dry BEFORE you put them on…previously I never used to wear them…now I can never take them off..
Laters…much later, Kate x
Thing of Beauty 2
Baby it’s cold outside – but there’s always a little bit of summer in my house…

 This is the statement light in our hallway which also creates the most amazing natural wallpaper..

Now for the truly amazing bit…I made it myself. Blush…well, not entirely myself…it started life as this :

The Makros pendant from Ikea…which I love, but then everyone knows it’s from Ikea..and it was screaming out for a tweak…and to be honest, I have a fascination for silk flowers..
 Which actually start life as these:
 Those terrible plastic imitation wannabees you walk straight past in the pound shop…
 But pull them to bits and the magic happens…ta-daa!
 (Little tip: Exceptionally useful and essential arsenal when wrapping presents…dip them in glitter for a Christmas variation..)
 The middle bit of the flowers on the light? Those glass beads that come in plastic string bags and catch your eye in a devious way because you strangely want to like them but you know they have absolutely no use unless you want them as algae gatherers in a large vase….until now.

The glass beads and flower petals were stuck onto the saucer shape at the end of the long prongs with a HOT glue gun (as supposed to a cold one with is less powerful) – I left some of the prongs with just beads to increase the light and add variety. I also used a selection of flower types as I was in an experimental mood and thoughts of summer meadow fields were running rampant..but the choices are really endless..single colour flowers, single colour beads, single colour with multiple varieties…your imagination is your limit…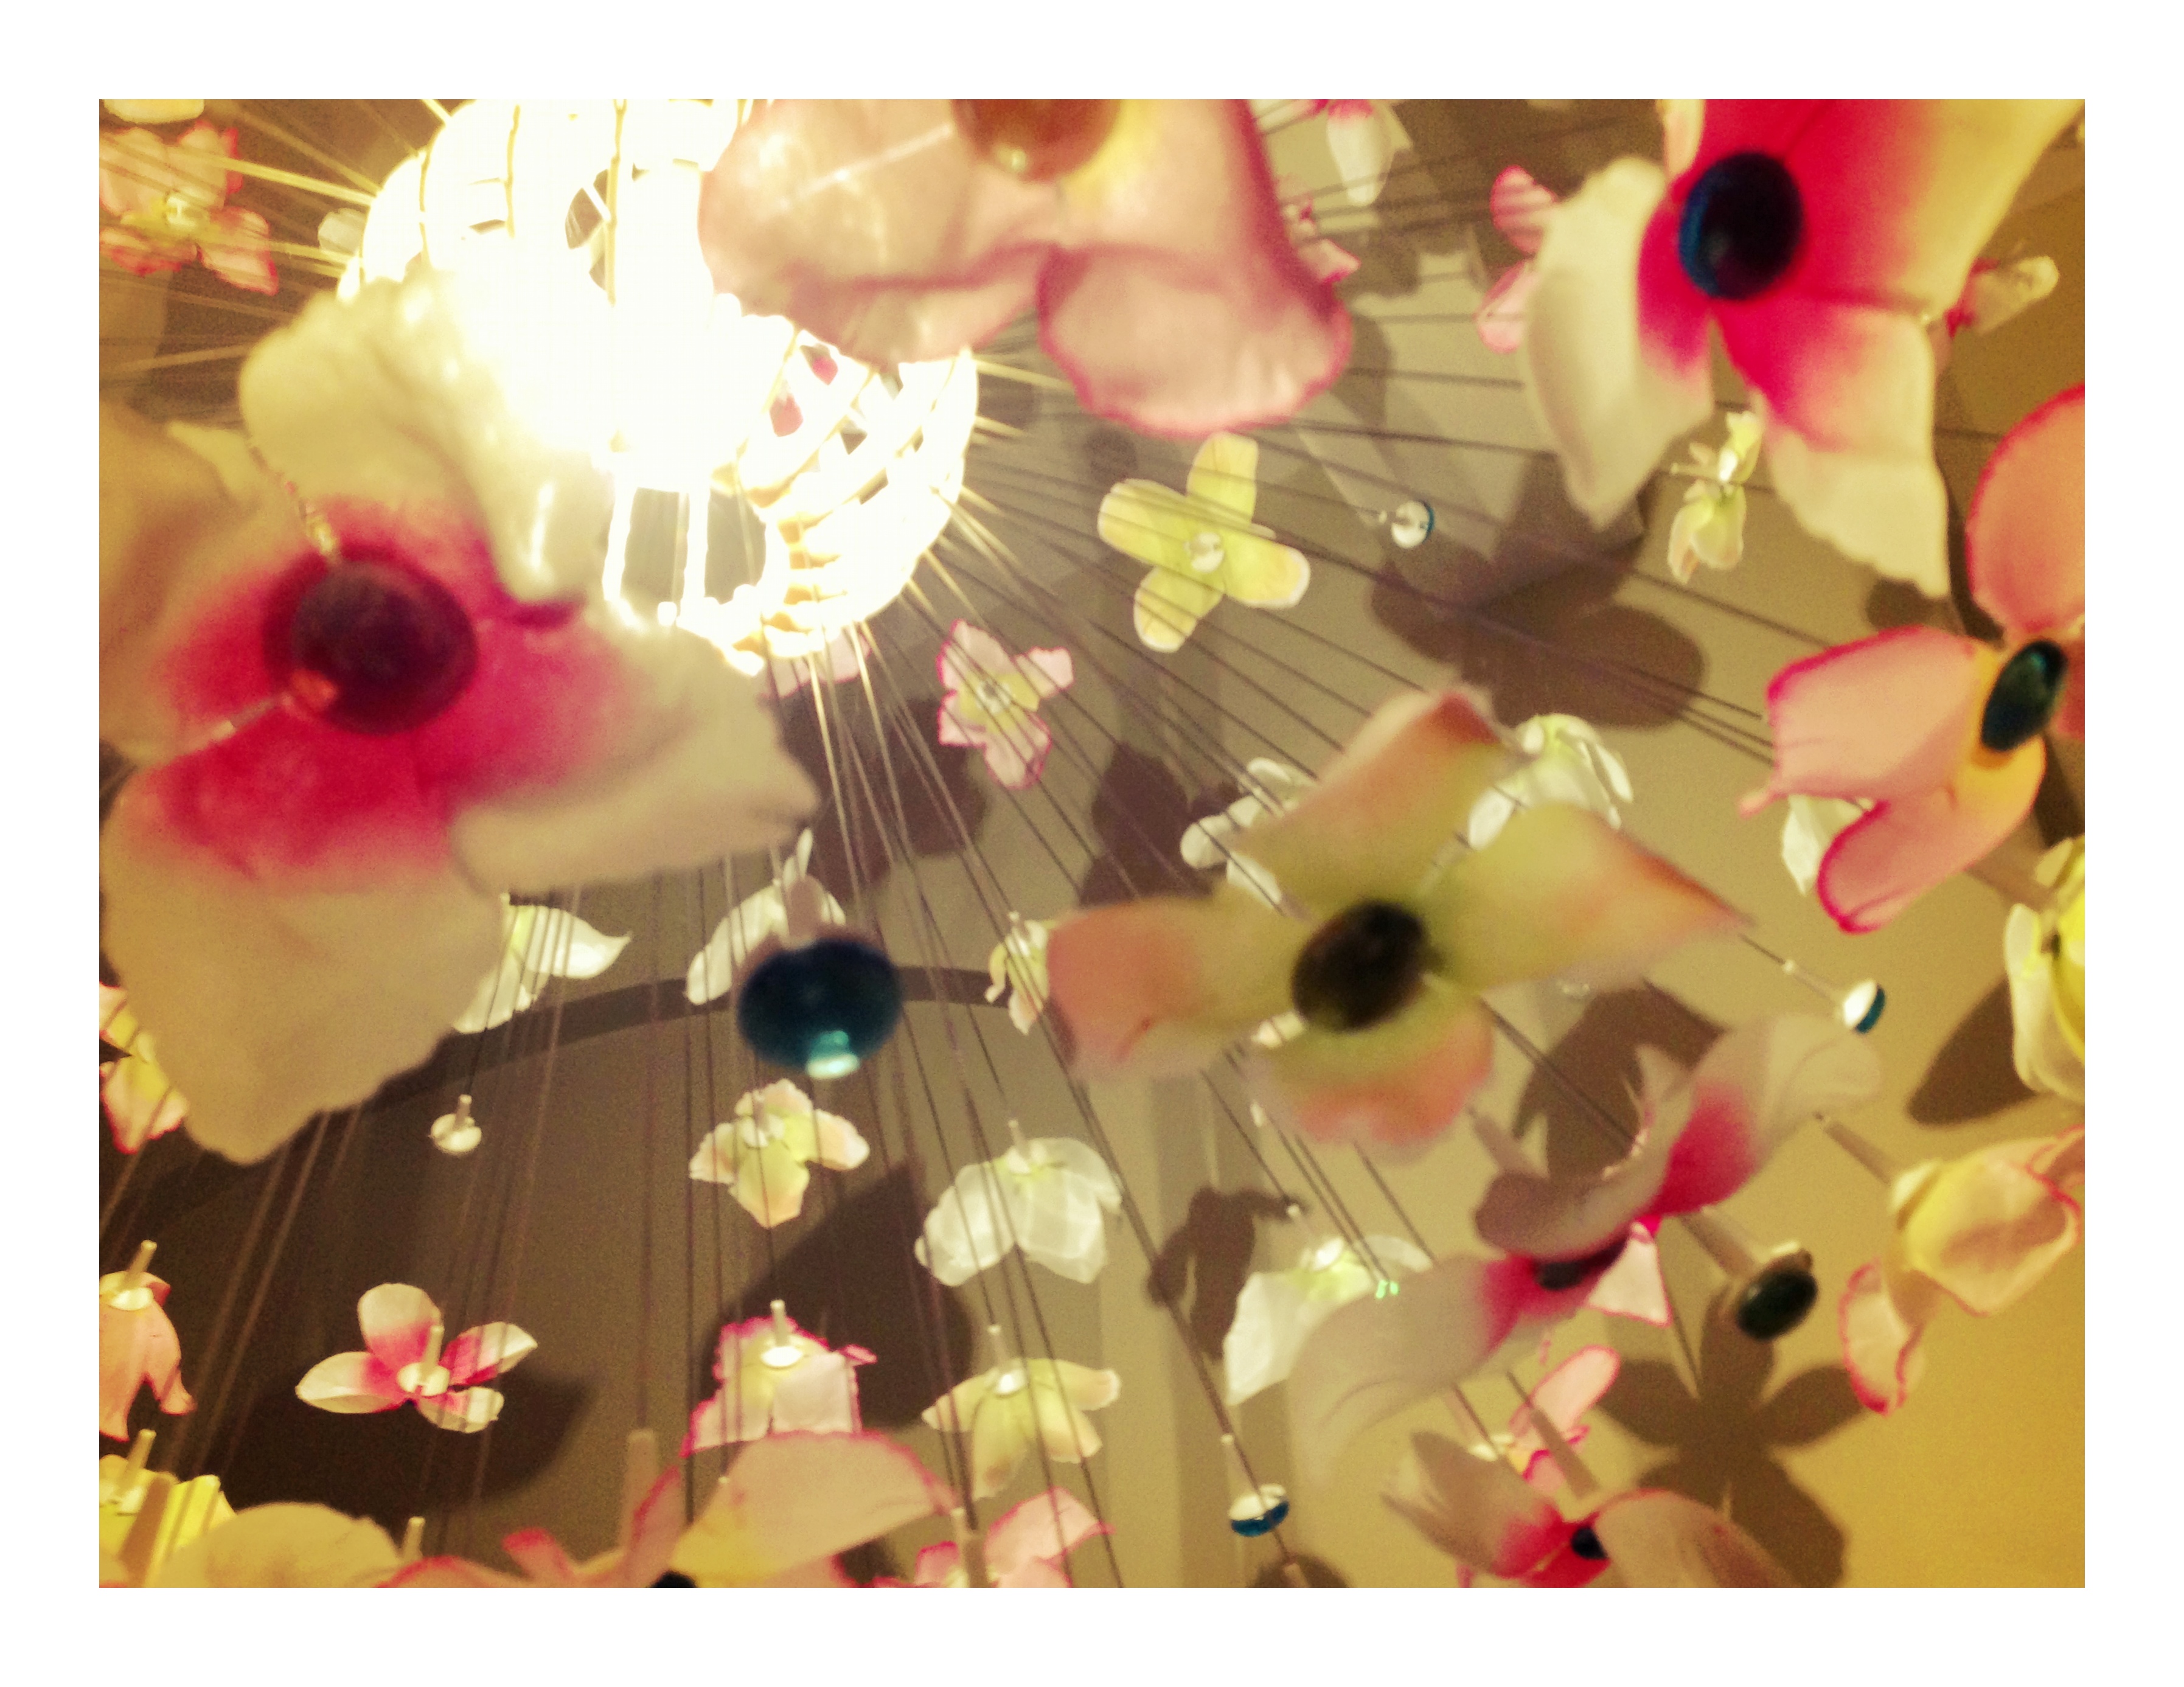
And now their moment to shine comes every time I turn on the light!
Laters, Kate x
Beautiful Bracelets x
Spotted this whilst riding the computer waves. There was no re-bog button – but all credit goes to Erica at ‘Honestly WTF’ with a link to the original blog post here. Sometimes one just has to create – and it helps if it is something beautiful…. Enjoy x
DIY Macrame Bracelet
Posted by Erica on May 1st, 2012

You’ll need:
- 4 yards of 0.5mm chinese knotting cord
- a connector or charm
- an embroidery needle
- a pair of scissors
- flat nose pliers (optional)
- a lighter (optional)

Start by cutting the knotting cord into two 30 inch, two 20 inch and one 10 inch lengths. Fold the 20 inch piece in half, pull the loop through the ring, fold it over the ring, and pull the rest of the cord through the loop. Repeat the step on the other side of the ring. These strands will be anchored and remain stationary.

Center the 30 inch cord under the two middle strands. Fold the right cord over the middle strands and under the left cord. Pull the left cord under the right and middle strands and through the loop on the right side.

Pull tightly and slide the knot up to the top.

Finish the 2nd half of the square knot by folding the left cord over the middle strands and under the right cord. Pull the right cord under the left and middle strands and through the loop on the left side.

Pull tightly and repeat the steps – left, right, left, right . . . Continue knotting until the desired length is reached. Keep in mind that the clasp will take up approximately half an inch.

To finish the knots, thread one of the cords onto a needle and sew up the center of 3-4 knots along the backside. Pliers will help pull the needle through the tight knots.

Repeat the same step on the other cord.

After sewing up both knotting cords, trim away any excess. Save the scraps and melt the tips with a lighter to seal it for extra hold. Repeat the same exact step on the second half of the bracelet.

To make a sliding closure, shape the bracelet into a circle and overlap the middle strands. Use scraps to temporarily tie the cords together at each end.

Take the 10 inch cord and center it under the strands. Start tying square knots exactly the same way the bracelet was executed.

Stop at about half an inch and sew the knotting cords into the backside of the closure. Remove the temporary ties.

The two sets of middle strands are now the adjustable ties of the bracelet. Adjust to fit the wrist and tie each end into knots. Trim away any excess.

Your adjustable knotted bracelets are finished!! xx

(HonestlyWTF DIY bracelets & Tai pink crystal bracelet; Mr. Kate & Catbird rings; all images by HonestlyWTF)
