Tagged: Macrame Bracelet
Summer DIY

The rollercoaster ride of summer is gathering speed..today will be the first day of wearing a summer dress all day long without a coat. Bliss. I would happily wear summer dresses all summer long – they are without doubt the ultimate capsule wardrobe. I did my Atlantique Ascoli check and I have 5 cotton ones…so I’m on the hunt for 2 more to make 7 outfits for the sun ticked off. They’re all I take on holiday now – simply blinged and pimped with jewellery and different shoes for the evening.
I’m also collecting together my summer craft box – a tupperware container with enough bits to while away the magic hours that only appear on holidays, when time seems to get stretched by the sun. Last year we made macrame and friendship bracelets (even Charlie can rustle up a mean macrame)..and I’m sure we’ll make more this year..we got pretty proficient at sewing in chains and all sorts..

This year I’ve found this to add in..all we’ll need to add are a crochet hook, some buttons….
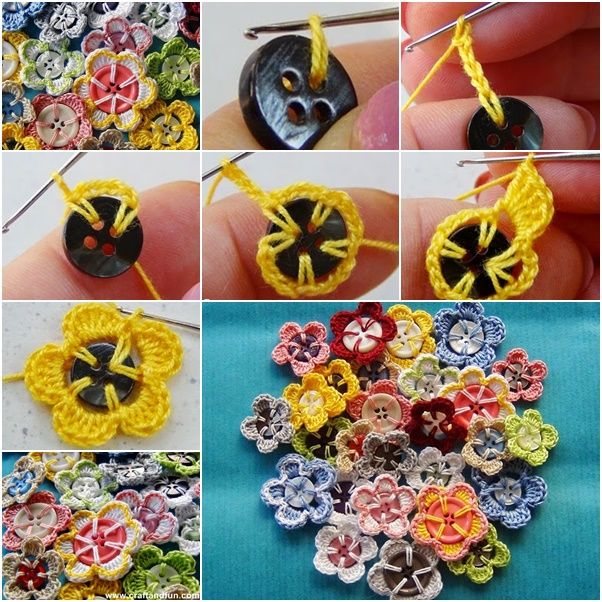

Maybe we’ll finally do a take on this…all I need is time..(and that little bit of child labour)……….
Laters, Kate x
Beautiful Bracelets x
Spotted this whilst riding the computer waves. There was no re-bog button – but all credit goes to Erica at ‘Honestly WTF’ with a link to the original blog post here. Sometimes one just has to create – and it helps if it is something beautiful…. Enjoy x
DIY Macrame Bracelet
Posted by Erica on May 1st, 2012

You’ll need:
- 4 yards of 0.5mm chinese knotting cord
- a connector or charm
- an embroidery needle
- a pair of scissors
- flat nose pliers (optional)
- a lighter (optional)

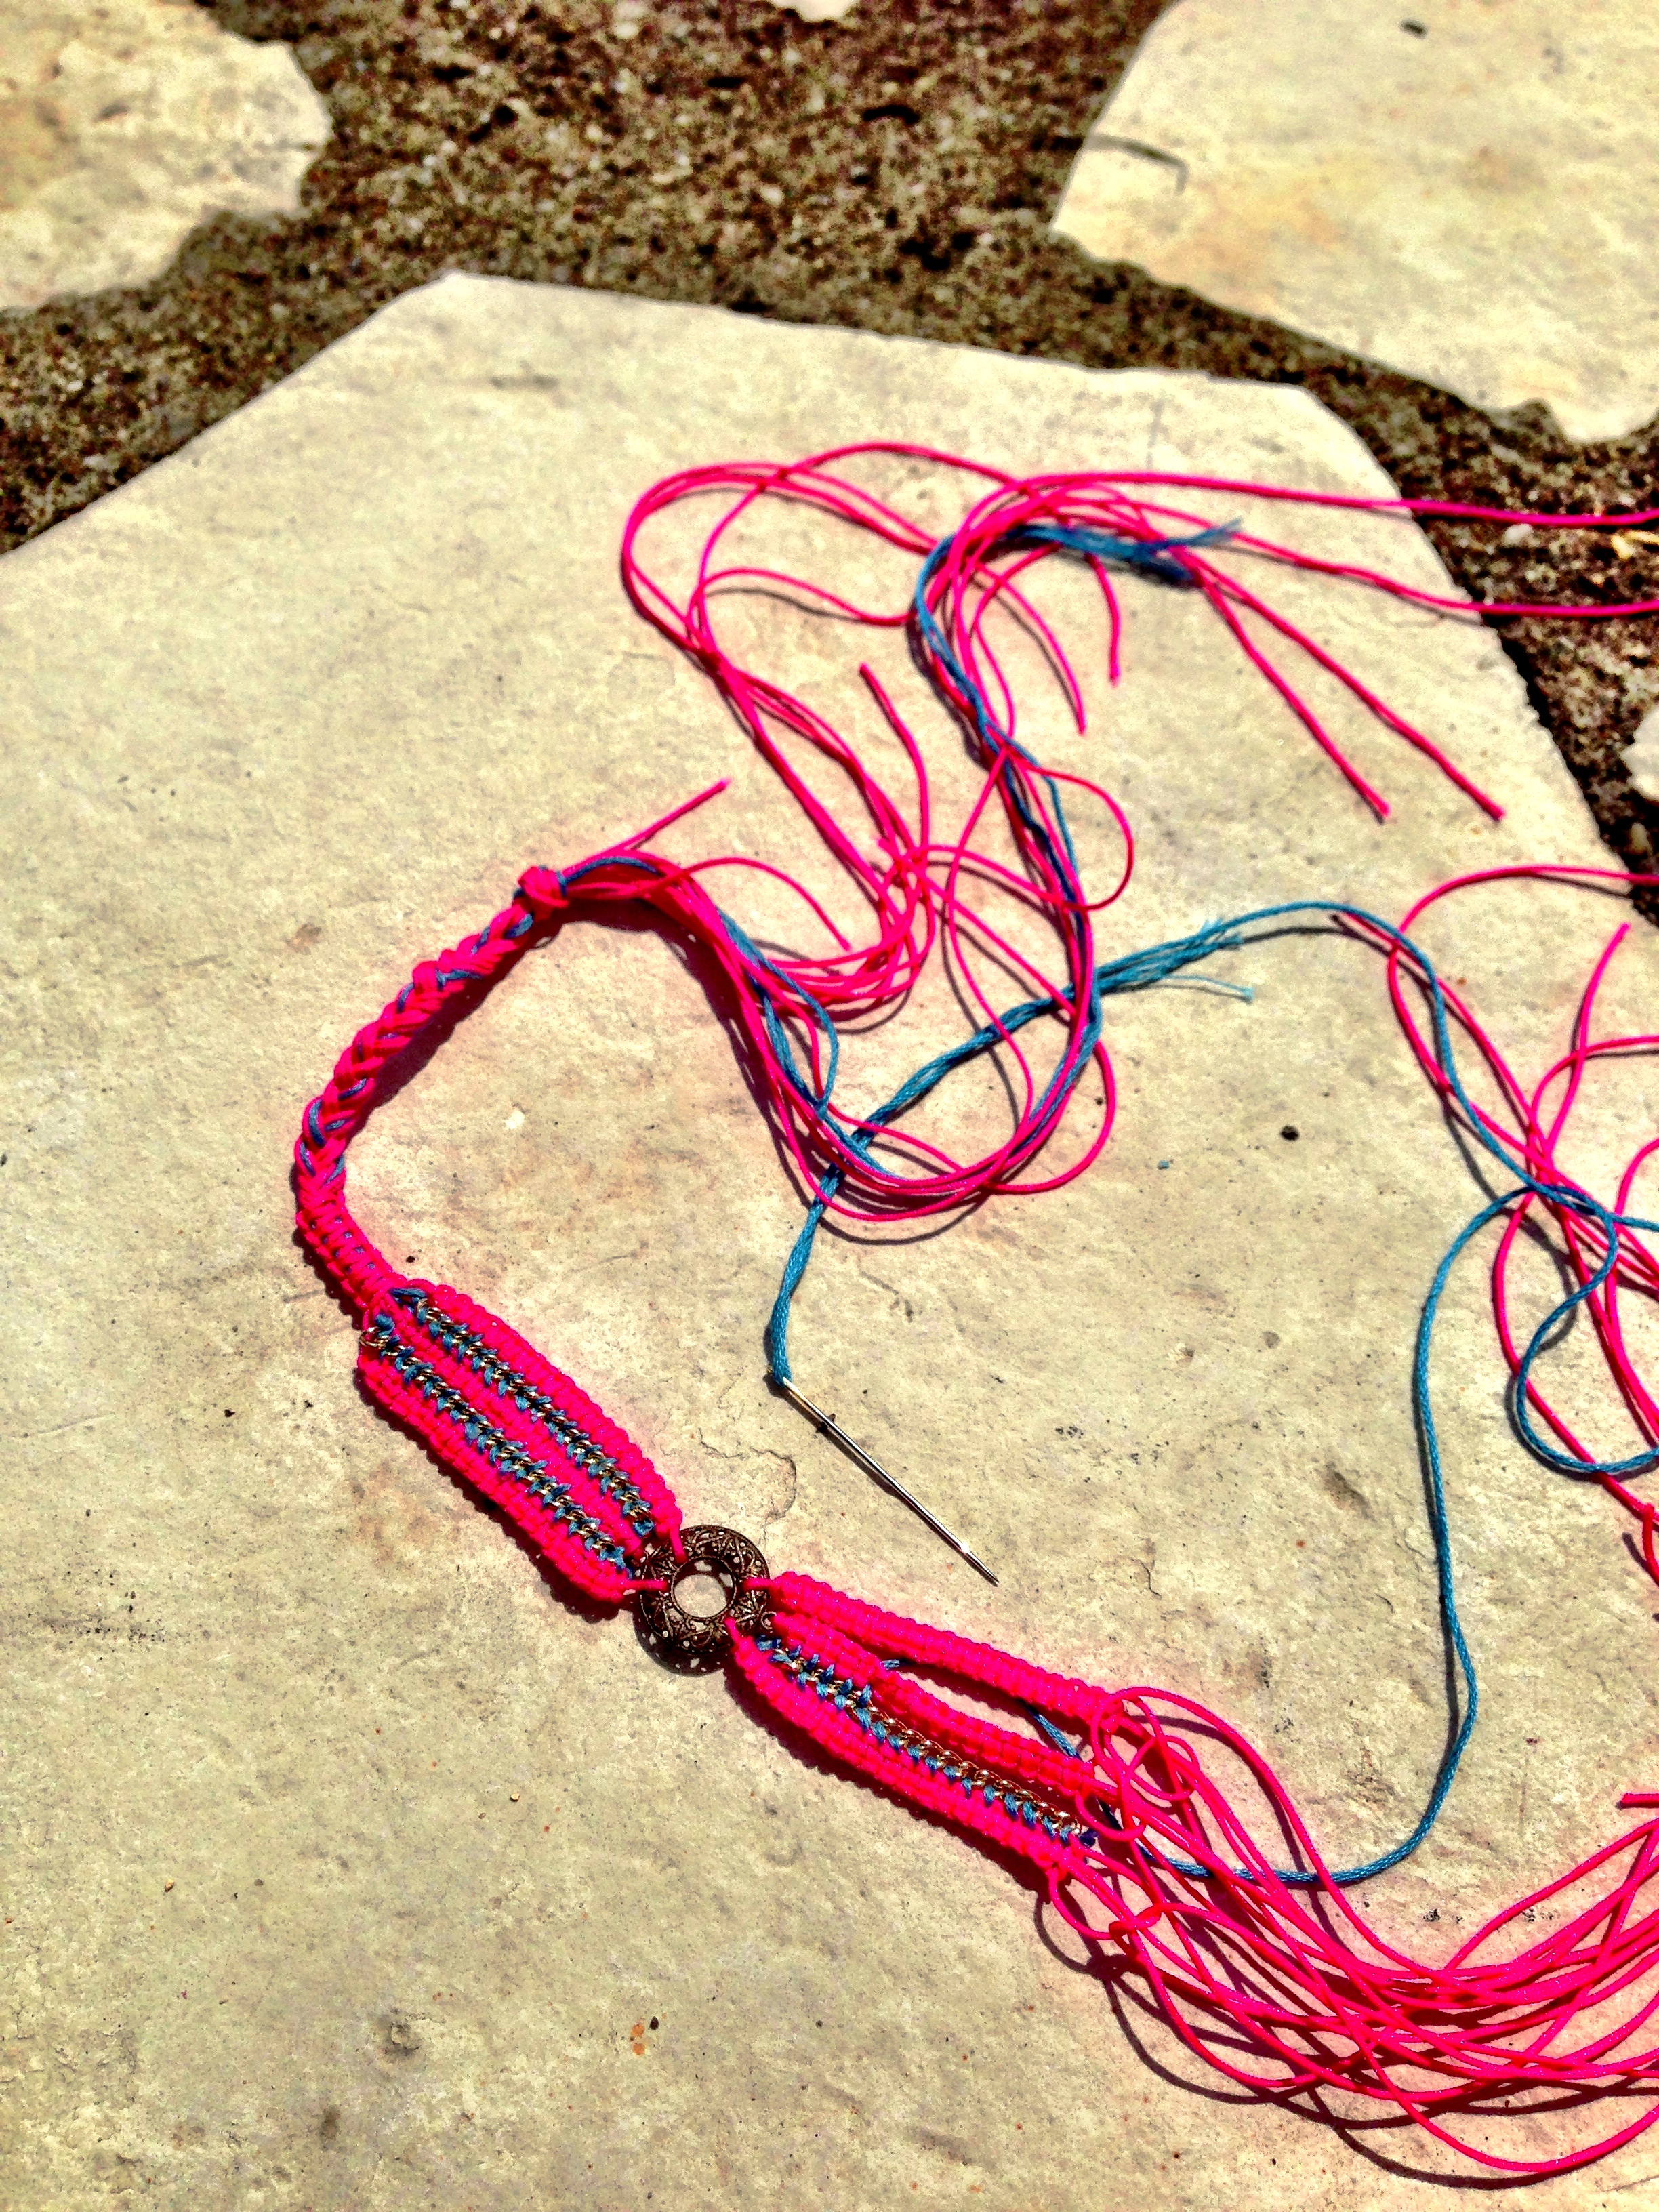
Start by cutting the knotting cord into two 30 inch, two 20 inch and one 10 inch lengths. Fold the 20 inch piece in half, pull the loop through the ring, fold it over the ring, and pull the rest of the cord through the loop. Repeat the step on the other side of the ring. These strands will be anchored and remain stationary.

Center the 30 inch cord under the two middle strands. Fold the right cord over the middle strands and under the left cord. Pull the left cord under the right and middle strands and through the loop on the right side.

Pull tightly and slide the knot up to the top.

Finish the 2nd half of the square knot by folding the left cord over the middle strands and under the right cord. Pull the right cord under the left and middle strands and through the loop on the left side.

Pull tightly and repeat the steps – left, right, left, right . . . Continue knotting until the desired length is reached. Keep in mind that the clasp will take up approximately half an inch.

To finish the knots, thread one of the cords onto a needle and sew up the center of 3-4 knots along the backside. Pliers will help pull the needle through the tight knots.

Repeat the same step on the other cord.

After sewing up both knotting cords, trim away any excess. Save the scraps and melt the tips with a lighter to seal it for extra hold. Repeat the same exact step on the second half of the bracelet.

To make a sliding closure, shape the bracelet into a circle and overlap the middle strands. Use scraps to temporarily tie the cords together at each end.

Take the 10 inch cord and center it under the strands. Start tying square knots exactly the same way the bracelet was executed.

Stop at about half an inch and sew the knotting cords into the backside of the closure. Remove the temporary ties.

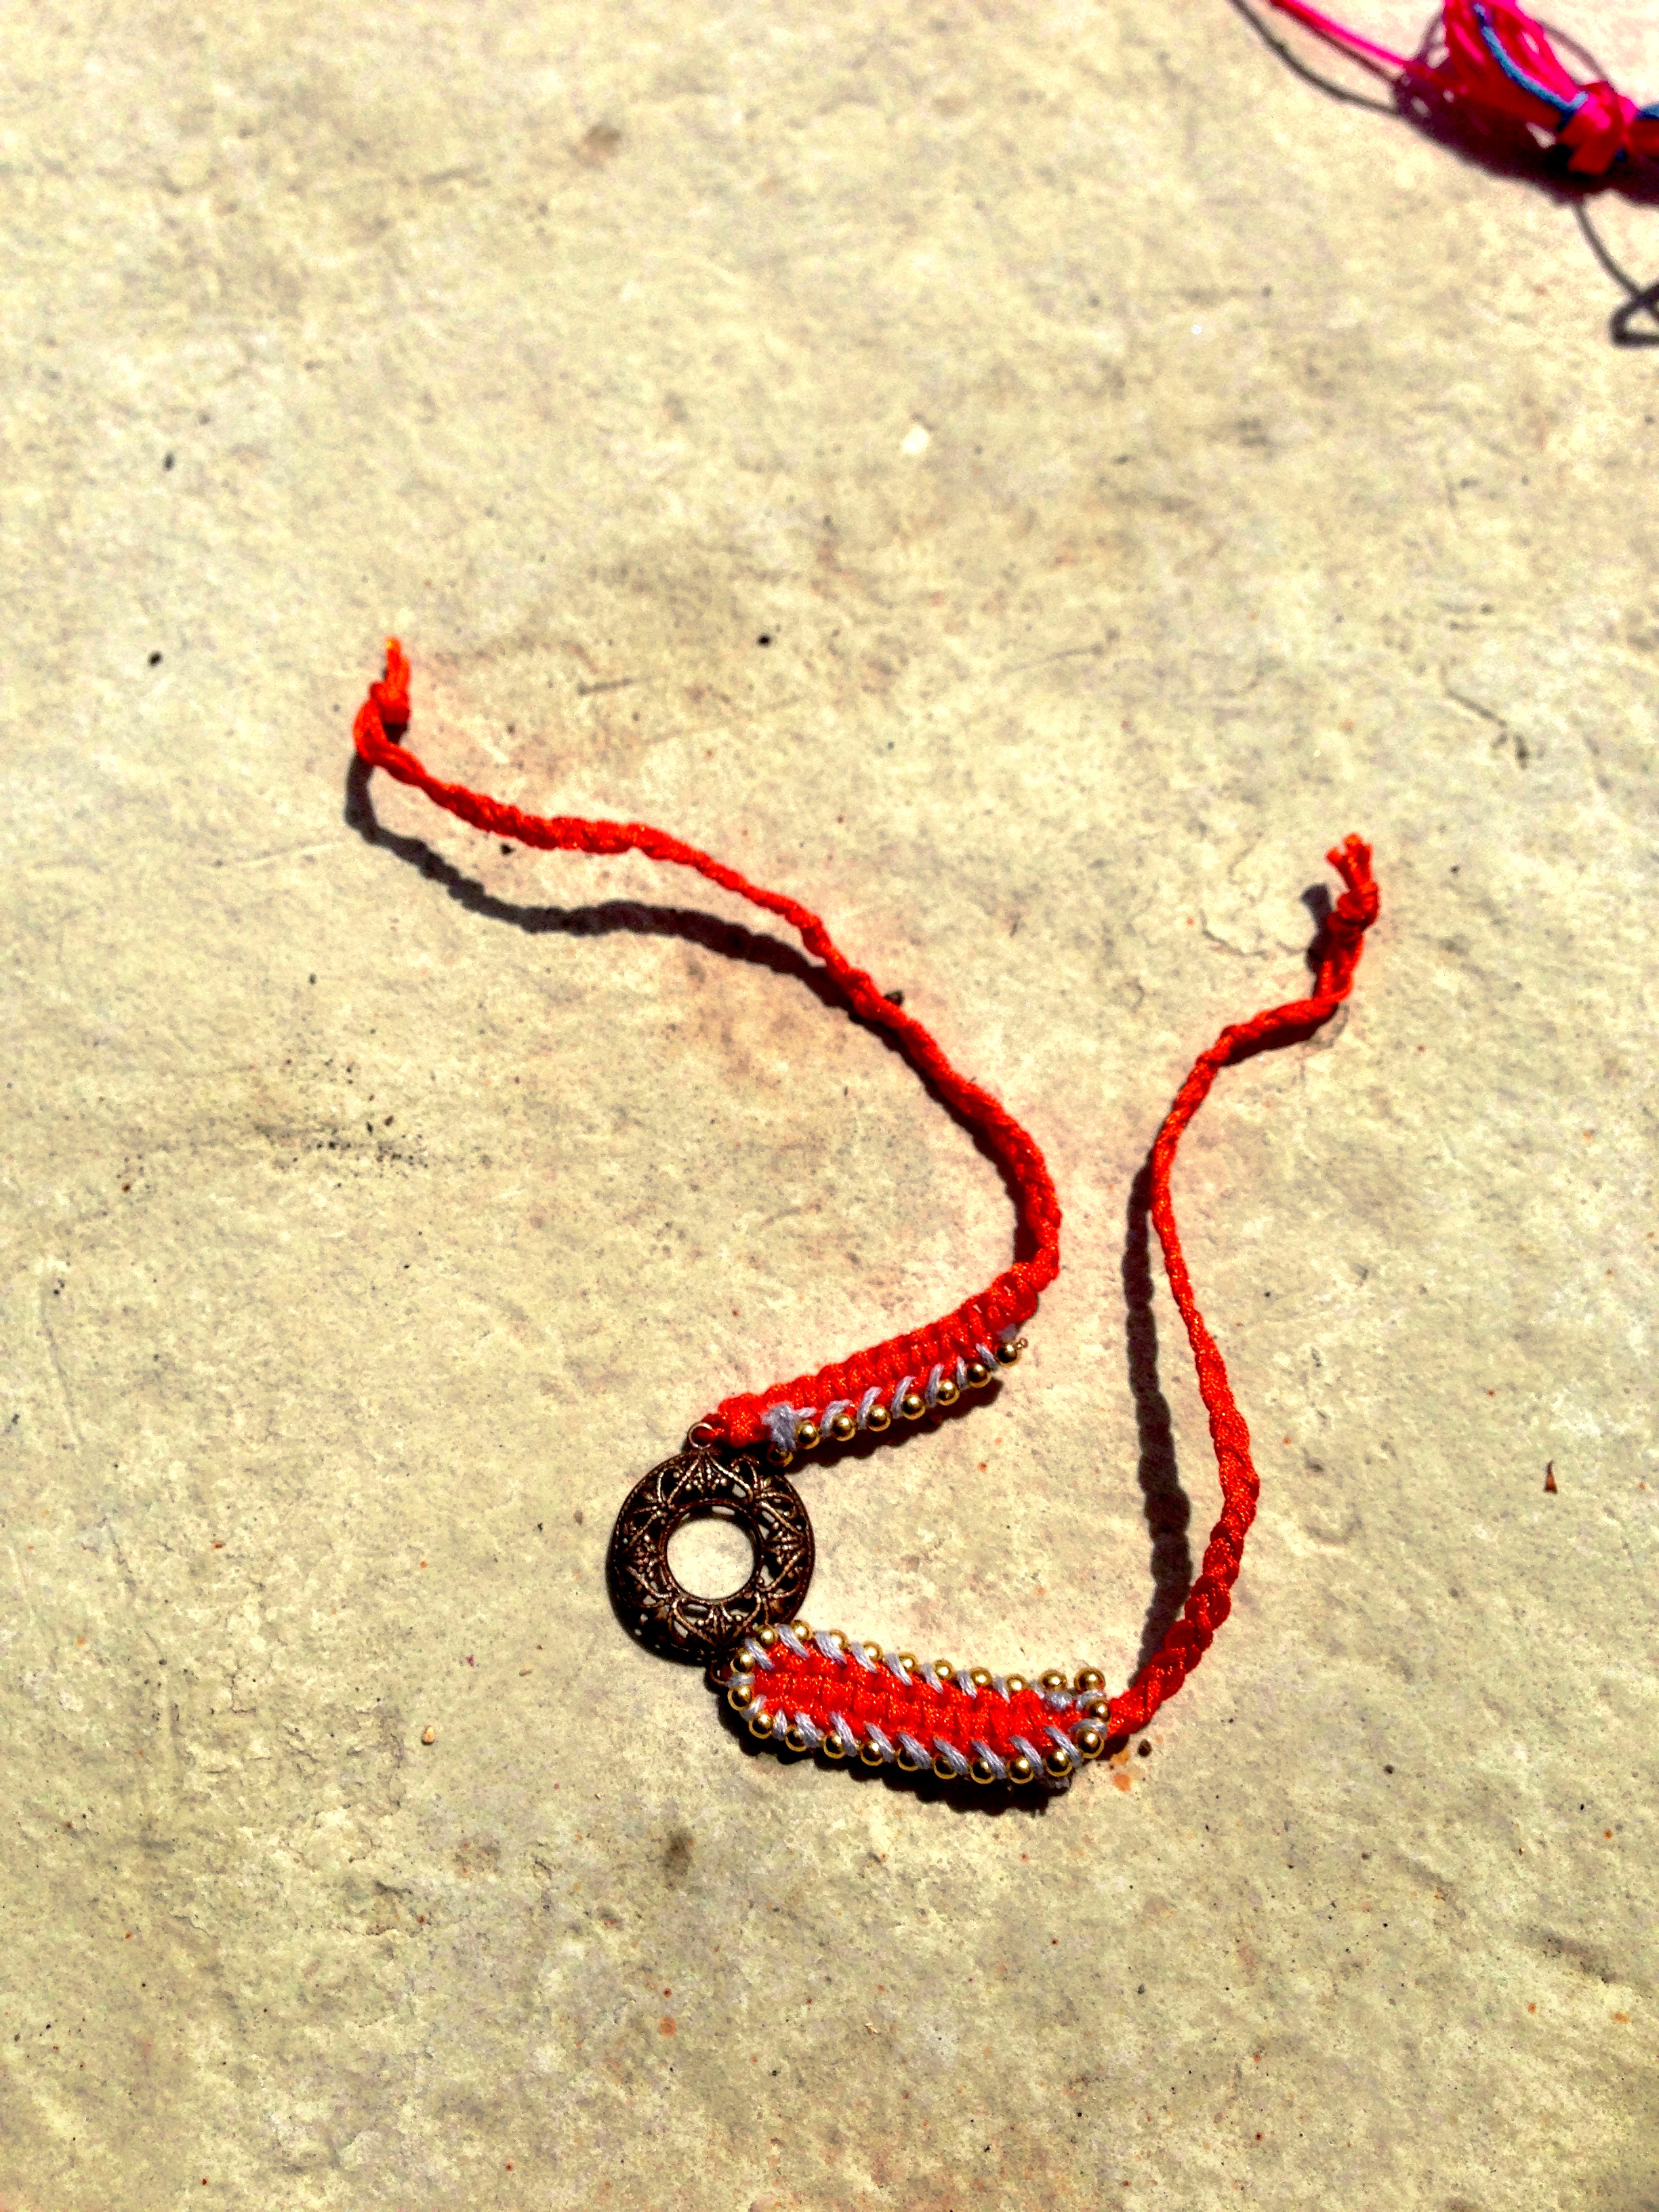
The two sets of middle strands are now the adjustable ties of the bracelet. Adjust to fit the wrist and tie each end into knots. Trim away any excess.

Your adjustable knotted bracelets are finished!! xx

(HonestlyWTF DIY bracelets & Tai pink crystal bracelet; Mr. Kate & Catbird rings; all images by HonestlyWTF)
